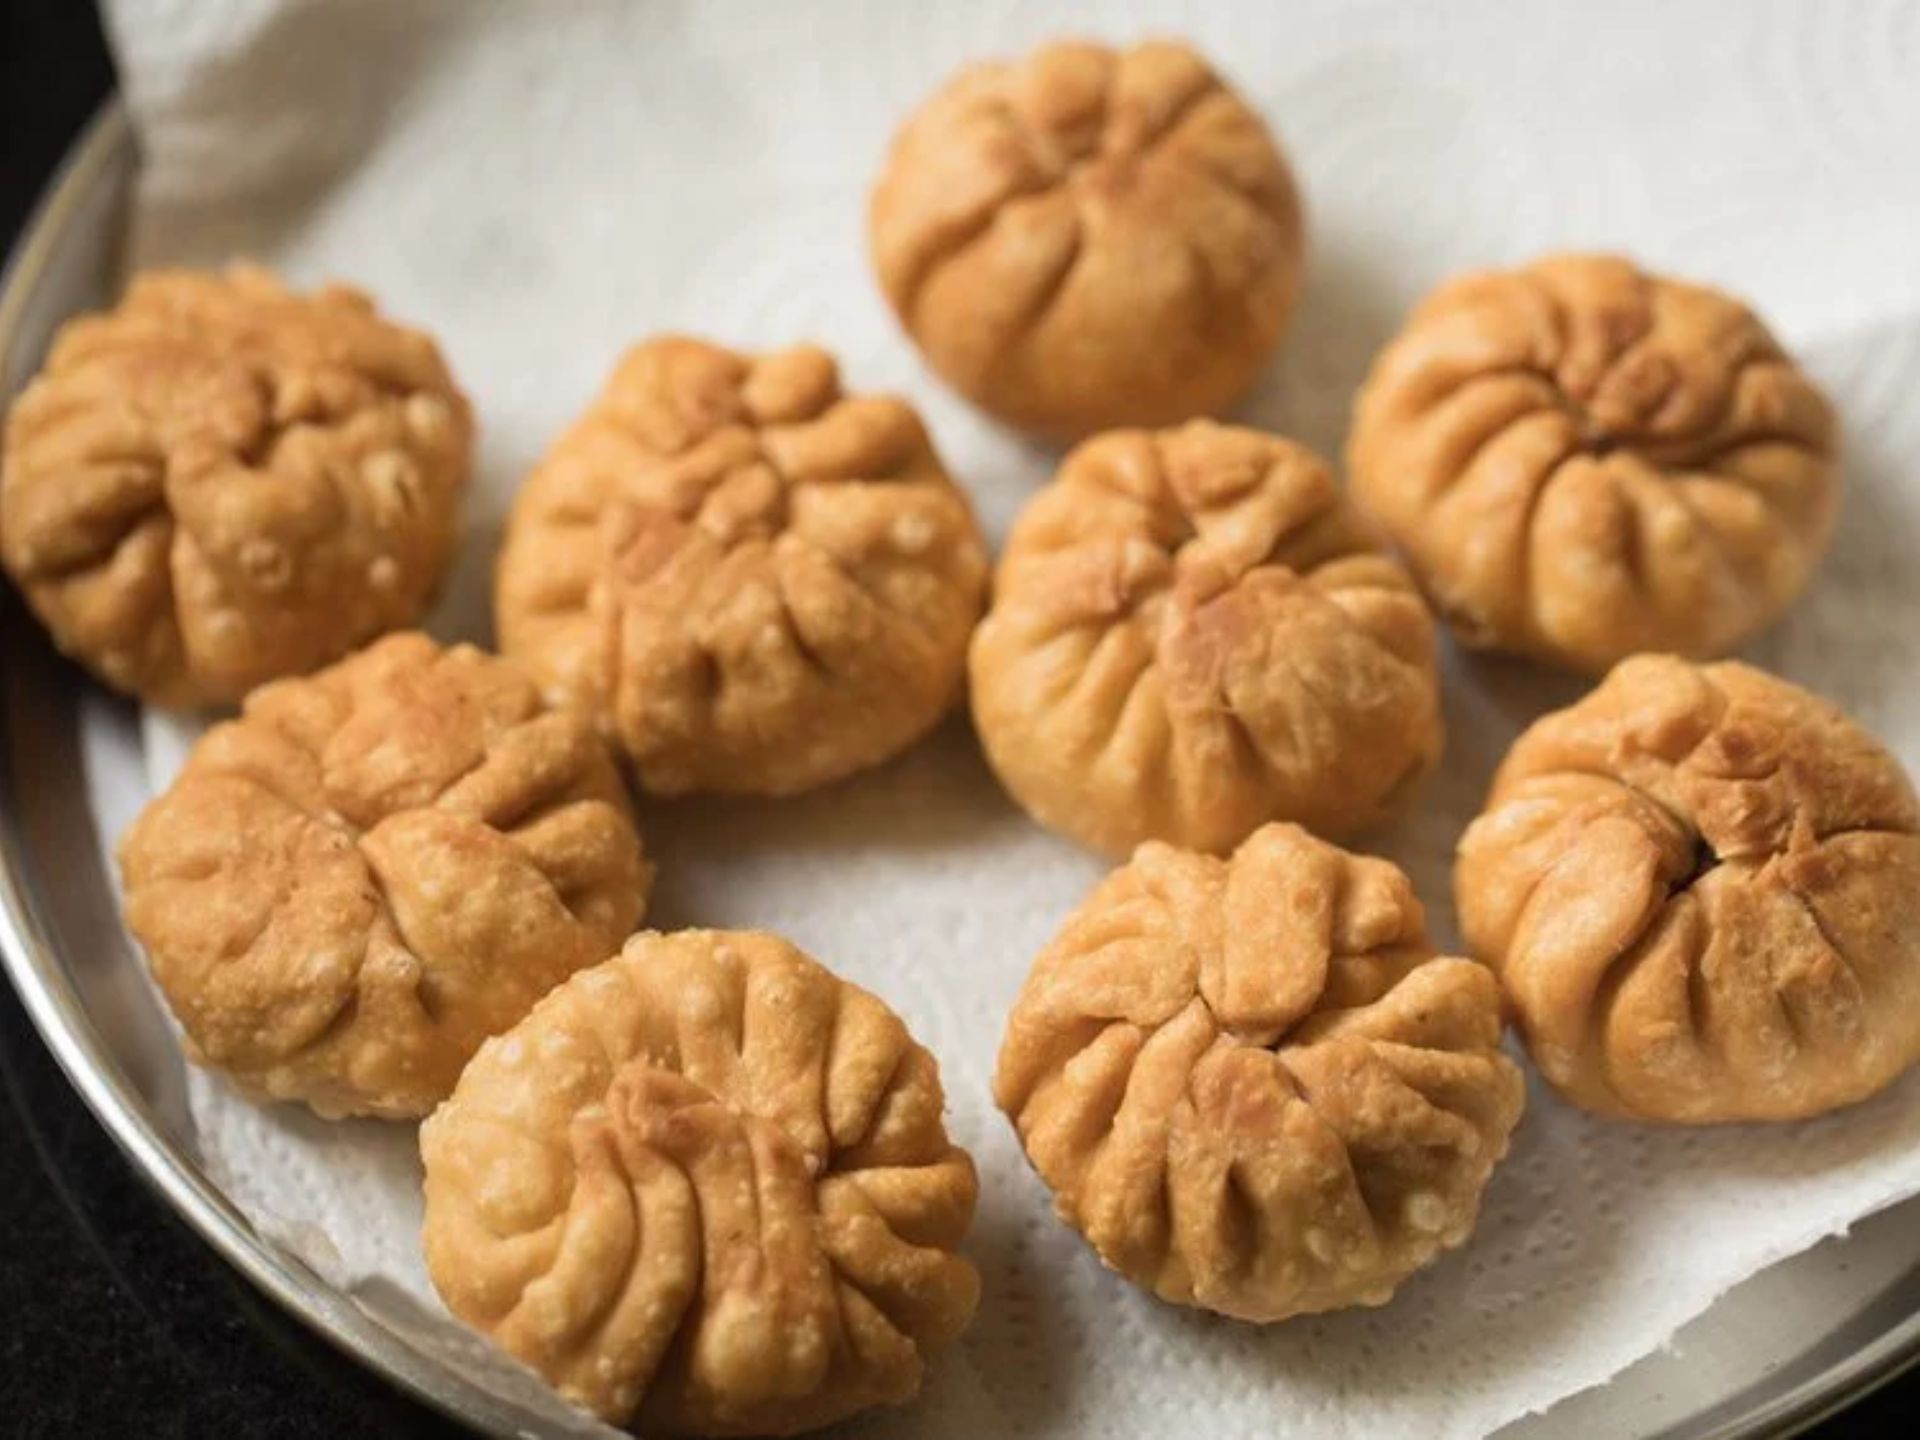
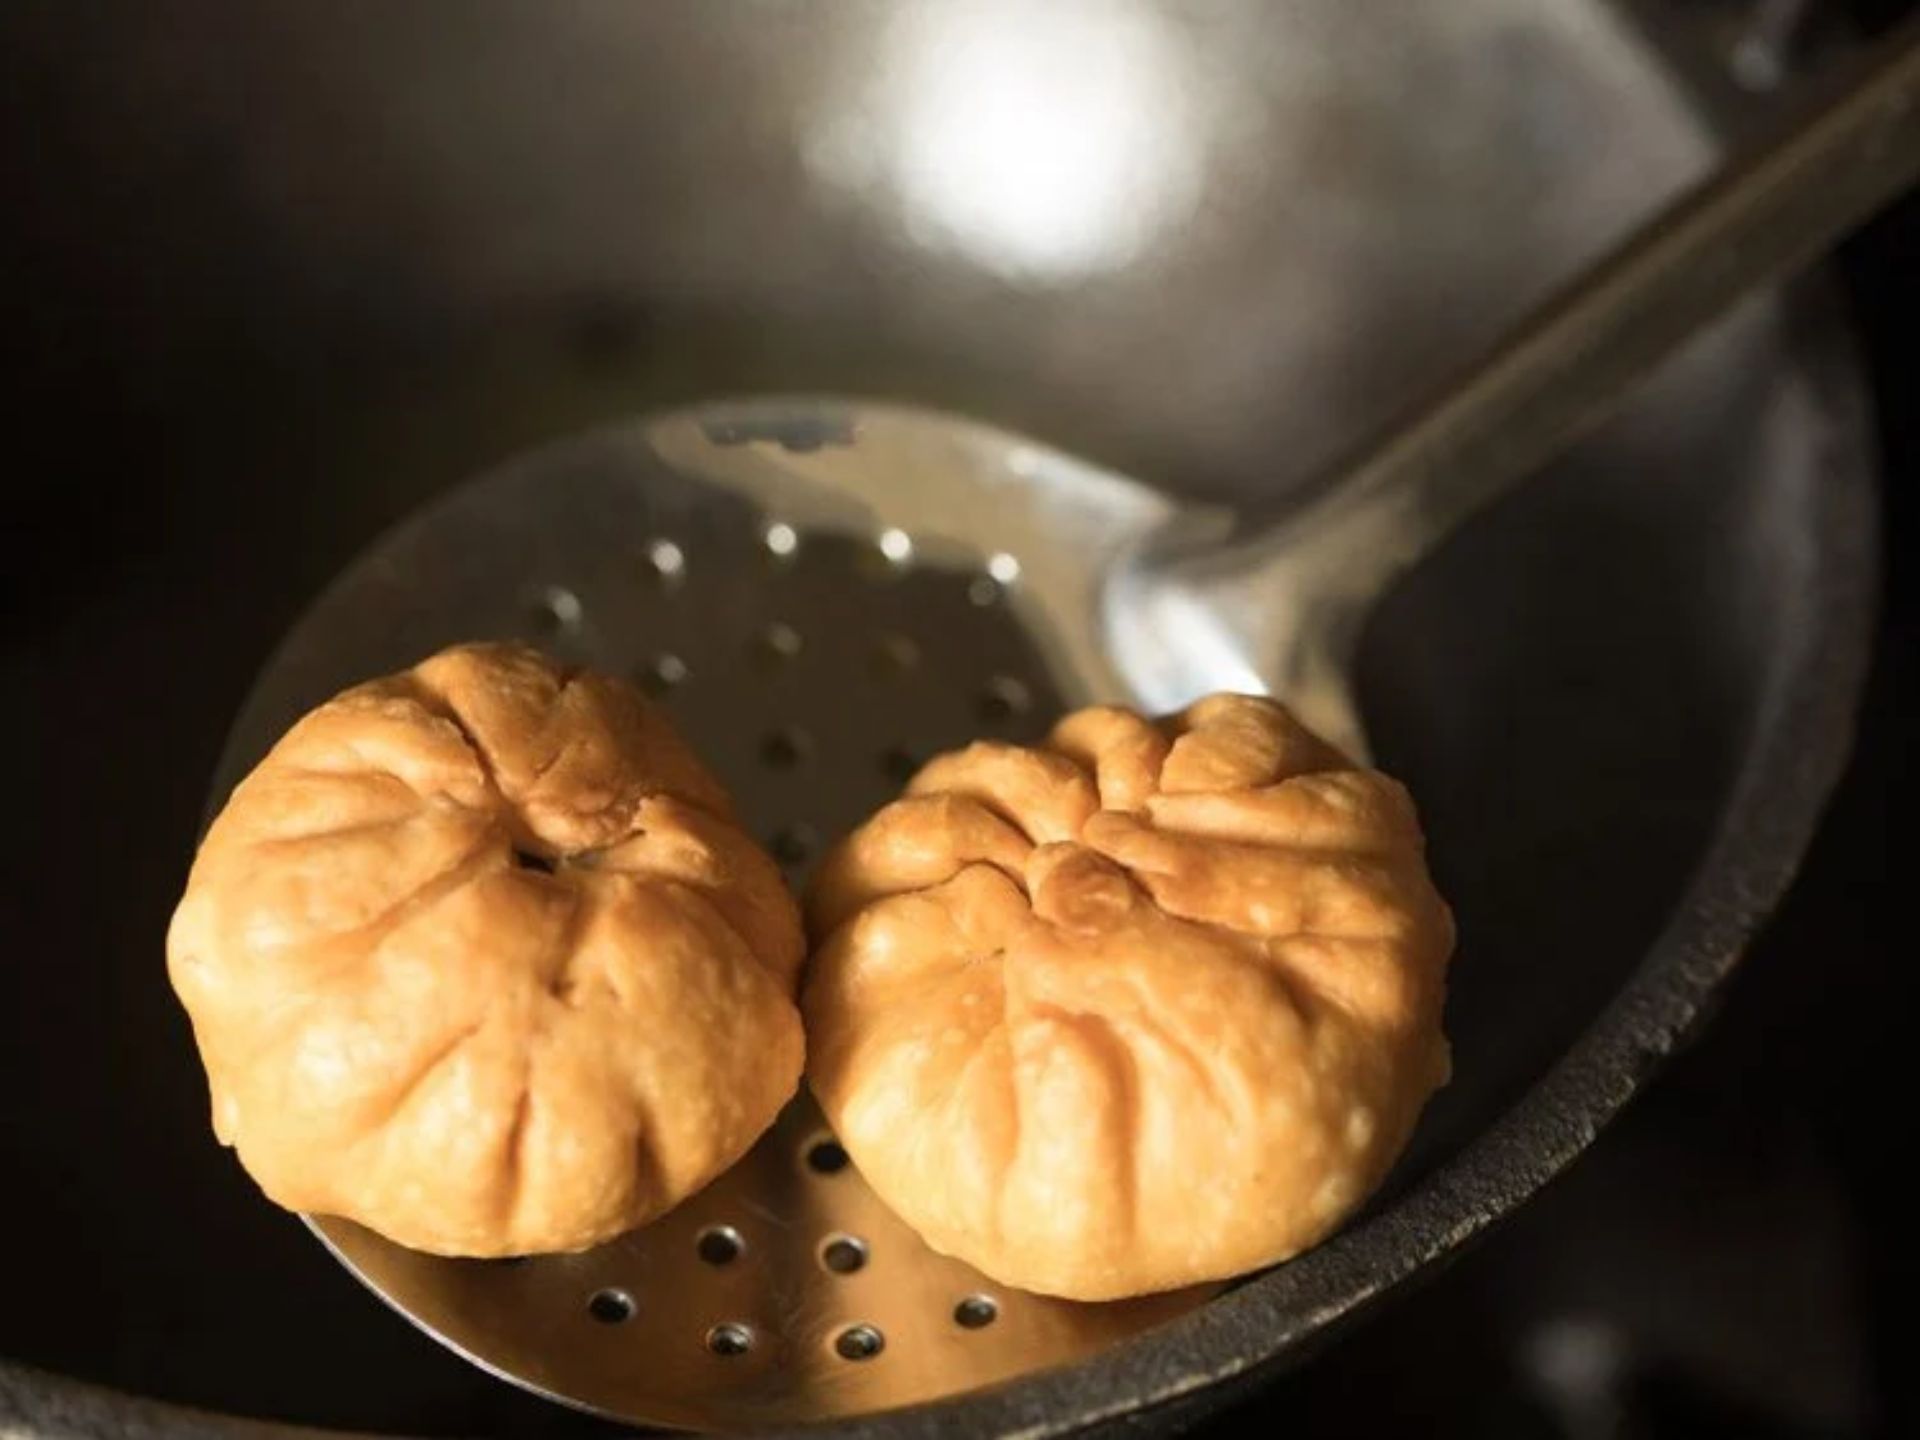
This delectable Indian snack holds a special place in the hearts and palates of those who appreciate the beauty of simple, yet exquisite, bites. With its origins deeply rooted in Indian culinary heritage, Lilva Kachori is a savory pastry that encapsulates the essence of home-cooked comfort and festive celebrations.
What Makes Lilva Kachori Unique: A Symphony of Textures and Tastes
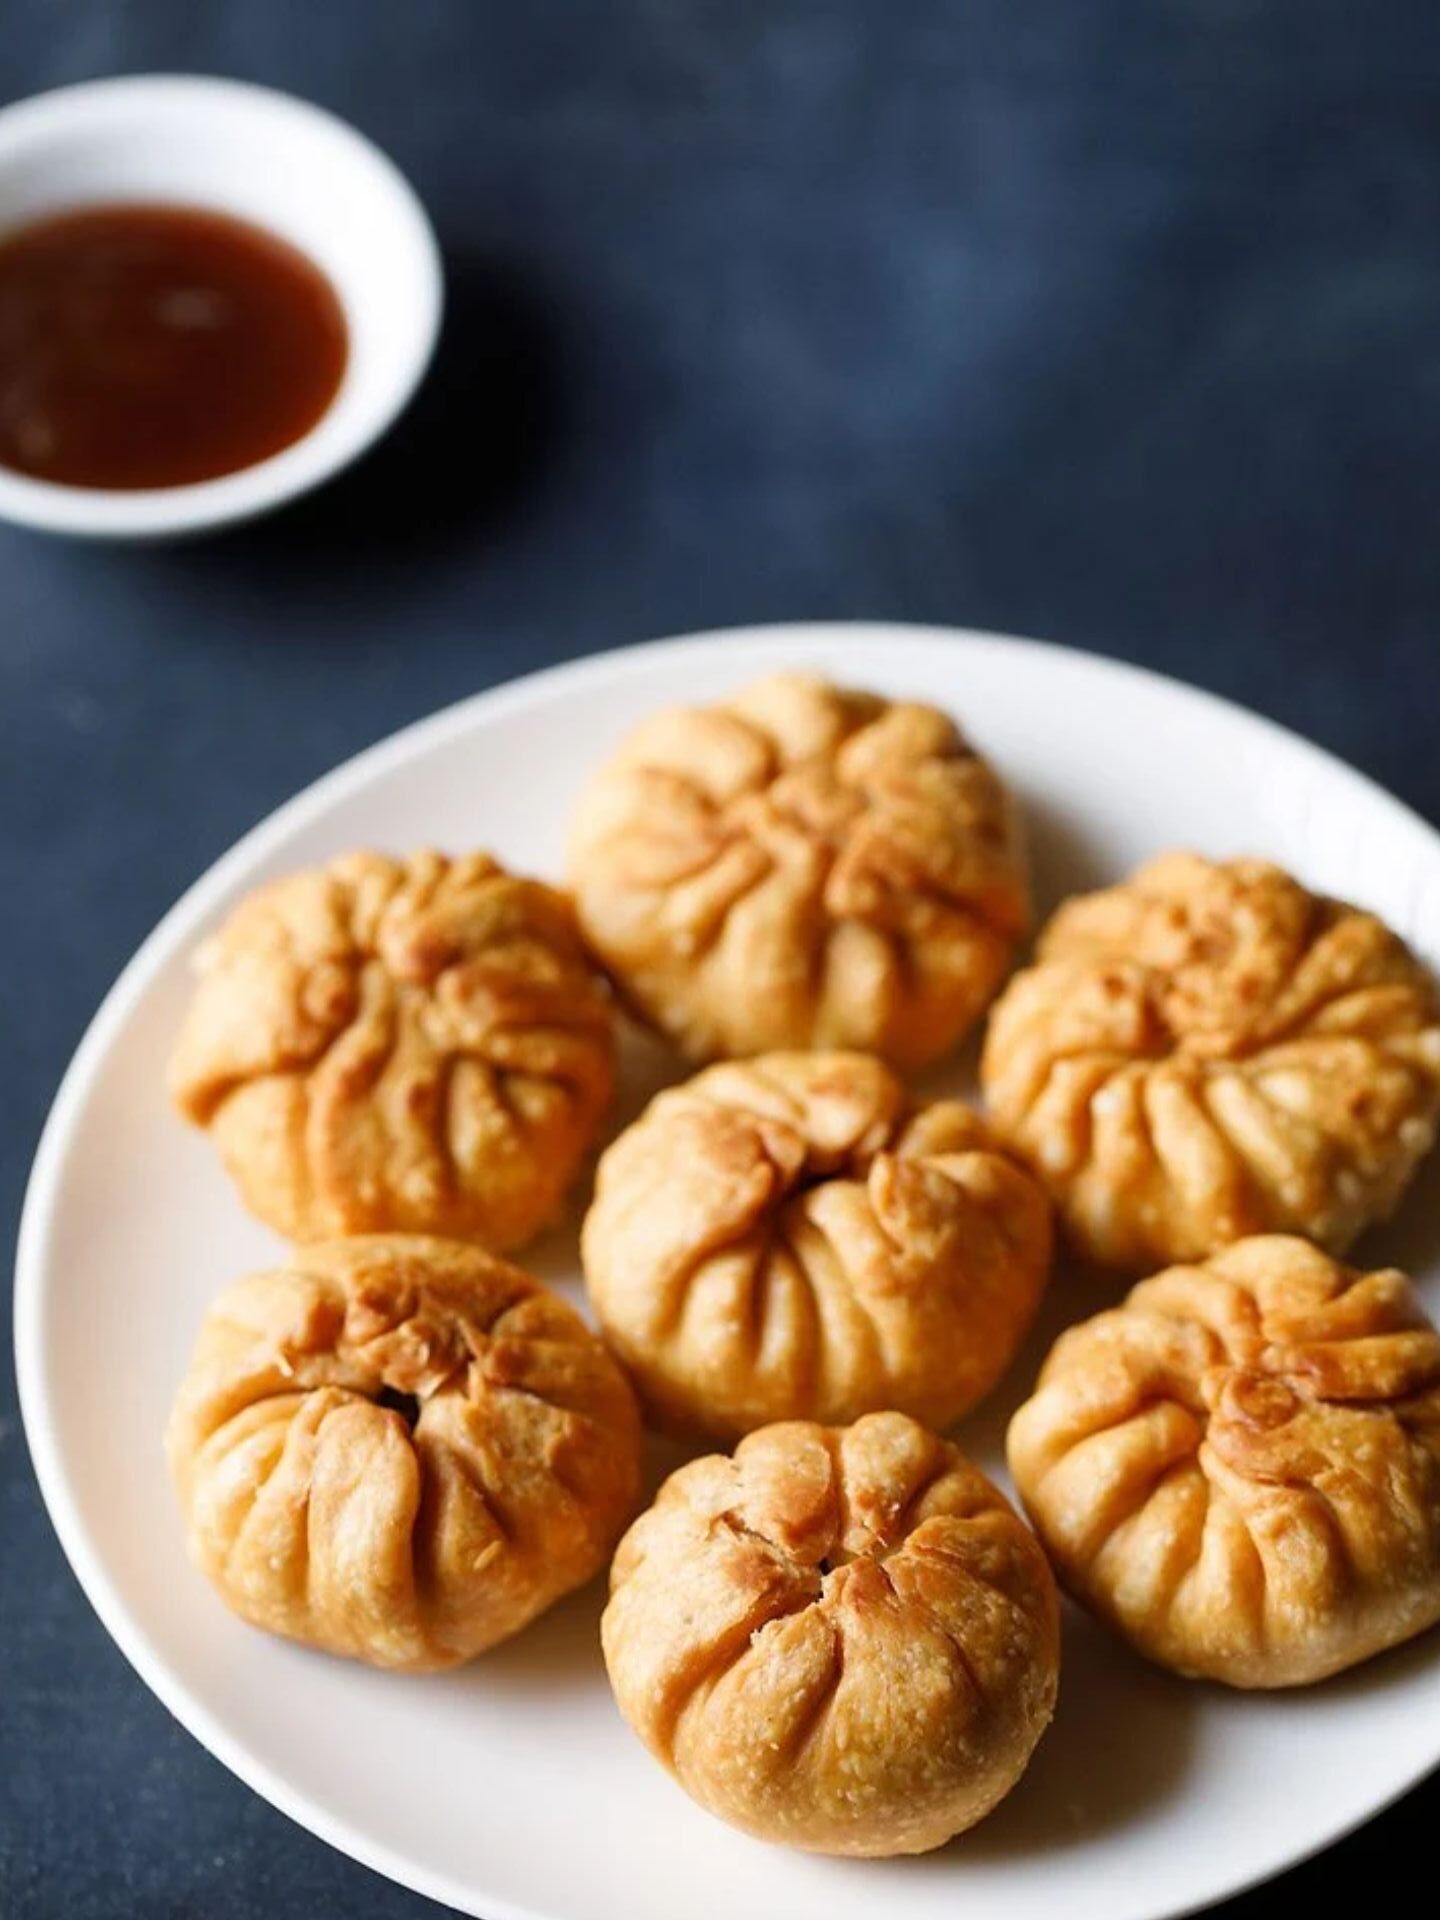
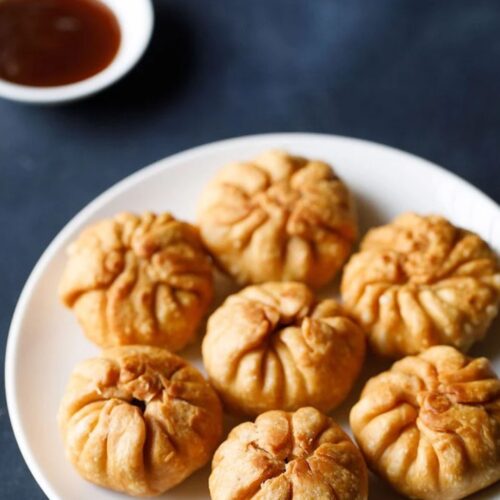
Lilva Kachori stands out not only for its crispy exterior but also for the delightful surprise within. The outer layer, golden and crunchy, gives way to a spiced filling of fresh pigeon peas, enhancing the overall texture and taste. This unique combination of textures, along with the aromatic blend of spices, creates a culinary symphony that leaves a lasting impression on the taste buds.
Why We Love Lilva Kachori: A Nostalgic Affair
Beyond its enticing flavor, Lilva Kachori carries a nostalgic charm that transports us to the heart of family gatherings and festive occasions. The act of indulging in a plateful of these kachoris becomes a ritual, fostering a sense of togetherness and shared joy. It’s a dish that resonates with tradition, making it a cherished part of our culinary heritage.
Storing Lilva Kachori: Preserving the Crispy Magic
To ensure the longevity of Lilva Kachori’s crispiness and flavor, store them in an airtight container in a cool, dry place. The sealed container helps maintain the crunchiness, preserving the magic until the next indulgence. Whether prepared in advance for festivities or as a quick snack, the storage technique guarantees a delightful experience every time.
Crafting Lilva Kachori at Home: A Simple Culinary Adventure
Now, let’s bring the magic of Lilva Kachori to your kitchen. With basic ingredients and a simple recipe, even a novice can embark on this culinary adventure. Gather fresh pigeon peas, spices, and dough ingredients, and follow the step-by-step guide to create your batch of homemade Lilva Kachori. Experience the joy of crafting this traditional delicacy, infusing your kitchen with the aromas of authenticity.
As a seasoned recipe blogger with a decade of experience, I assure you that the simplicity and warmth of Lilva Kachori make it a timeless favorite. So, roll up your sleeves, embrace the culinary journey, and savor the joy of creating a dish that transcends generations.
Ingredients to make Lilva Kachori
For Kachori Dough
– 1.5 cups all-purpose flour (maida)
– 3 tablespoons oil
– ½ teaspoon salt or adjust to taste
– 6 tablespoons water
For Green Chili+Ginger+Garlic Paste
– 1 or 2 green chilies – chopped
– 1 inch ginger or 1 teaspoon chopped ginger
– 2 medium garlic cloves – chopped
For Lilva Kachori Stuffing
– 1.33 cup lilva (fresh pigeon peas, fresh tuvar beans) – 215 grams
– 1 tablespoon oil
– ½ teaspoon cumin seeds (jeera)
– 1 pinch asafoetida (hing)
– ½ teaspoon cumin powder
– ½ teaspoon coriander powder – optional
– ½ teaspoon garam masala
– 2 tablespoons chopped cashews
– ½ tablespoons chopped raisins
– ¼ cup chopped coriander leaves
– 2 teaspoons sugar or adjust to taste
– 3 teaspoons lemon juice or adjust to taste
– Salt as required
Other Ingredients
– Oil for deep frying, as required
Now, let’s break down the usage of each ingredient in the recipe:
Kachori Dough: The all-purpose flour forms the base of the dough, while oil adds texture and moisture. Salt enhances the overall taste, and water binds the dough together.
Green Chili+Ginger+Garlic Paste: This paste adds a punch of flavor to the filling. Green chilies provide heat, ginger contributes a zesty kick, and garlic enriches with its distinct taste.
Lilva Kachori Stuffing: Fresh lilva serves as the main component of the stuffing, cooked with oil, cumin seeds, and asafoetida for aromatic seasoning. Spices like cumin powder, coriander powder (if used), and garam masala infuse depth. Chopped cashews, raisins, and coriander leaves bring texture and freshness. Sugar and lemon juice balance the flavors, while salt ties everything together.
Other Ingredients: Oil for deep frying ensures the kachoris achieve the desired crispy texture during the cooking process.
Each ingredient plays a crucial role in creating the distinct taste and texture of Lilva Kachori, blending harmoniously to evoke the authentic flavors of this beloved dish.
Steps to make Lilva Kachori
Step 1: Preparing the Dough
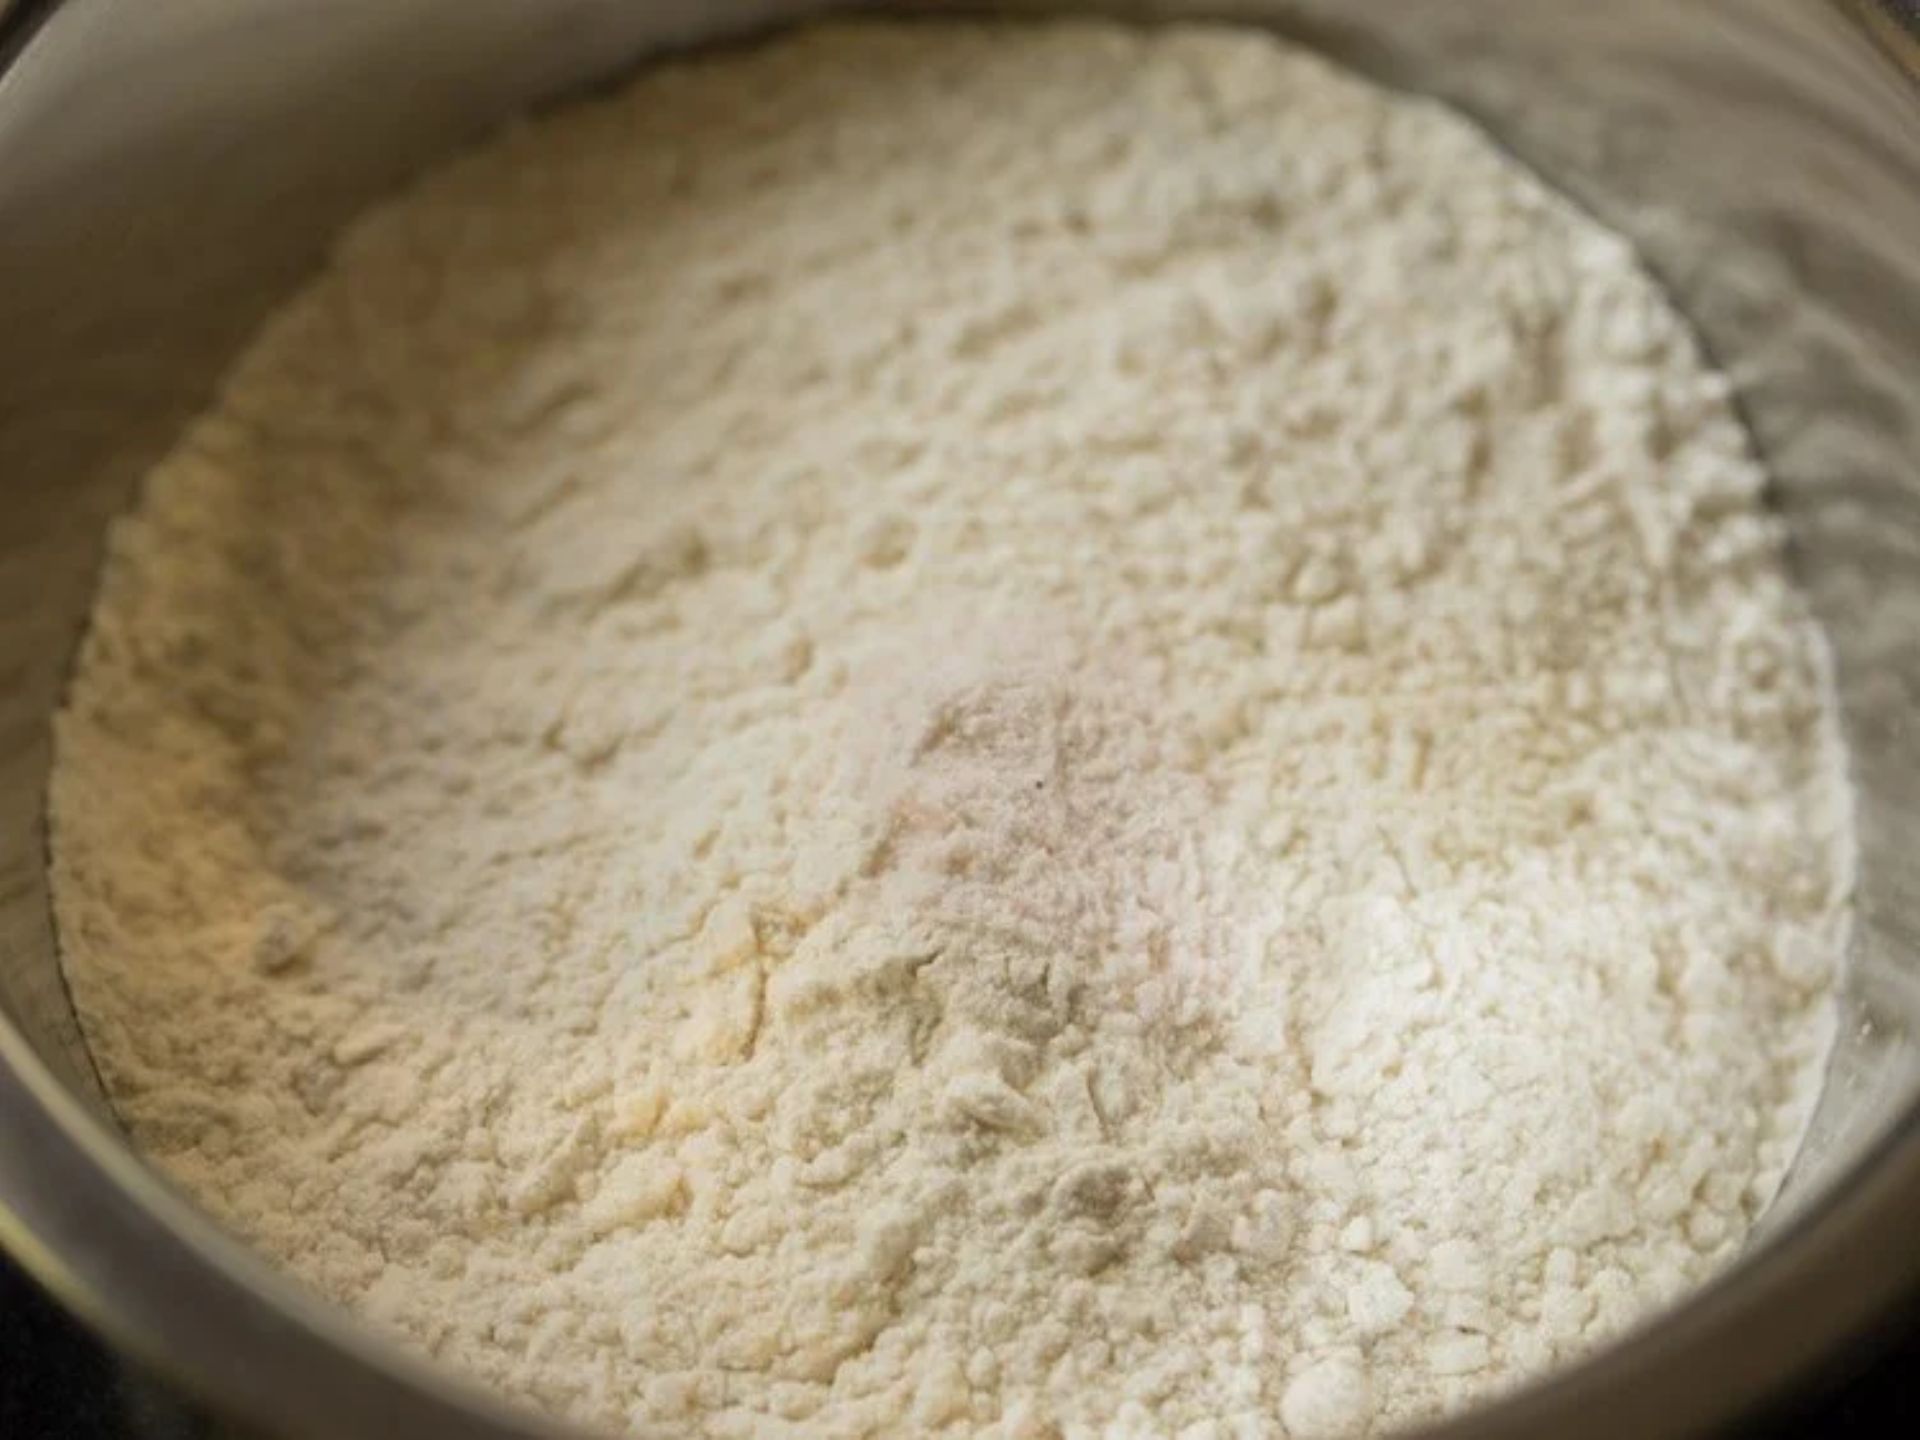
Begin by taking 1.5 cups of all-purpose flour (maida) and adding ½ teaspoon of salt. If you want to try something different, you can also mix equal parts of atta (whole wheat flour) and maida. This step sets the foundation for the kachori’s outer layer.
Step 2: Adding Oil to the Mix
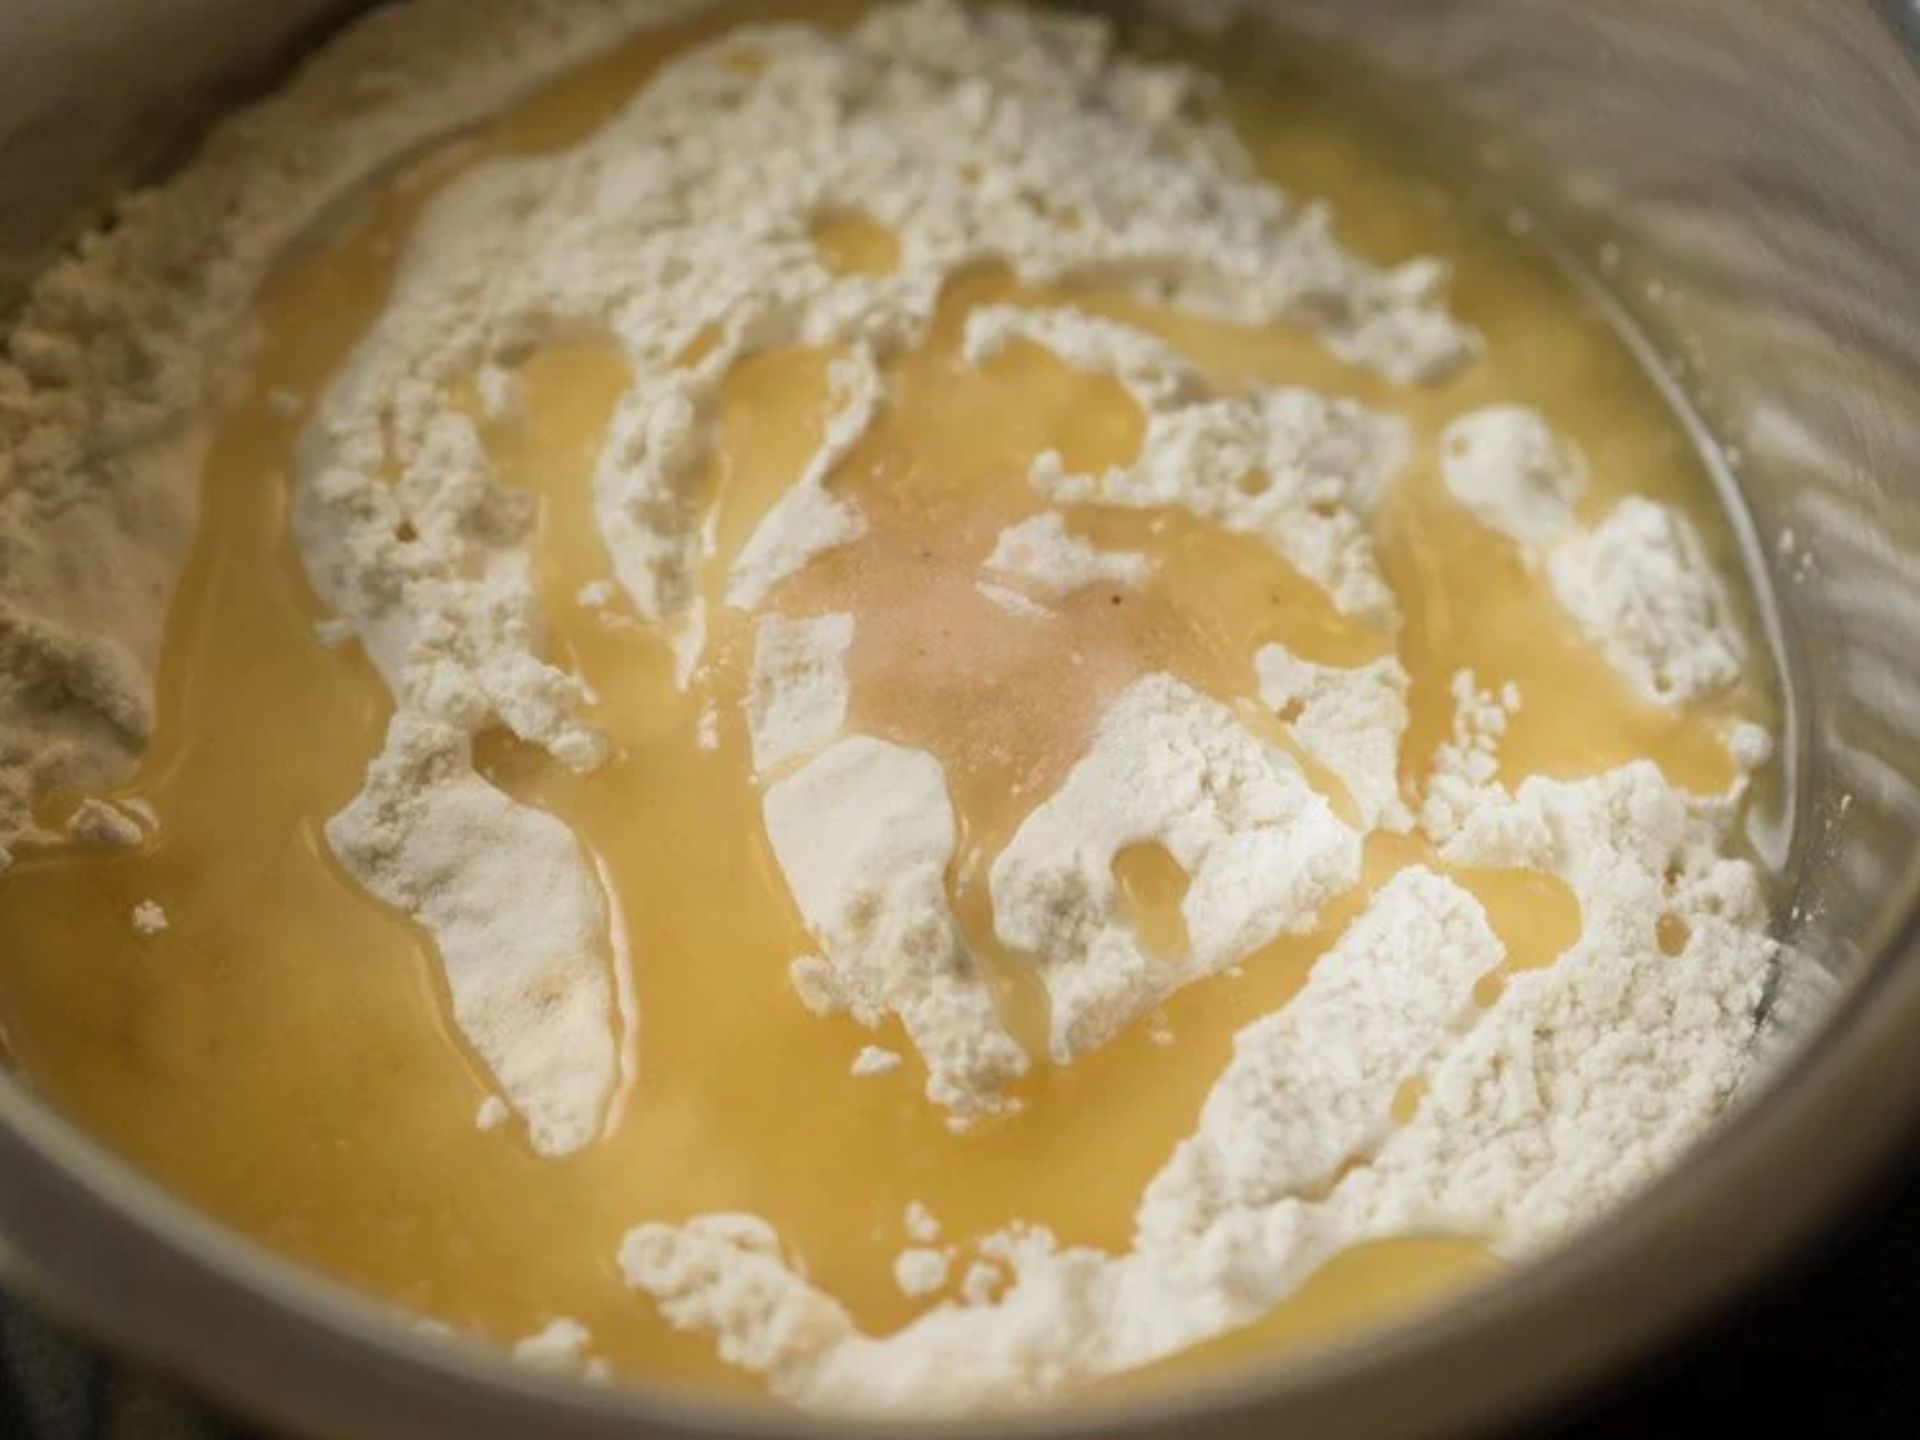
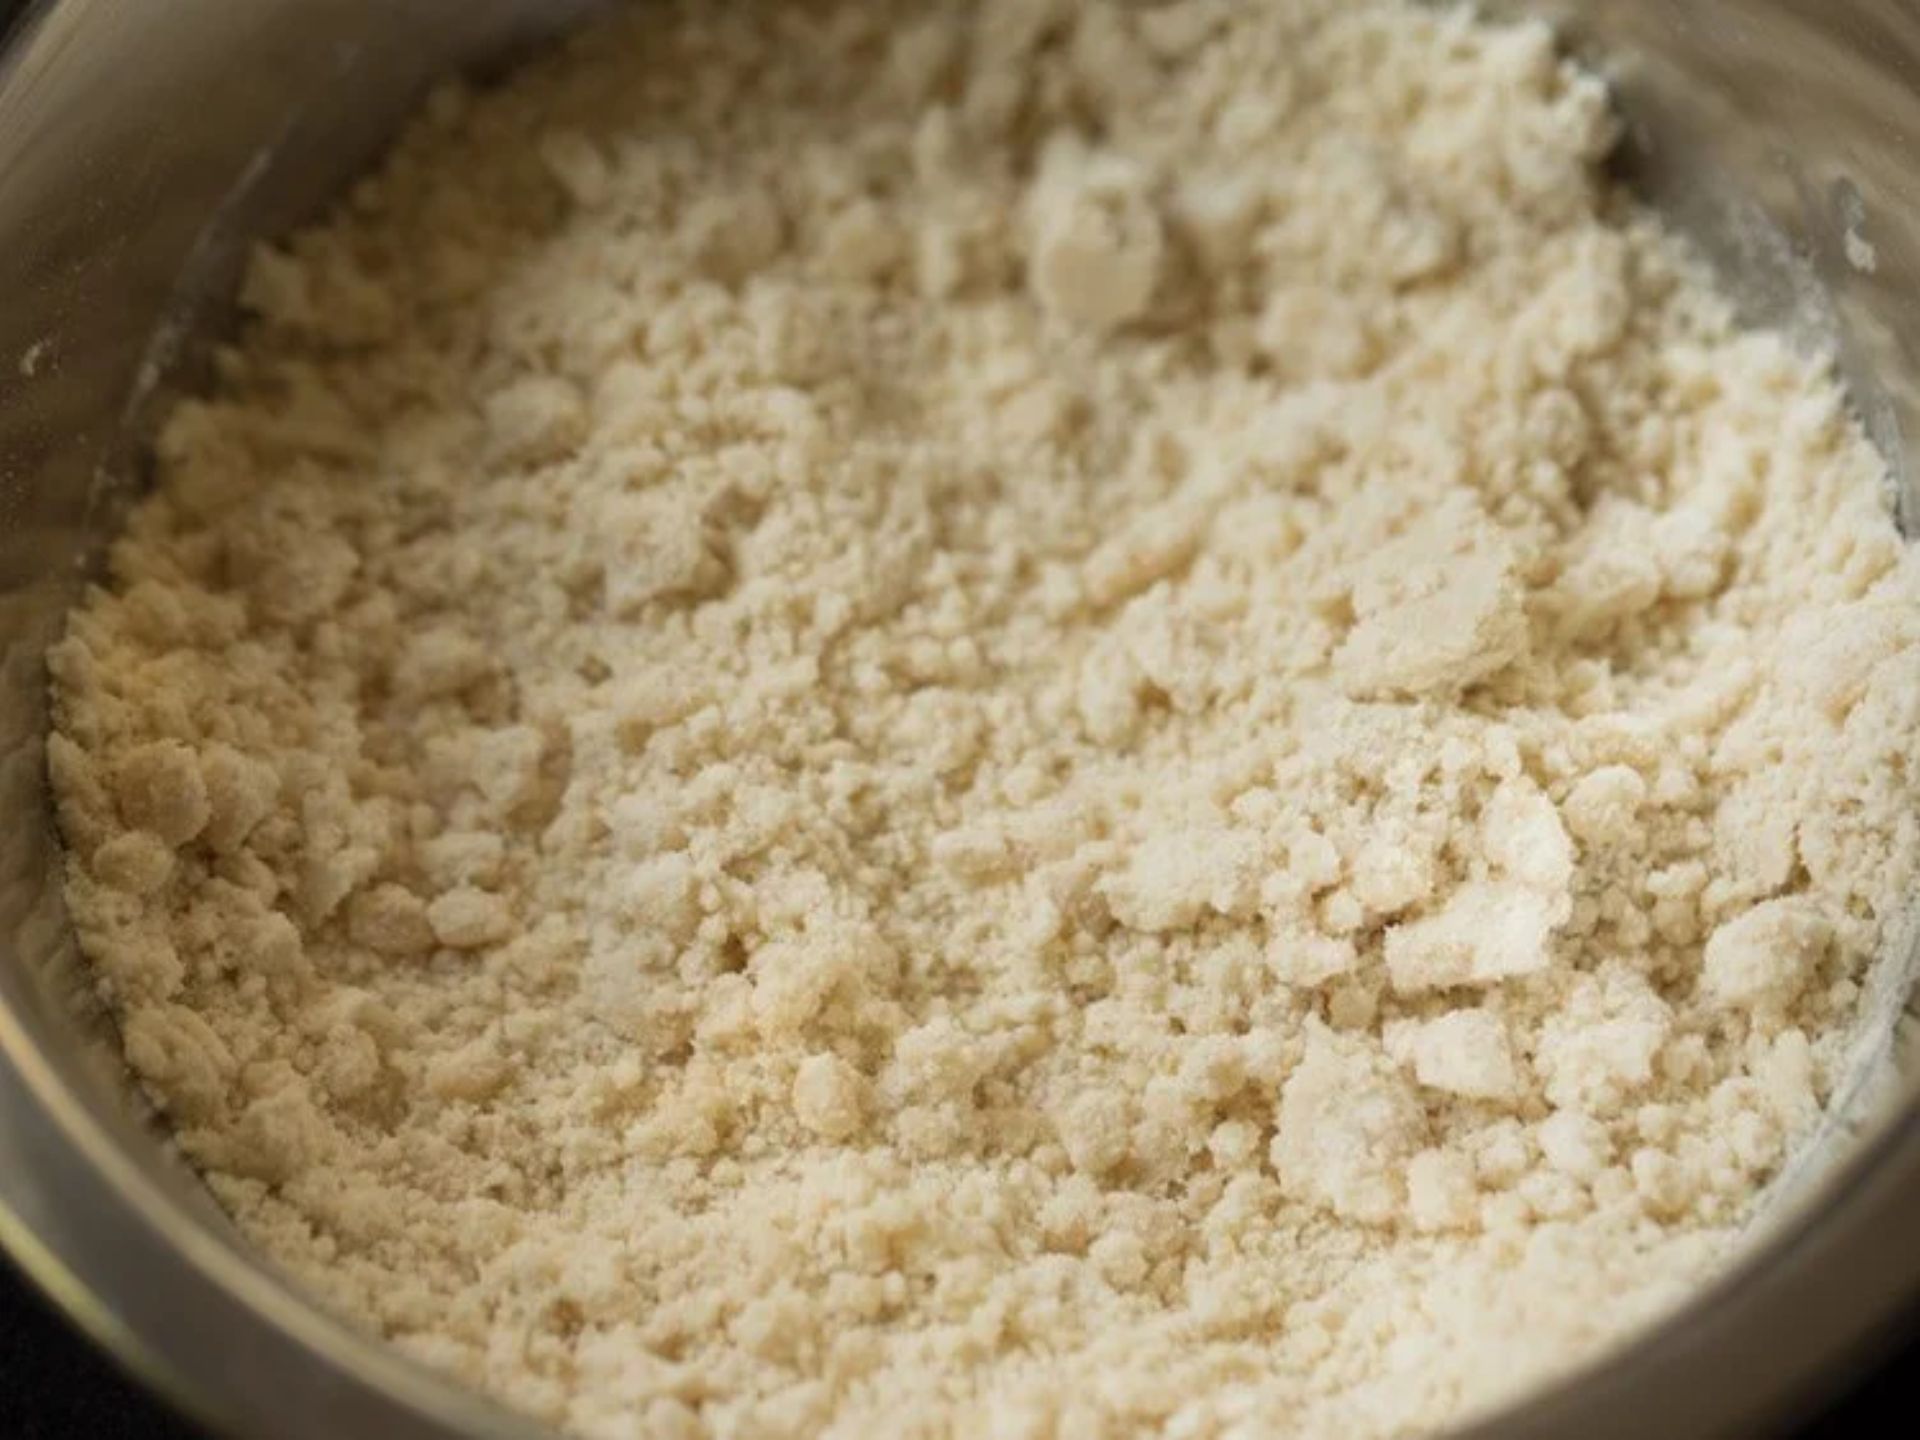
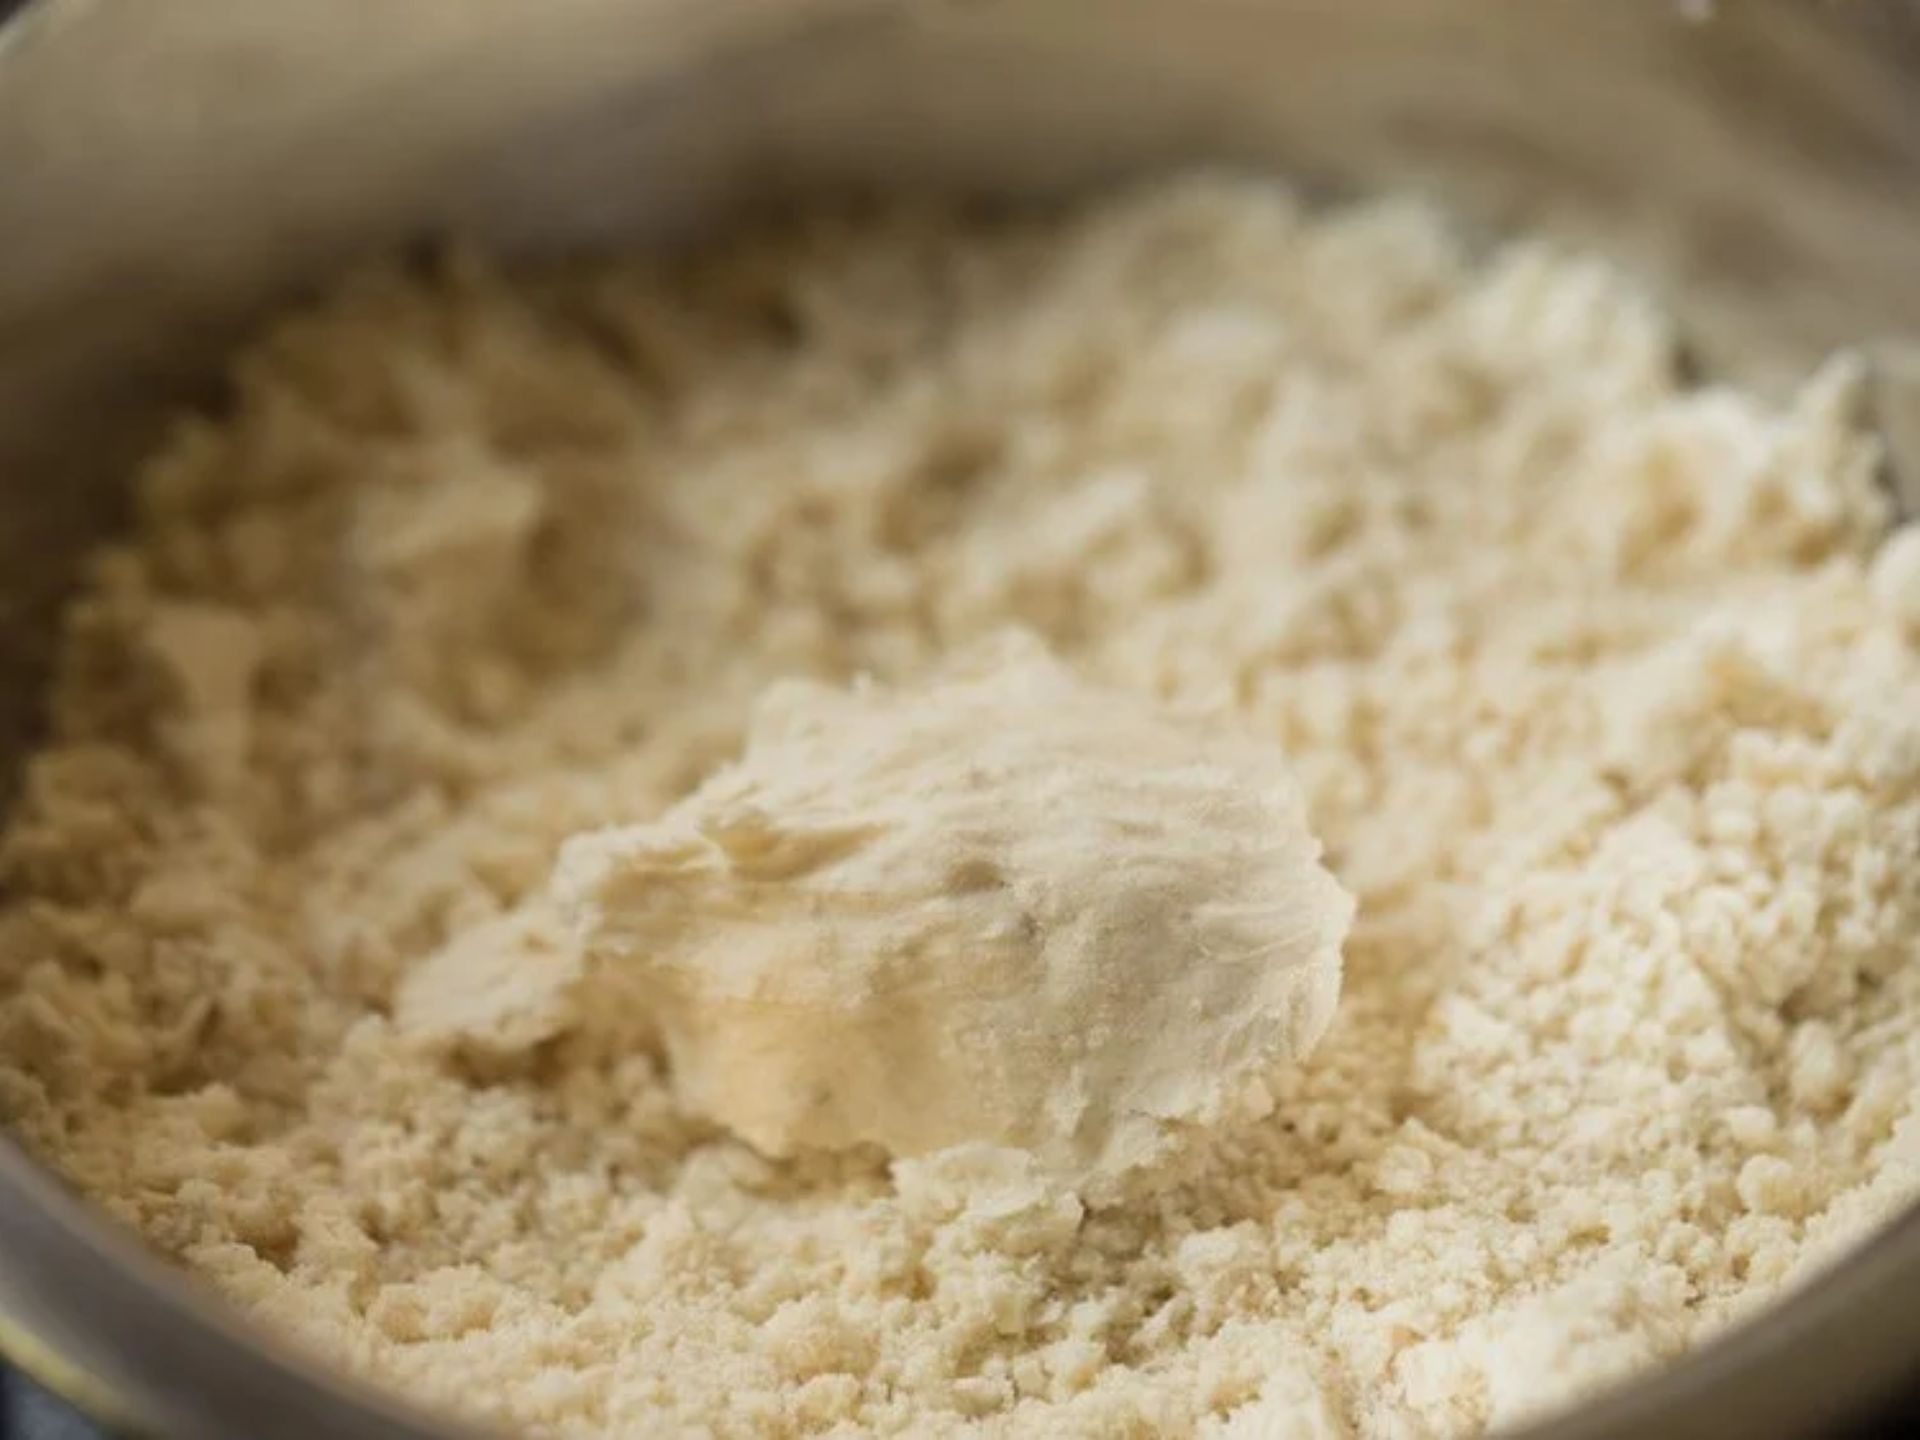
Now, add 3 tablespoons of oil to the flour. Imagine you’re giving the flour a little oil massage! Use your fingertips to mix the oil with the flour until it resembles tiny breadcrumbs. This is what will make the outer layer of our delicious lilva kachori.
Step 3: Achieving the Right Texture
Make sure the mixture doesn’t break when you press it. It should be like a team, holding together well. This is important for the kachori to have the perfect crispy texture.
Step 4: Introducing Water Gradually
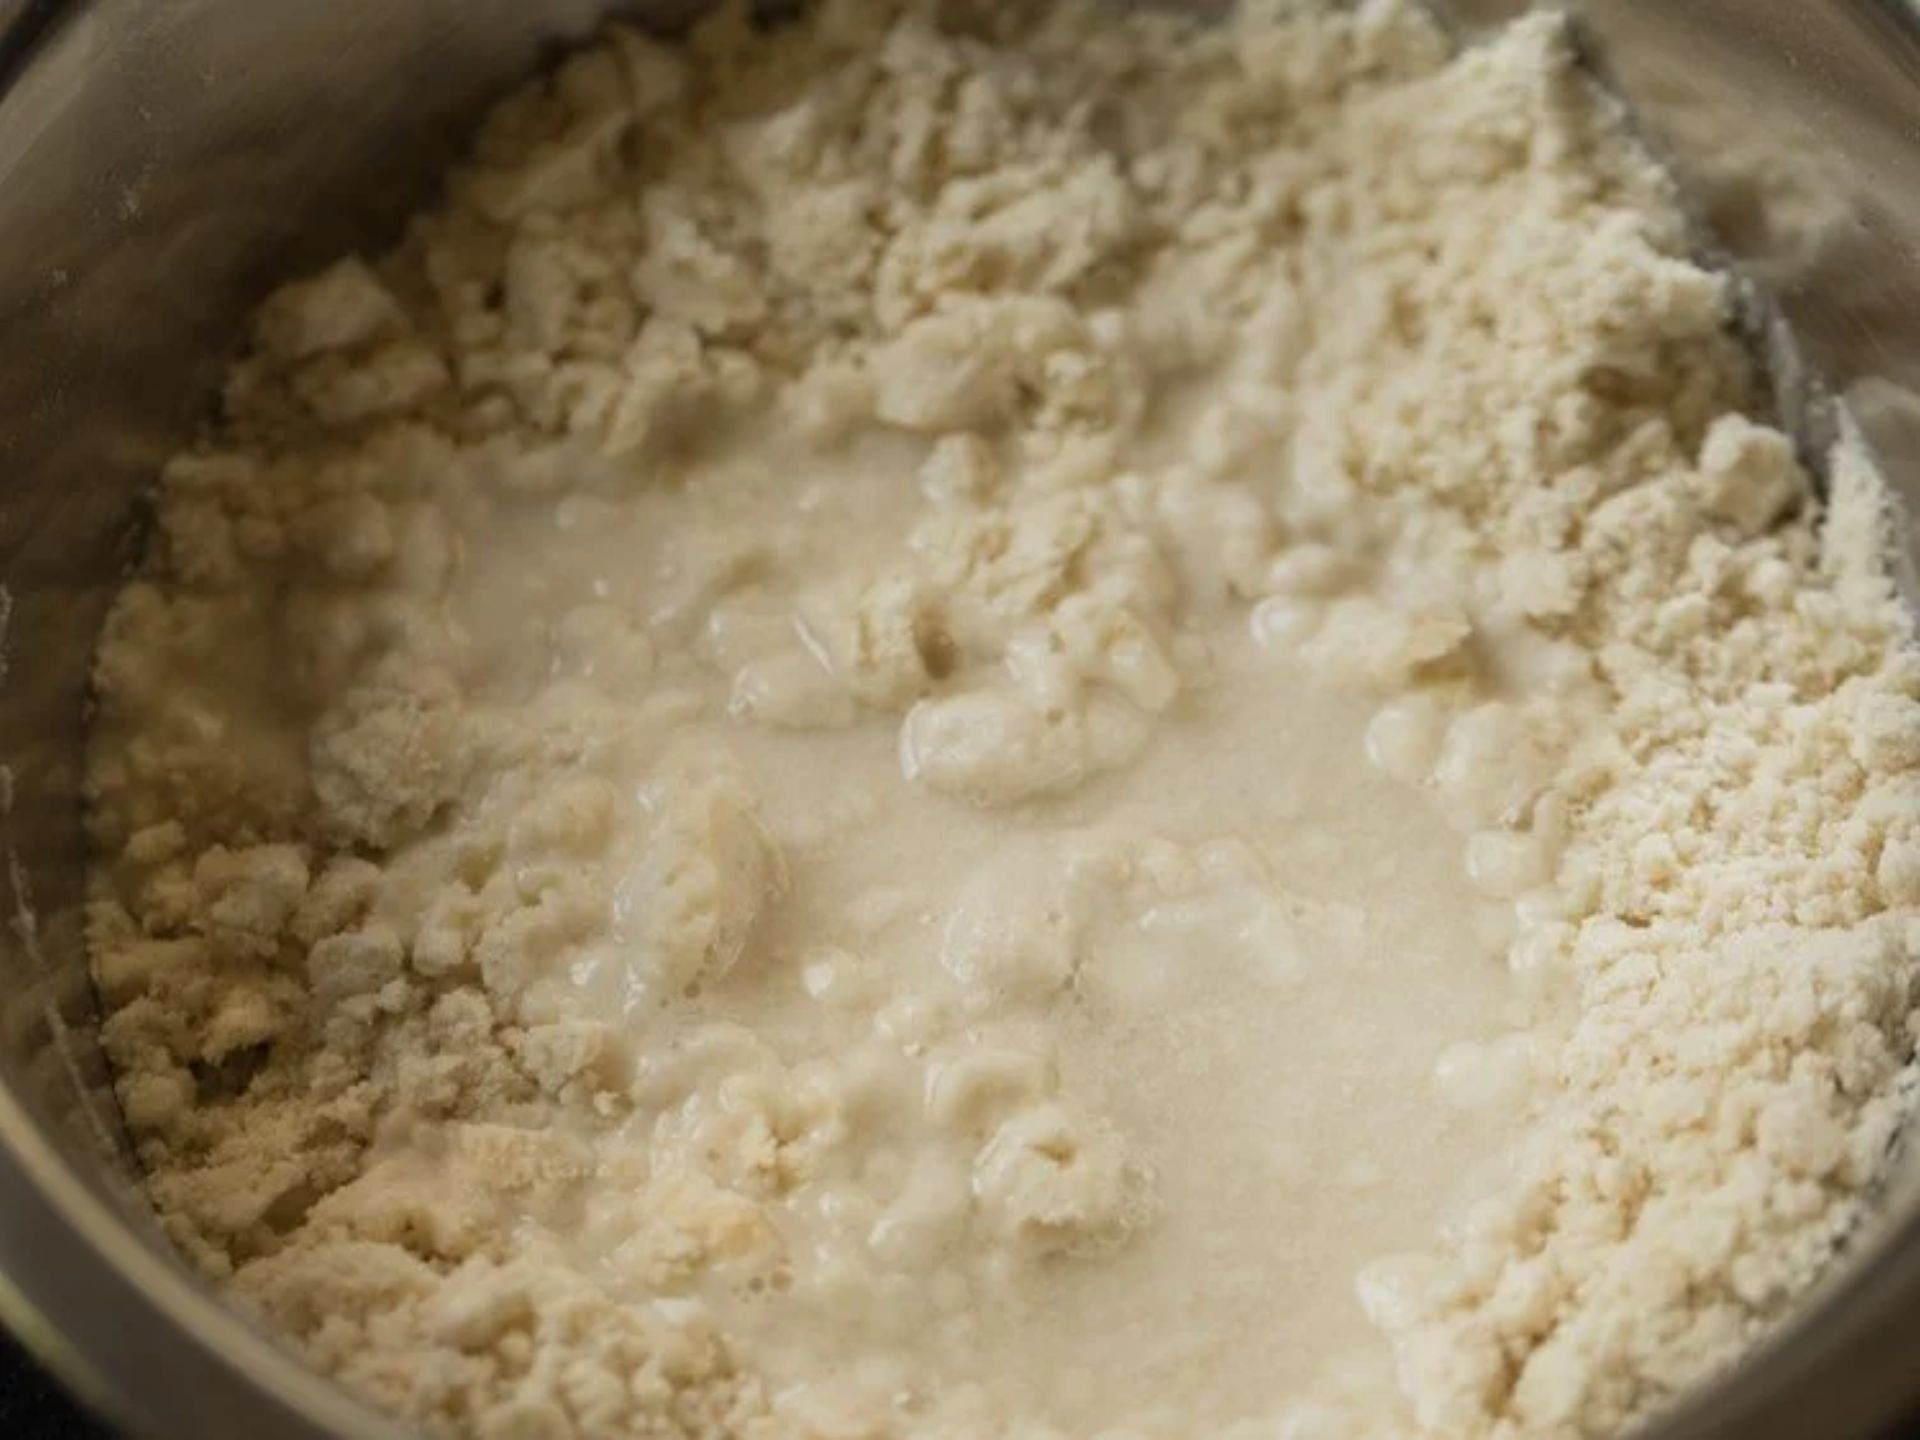
Pour 6 tablespoons of water in parts. It might seem a bit sticky at first, but keep kneading. The dough will come together and absorb all the water. Imagine you’re making a playdough—keep kneading until it’s just right.
Step 5: Kneading to Perfection
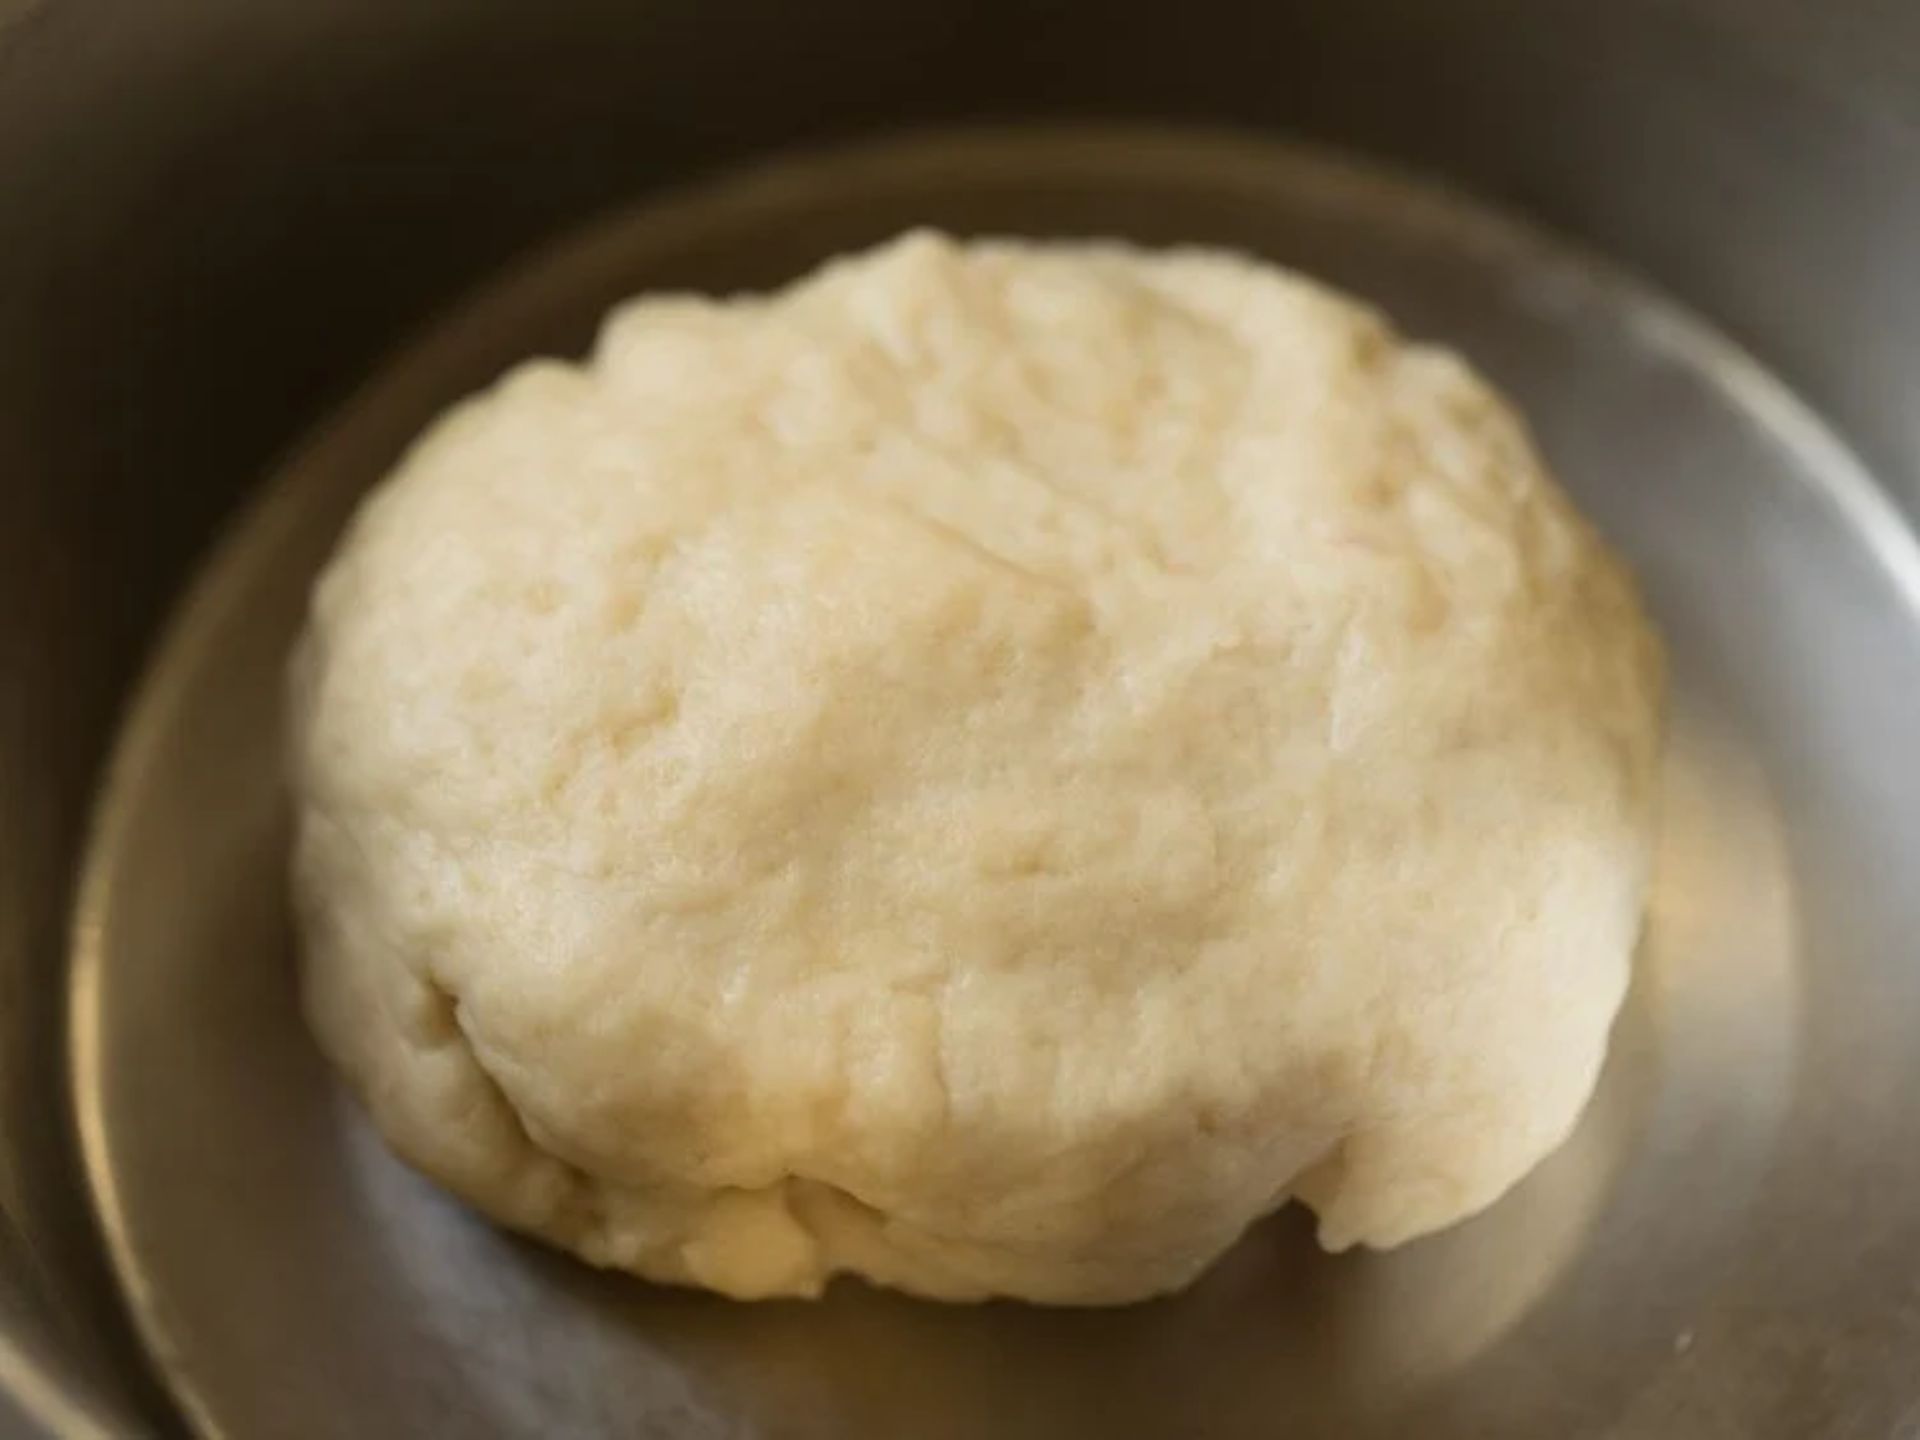
Knead the dough until it’s semi-soft. Not as soft as chapati dough, but not too hard either. Cover it up like a cozy blanket and let it rest for 30 minutes. This break is like a power nap for the dough, making it ready for the next steps.
Step 6: Grinding Lilva Beans
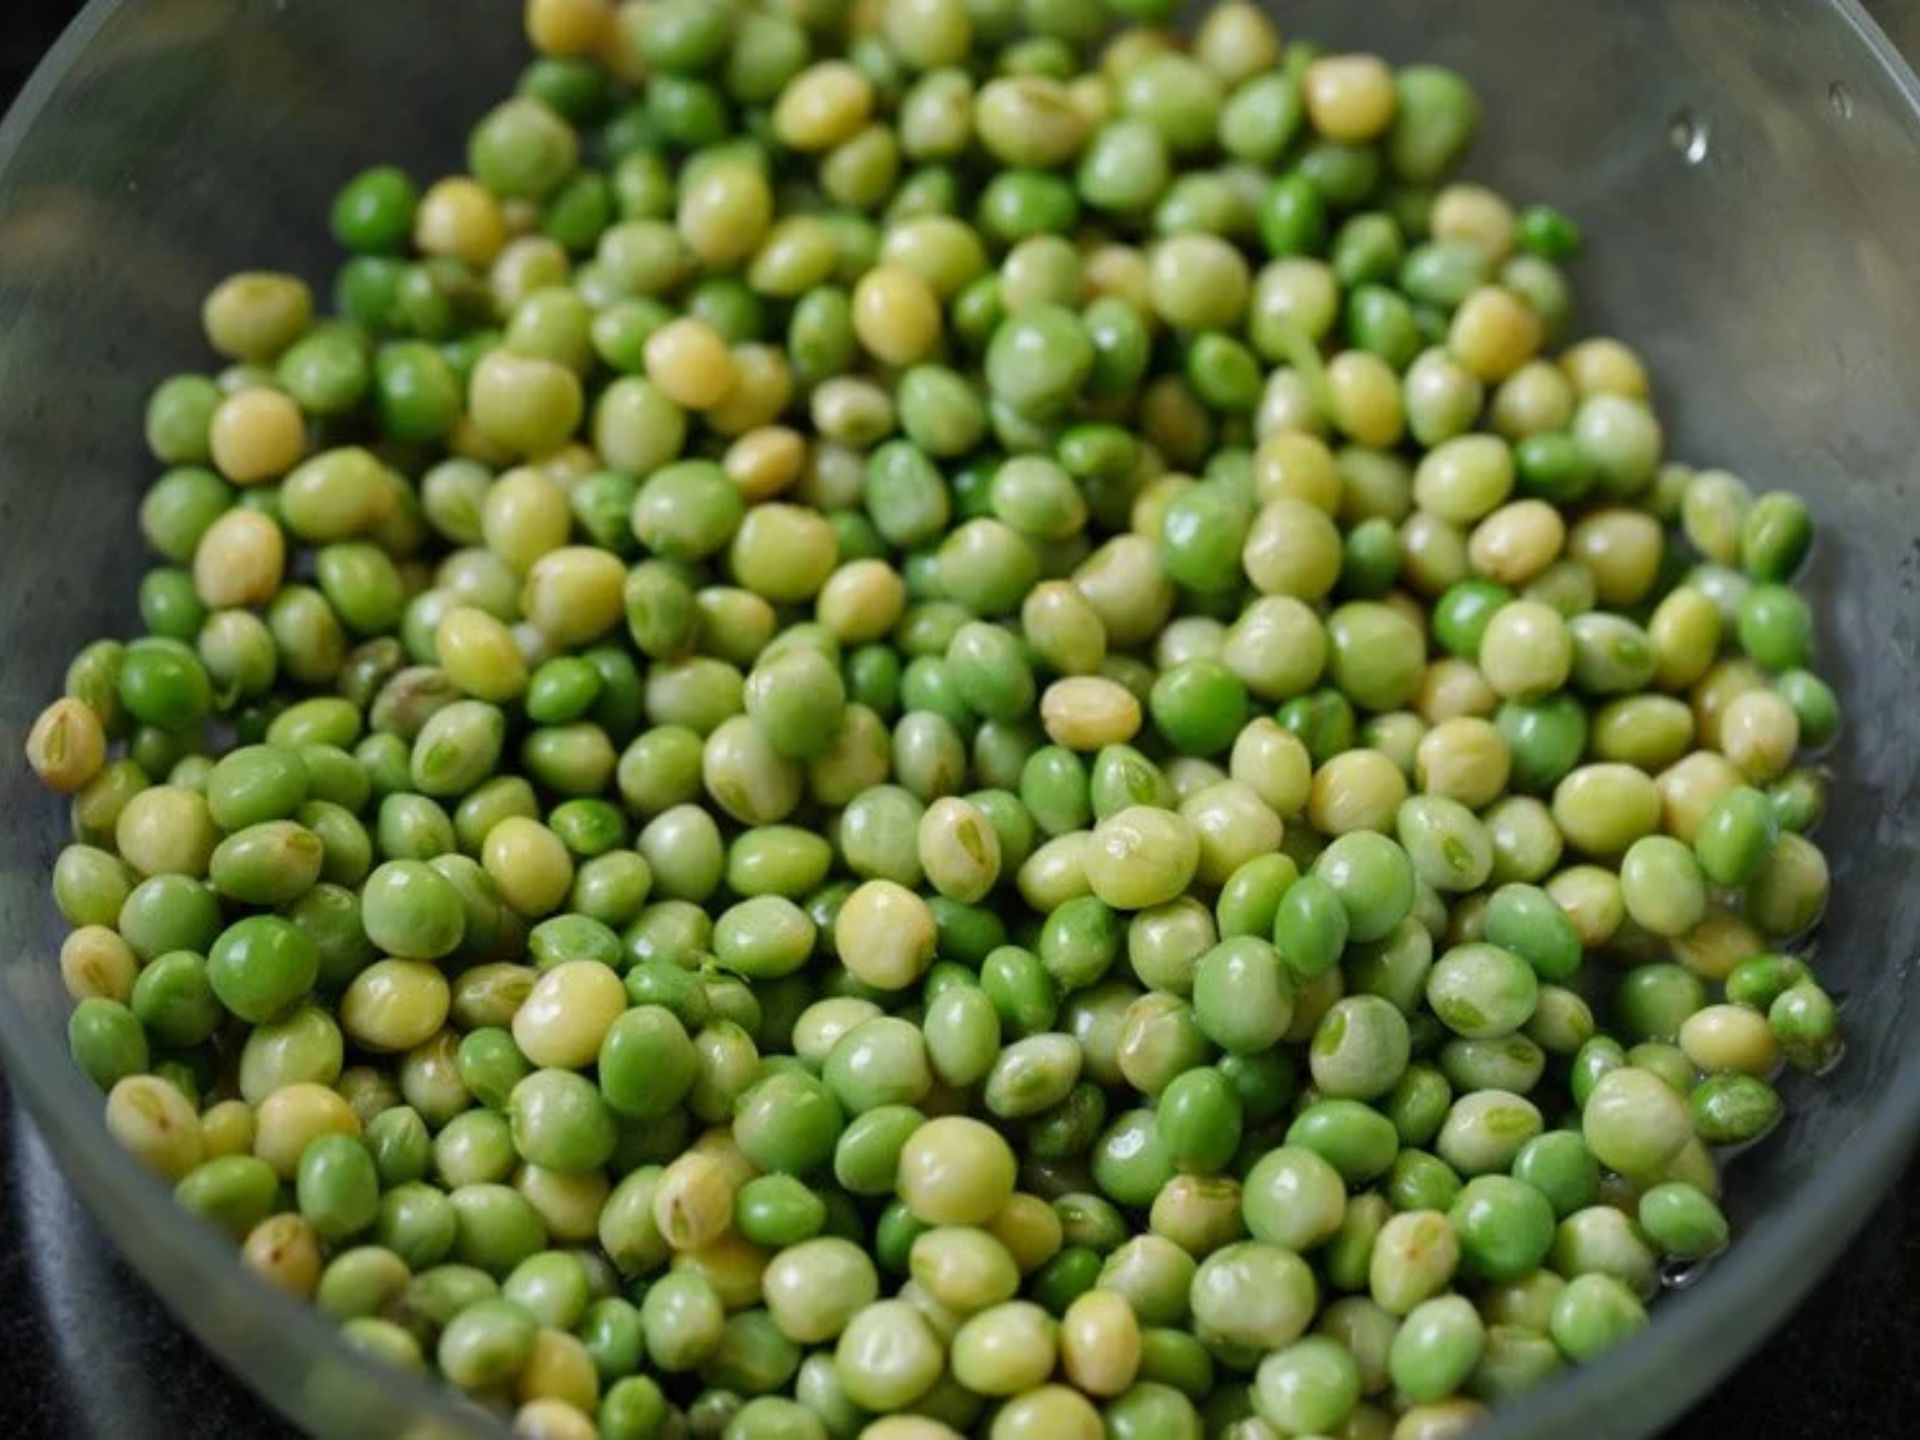
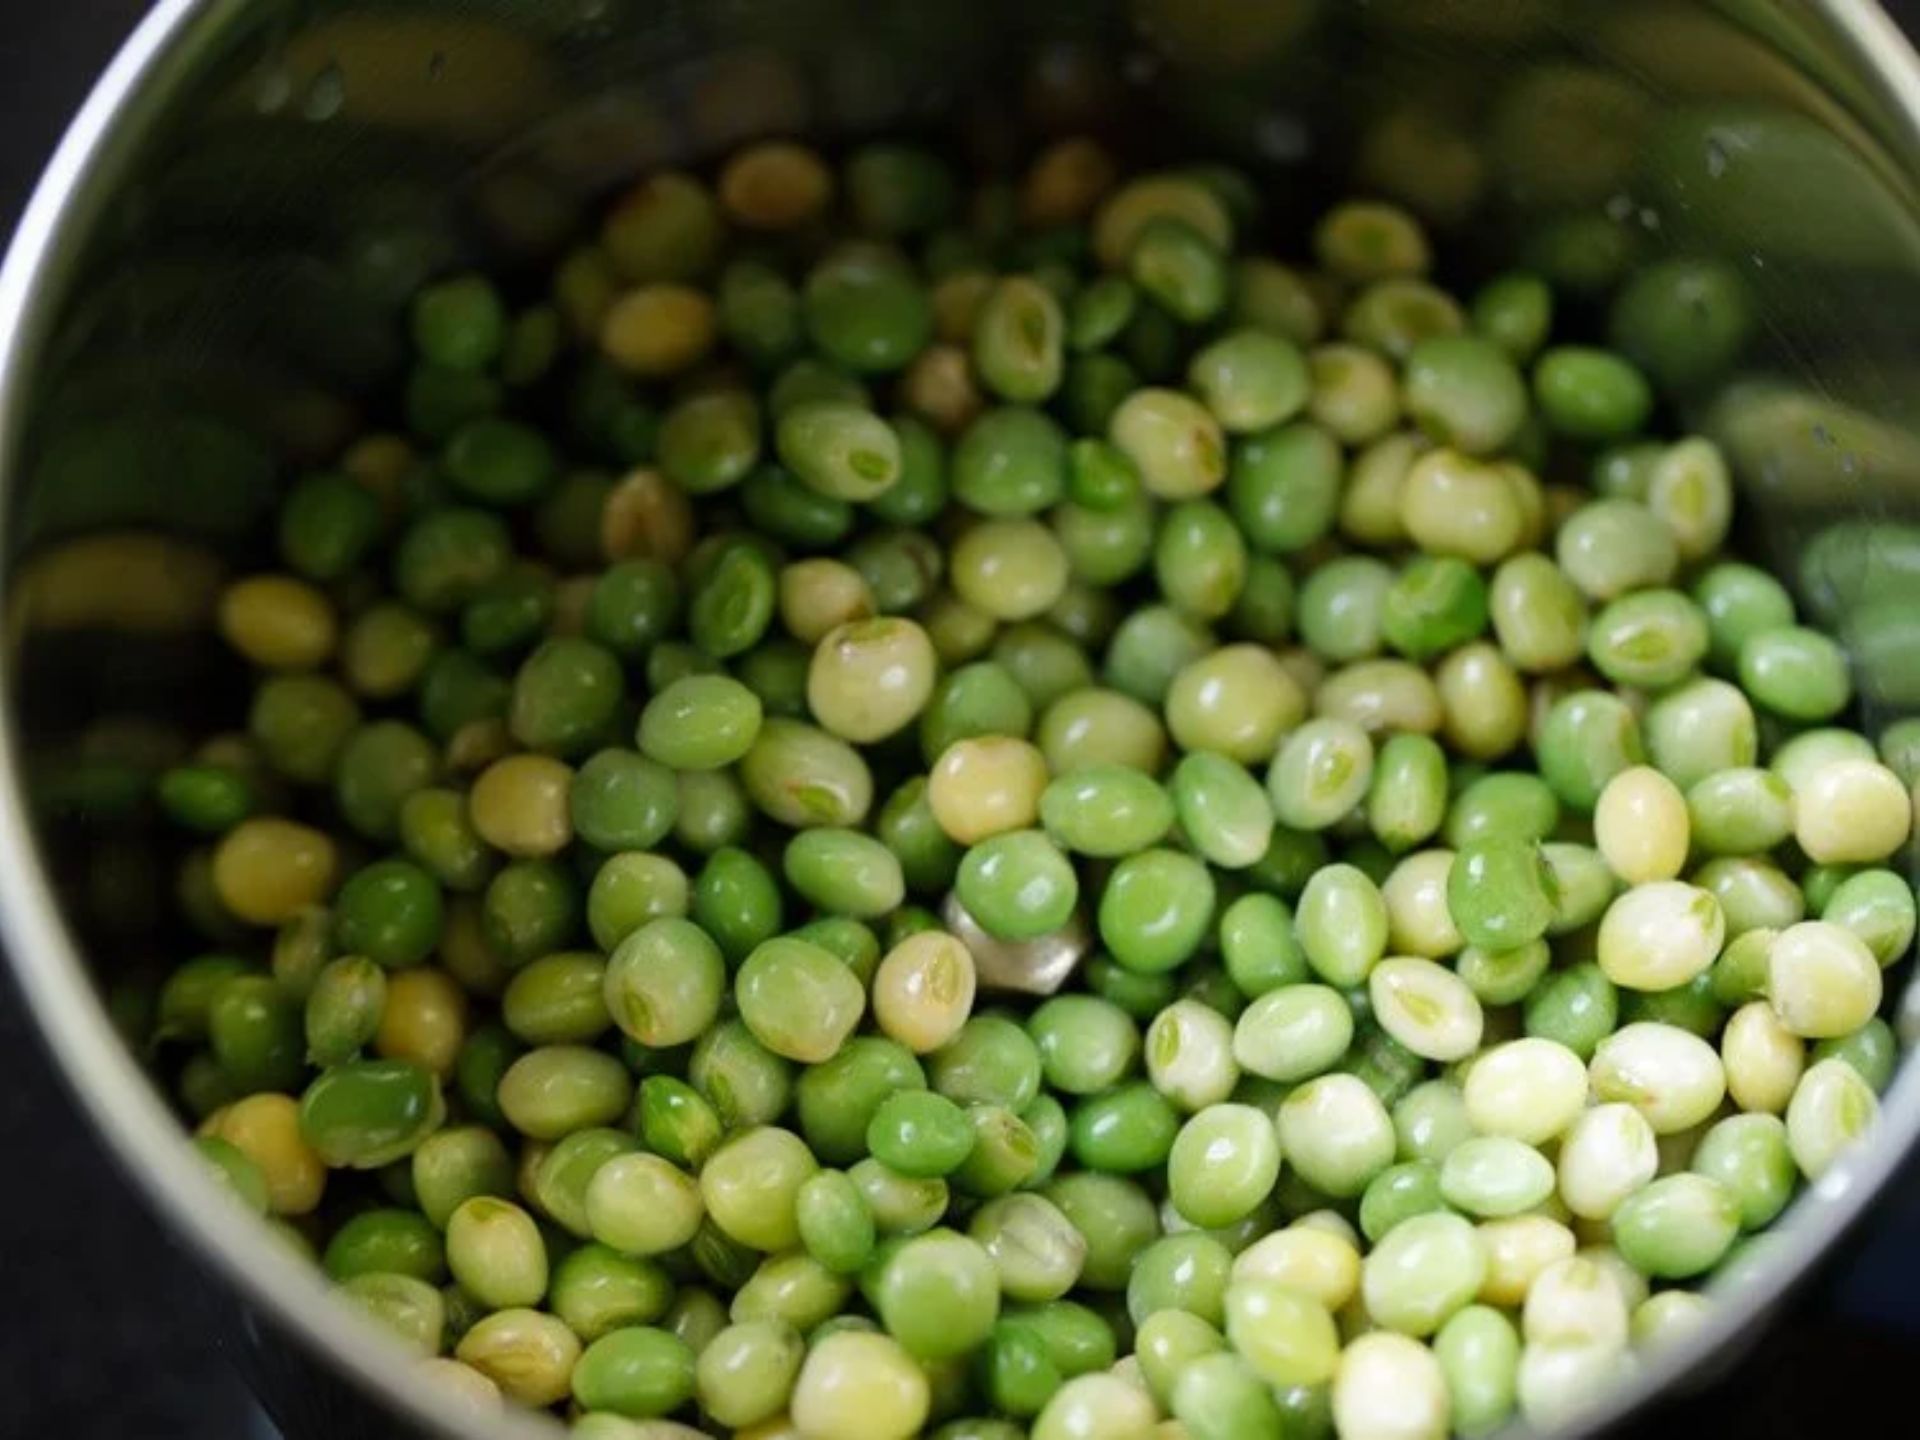
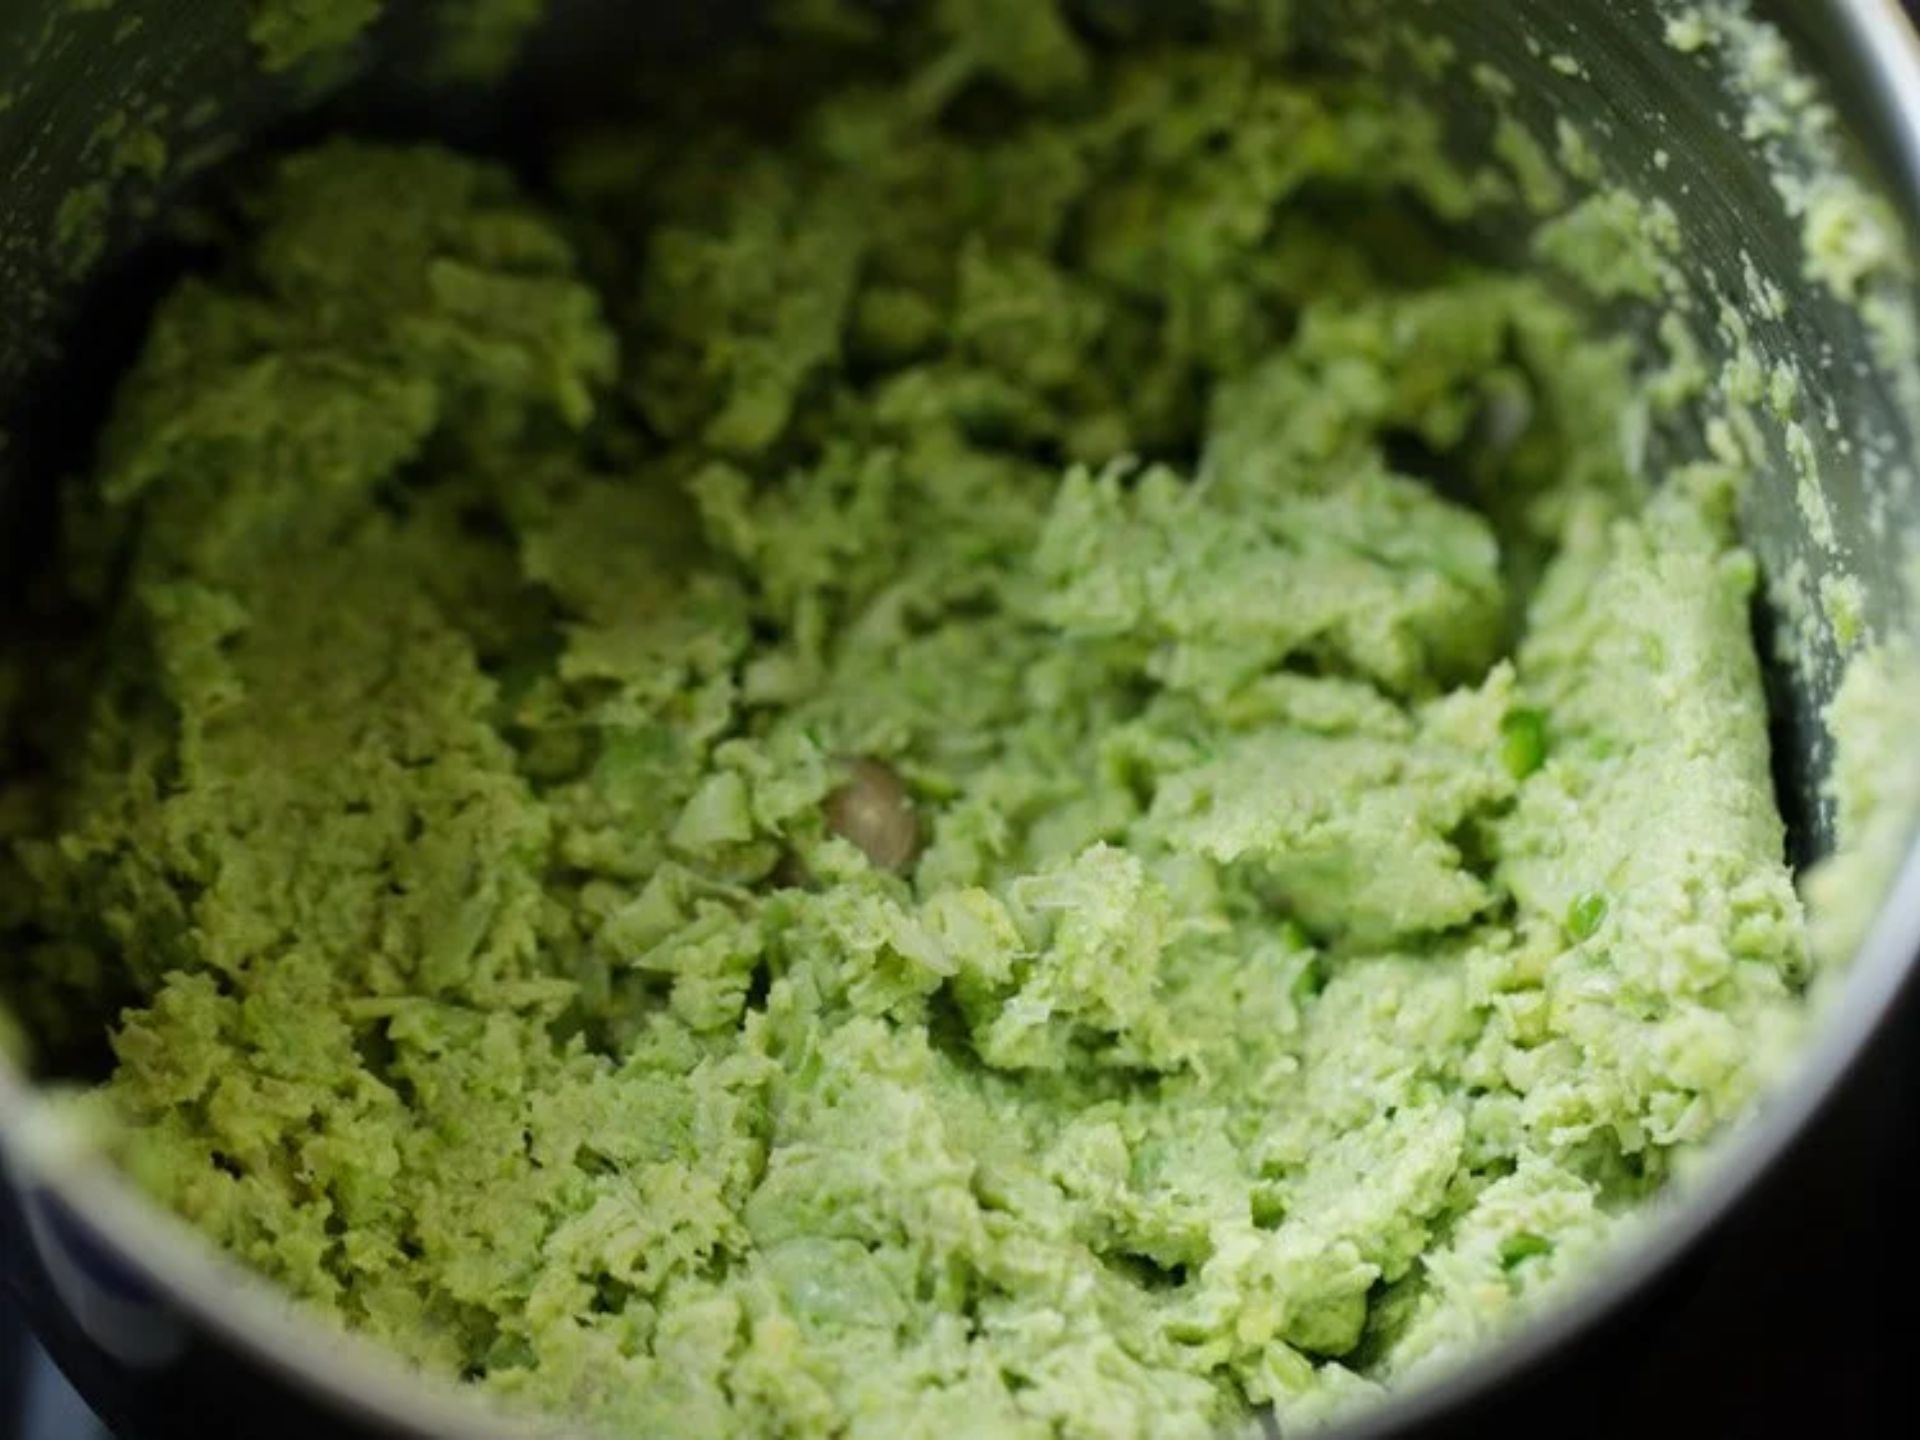
Now, let’s switch gears. Rinse 1 and ⅓ cup of lilva beans and put them in a grinder or food processor. No need to add water; we’re looking for a semi-coarse paste, not a smoothie. Pulse it in short bursts, like playing hide and seek with the grind button.
Step 7: Making Green Chili+Ginger+Garlic Paste
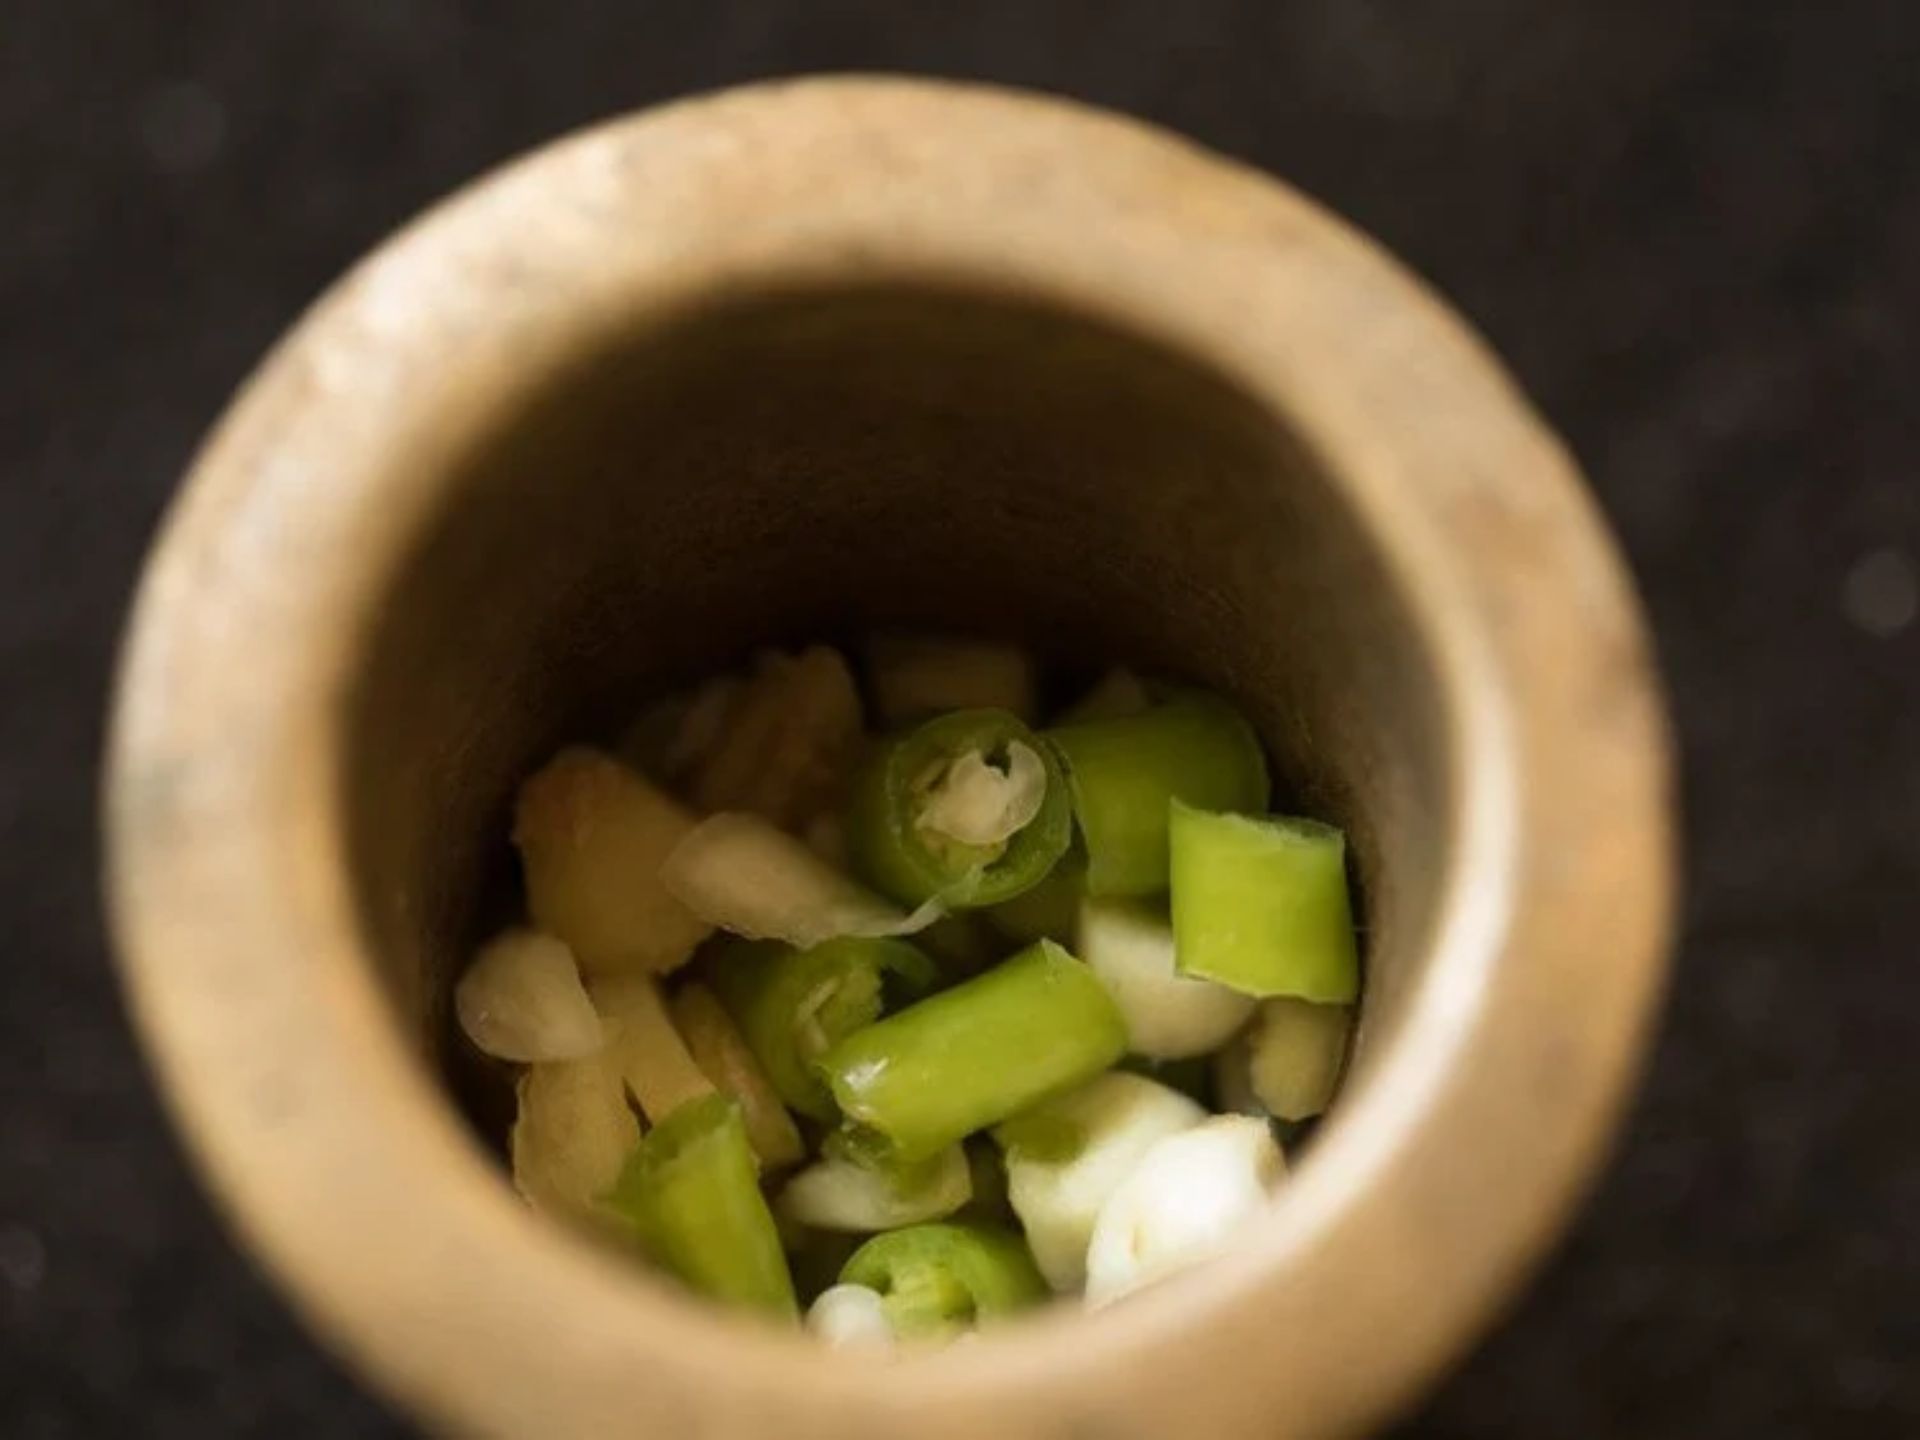
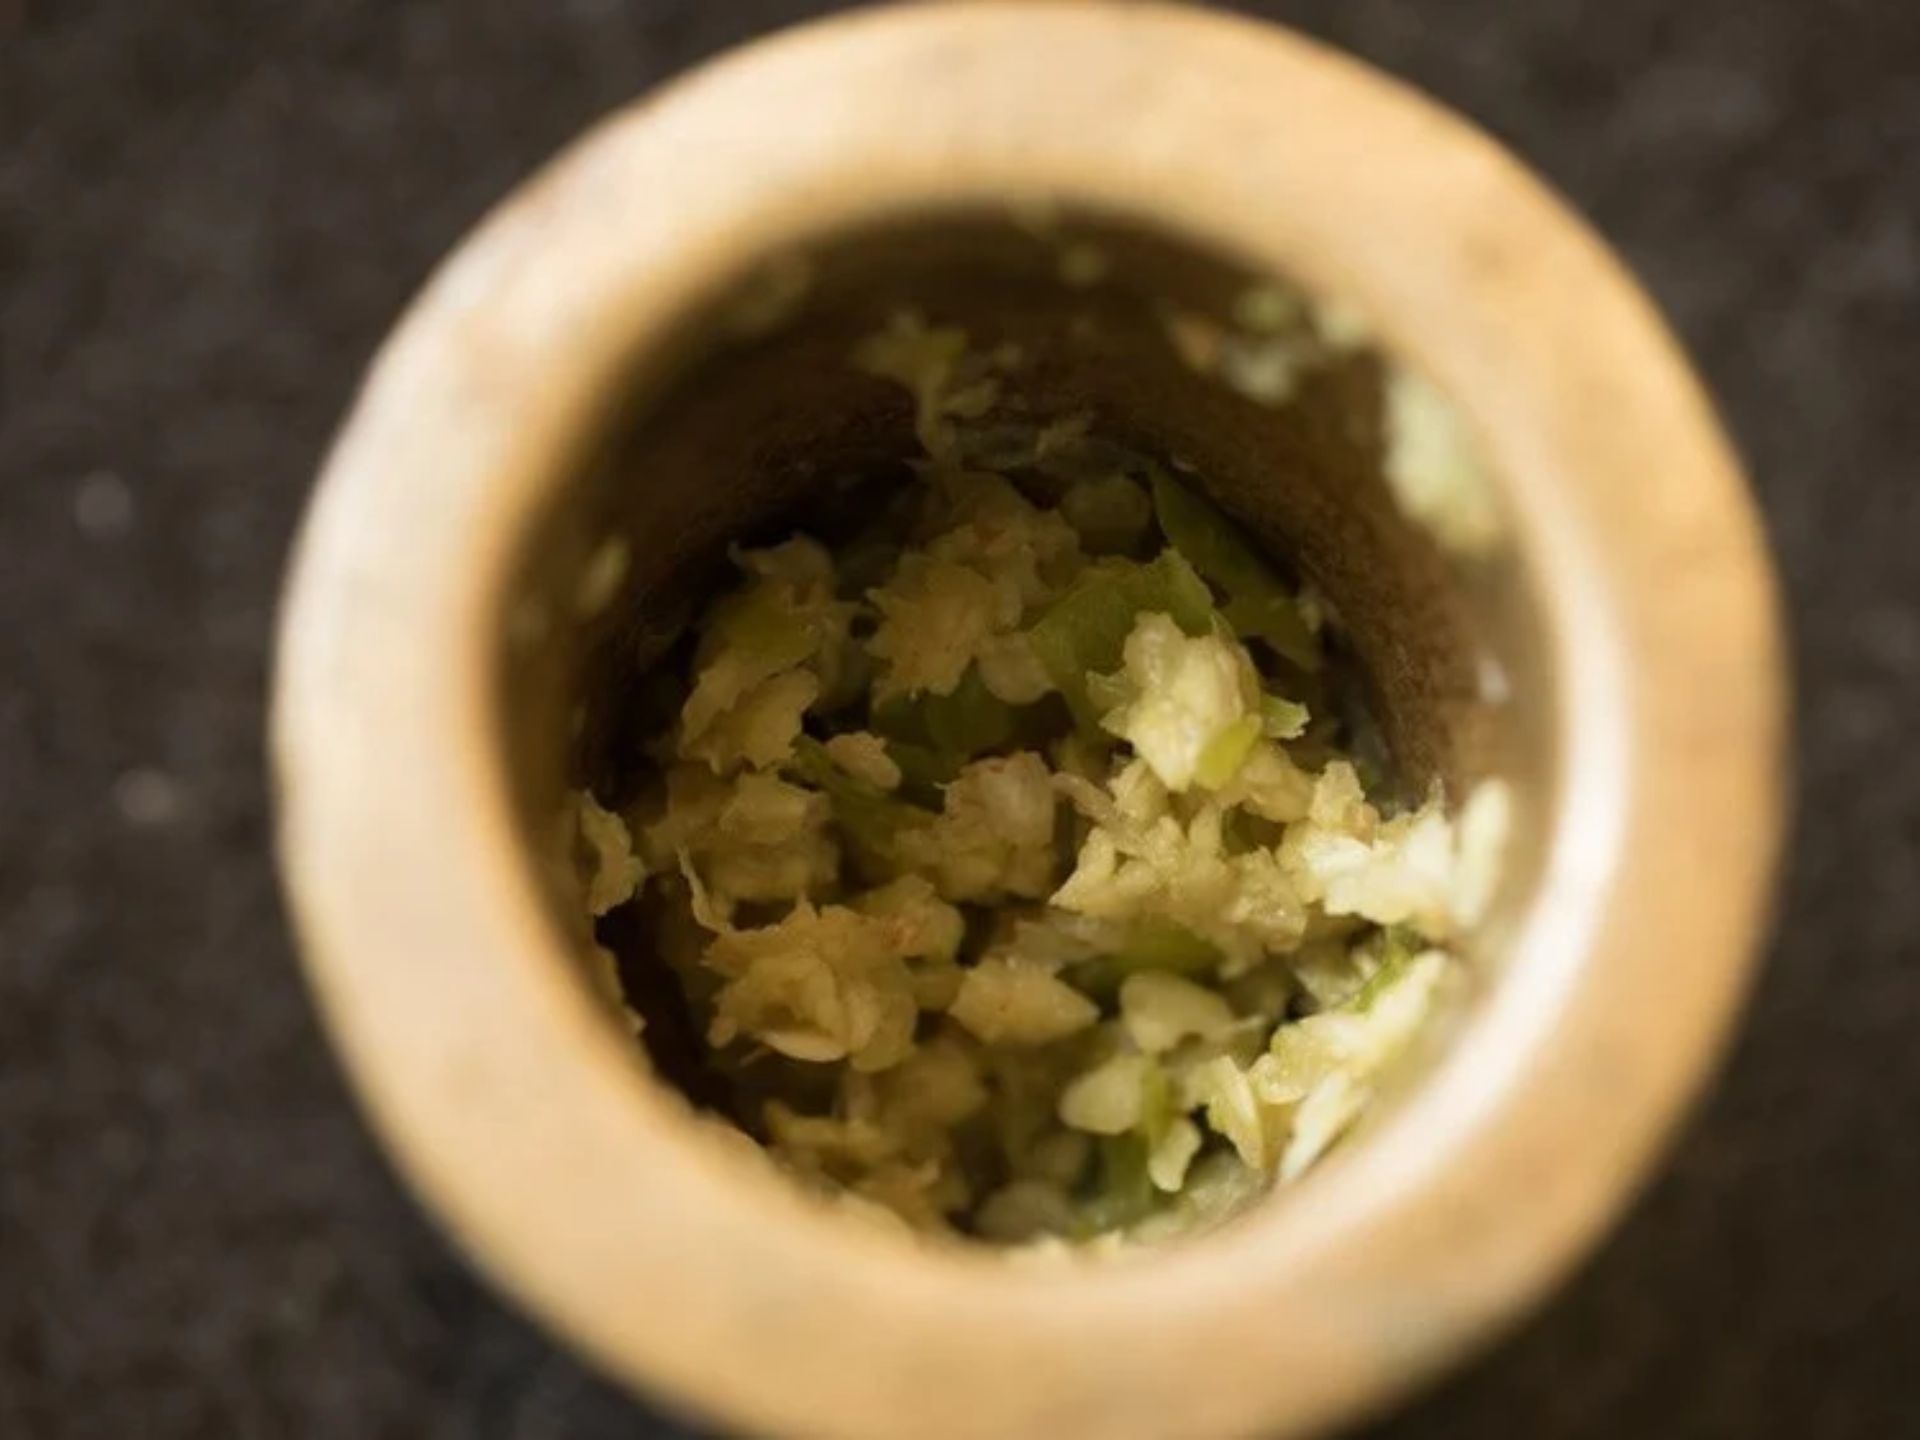
Time to add some flavor! Take 1 or 2 green chilies, an inch of ginger, and 2 garlic cloves (or you can use green garlic chives instead). Crush them into a paste. It’s like making a magical potion that will make our kachori super tasty.
Making stuffing for Lilva kachori
Step 1: Preparing the Flavor Base
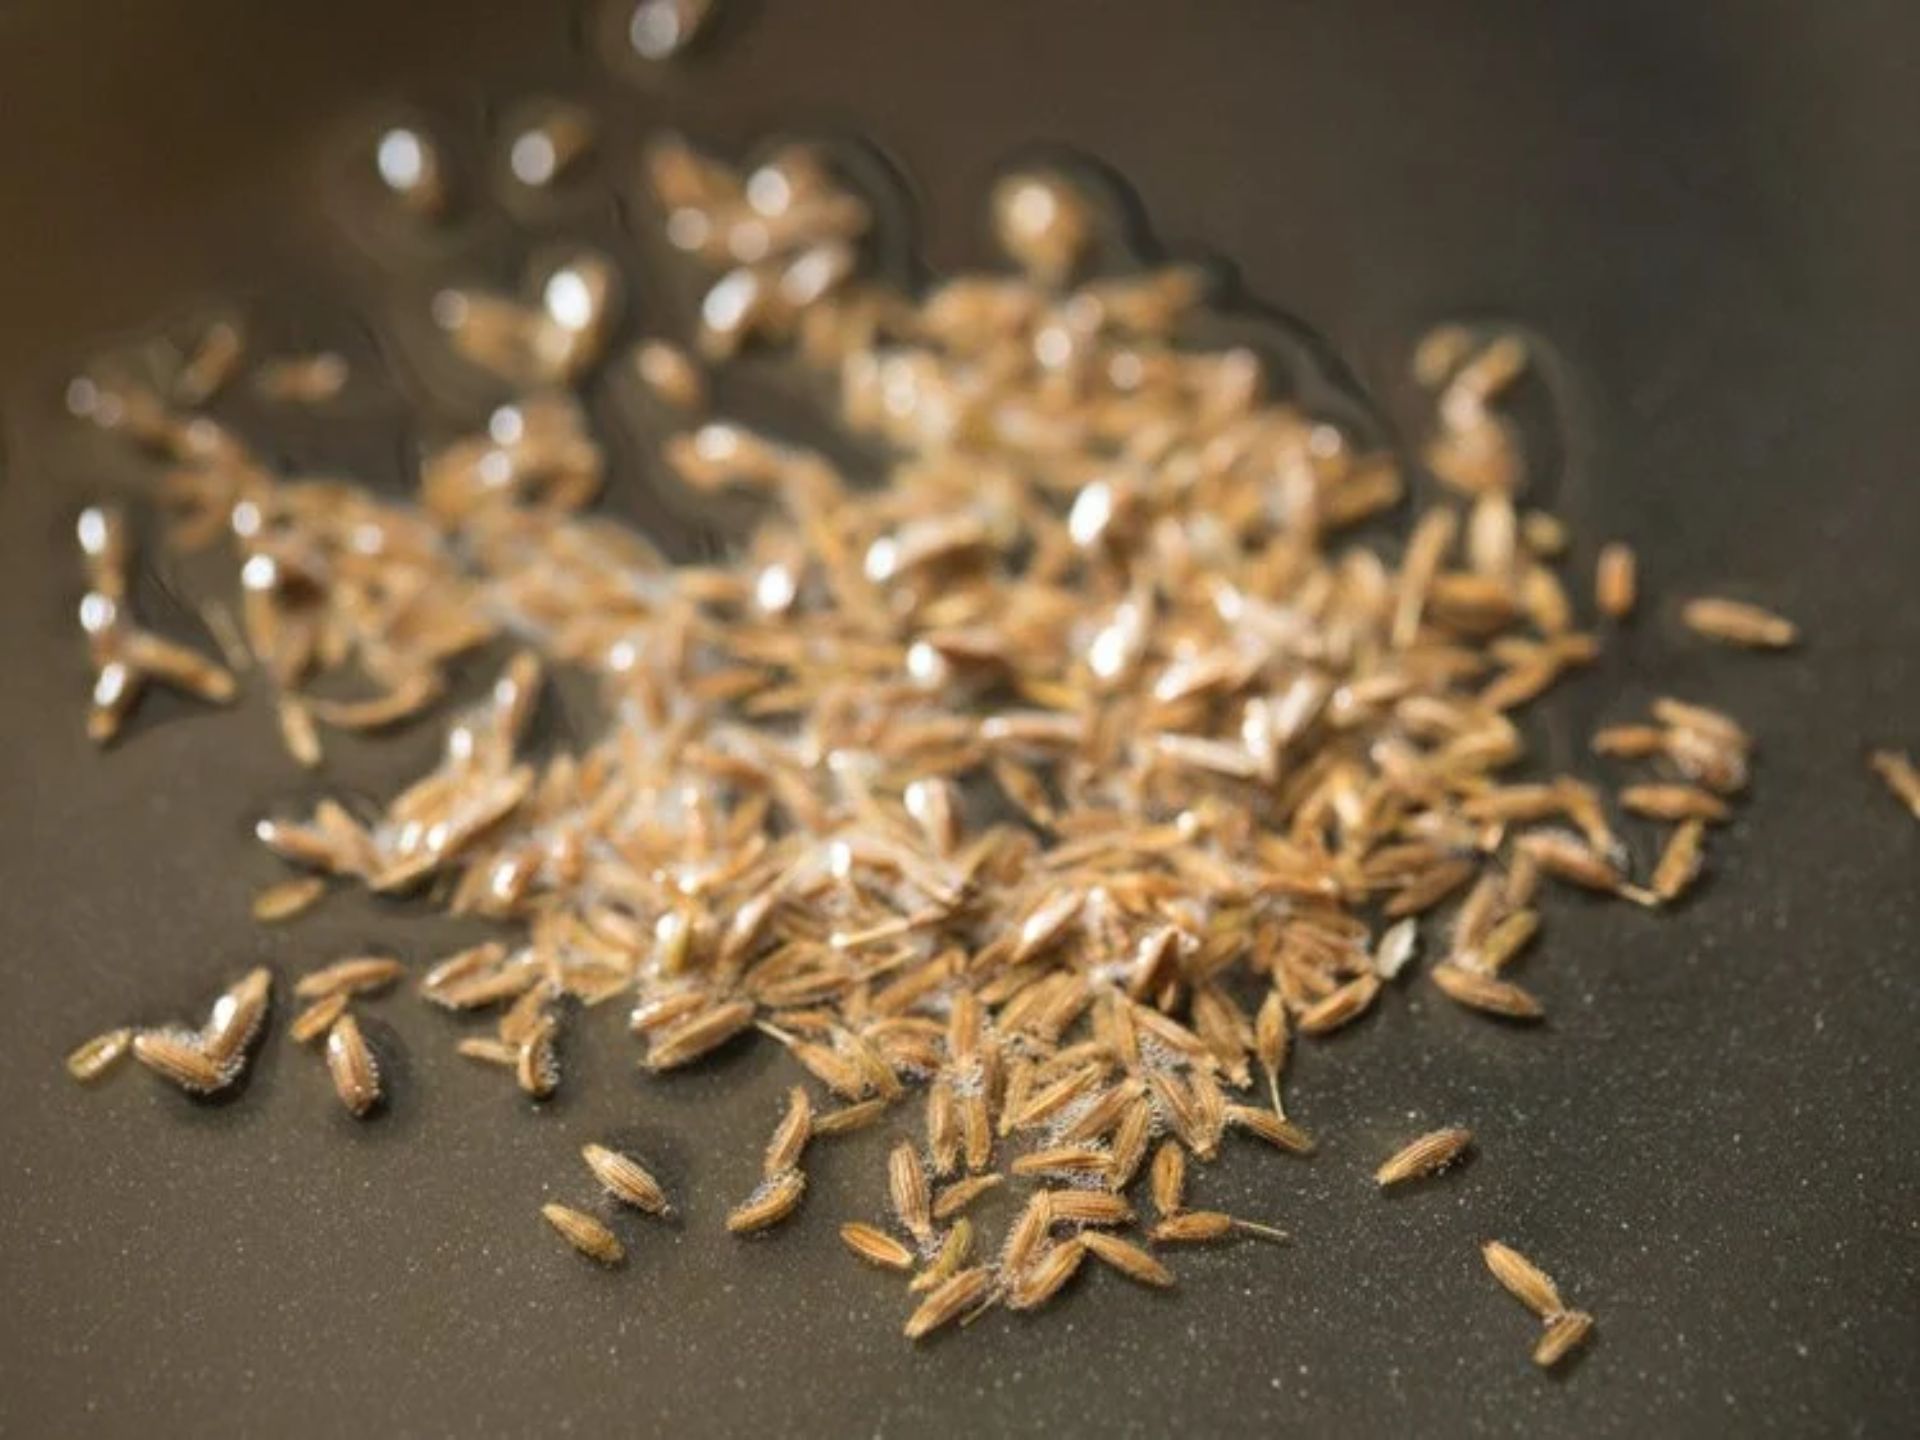
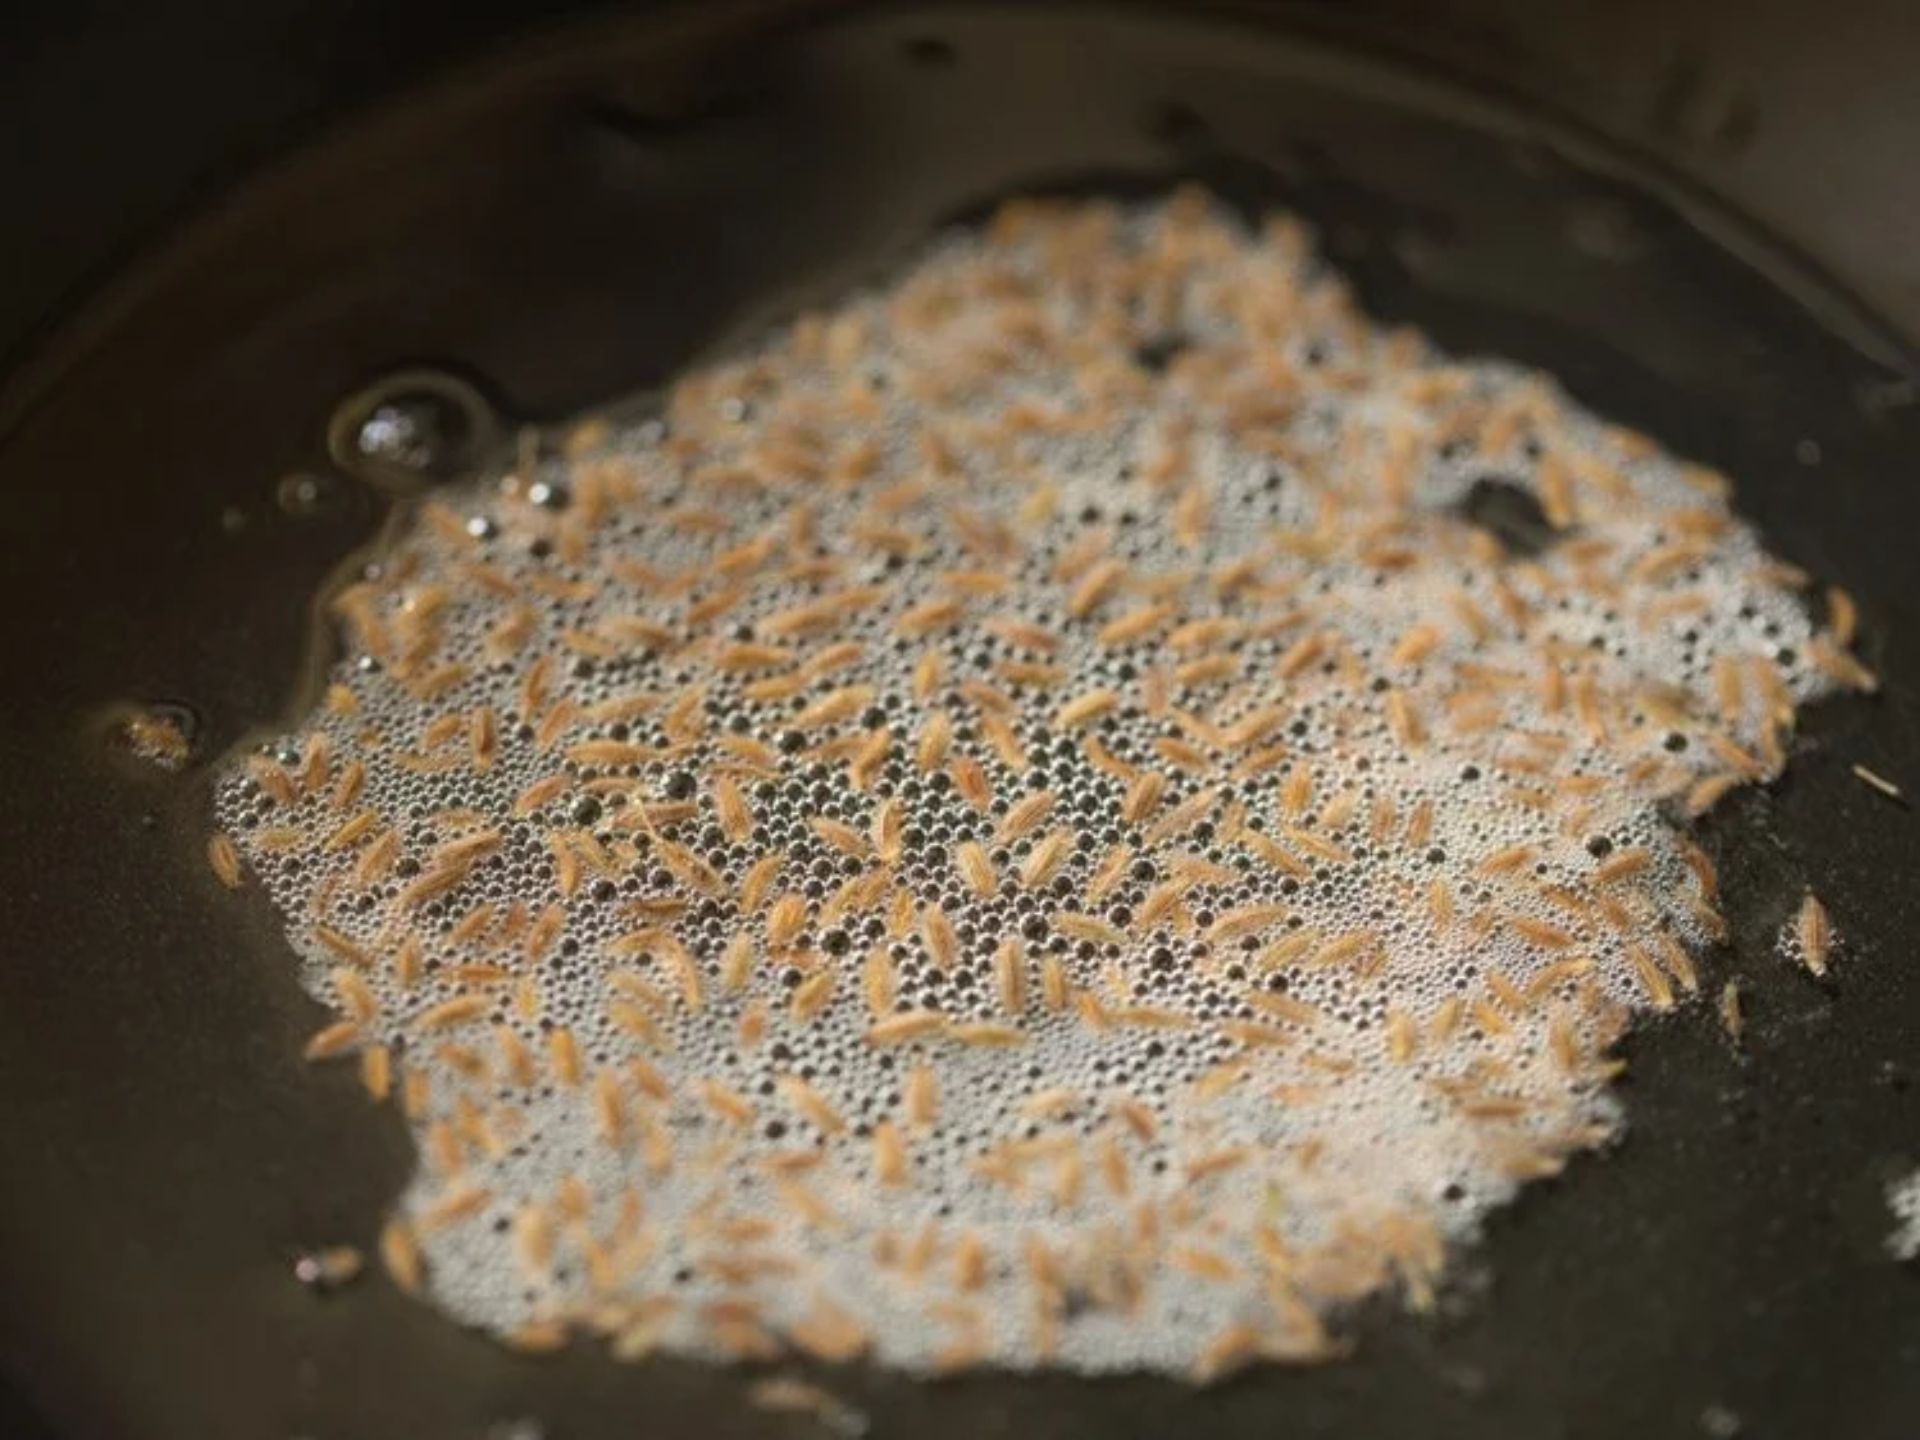
Heat up a frying pan and pour in one tablespoon of oil. Then, sprinkle in a half teaspoon of cumin seeds. Let them dance in the pan, crackling and jumping around.
Step 2: Let the Sizzle Begin
Watch as those cumin seeds sizzle and pop in the heat. Keep it gentle, not too hot. We want them to sing softly, not shout.
Step 3: Adding Zesty Goodness
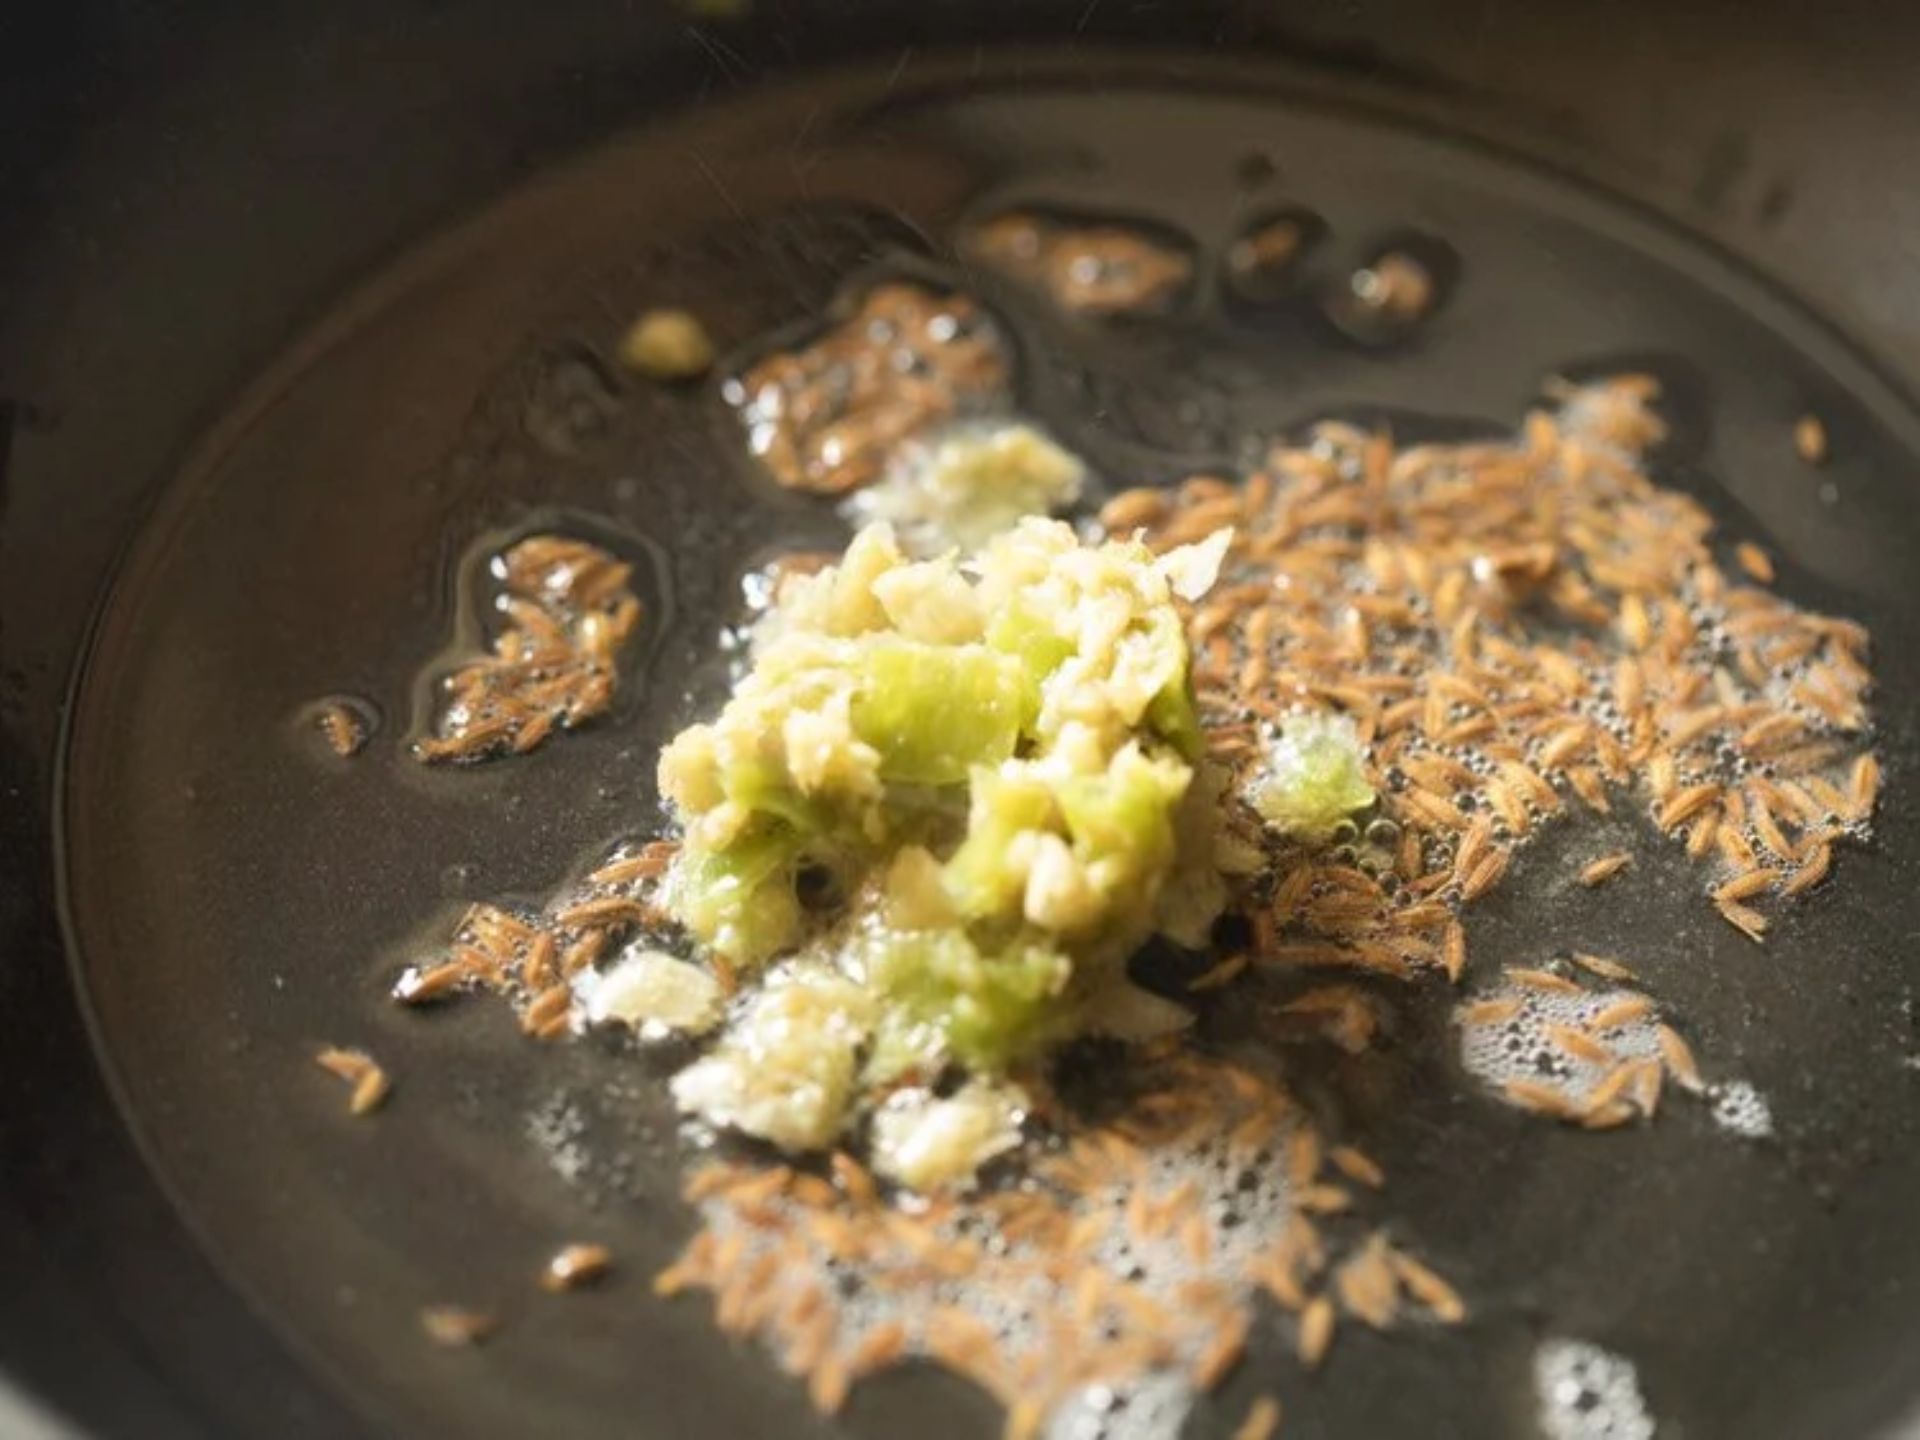
Now, here’s where the fun begins. Add the special mix of crushed green chili, ginger, and garlic paste. Oh, and don’t forget to toss in just a pinch of asafoetida (hing). Let these flavors mingle in the pan.
Step 4: Chasing Away the Rawness
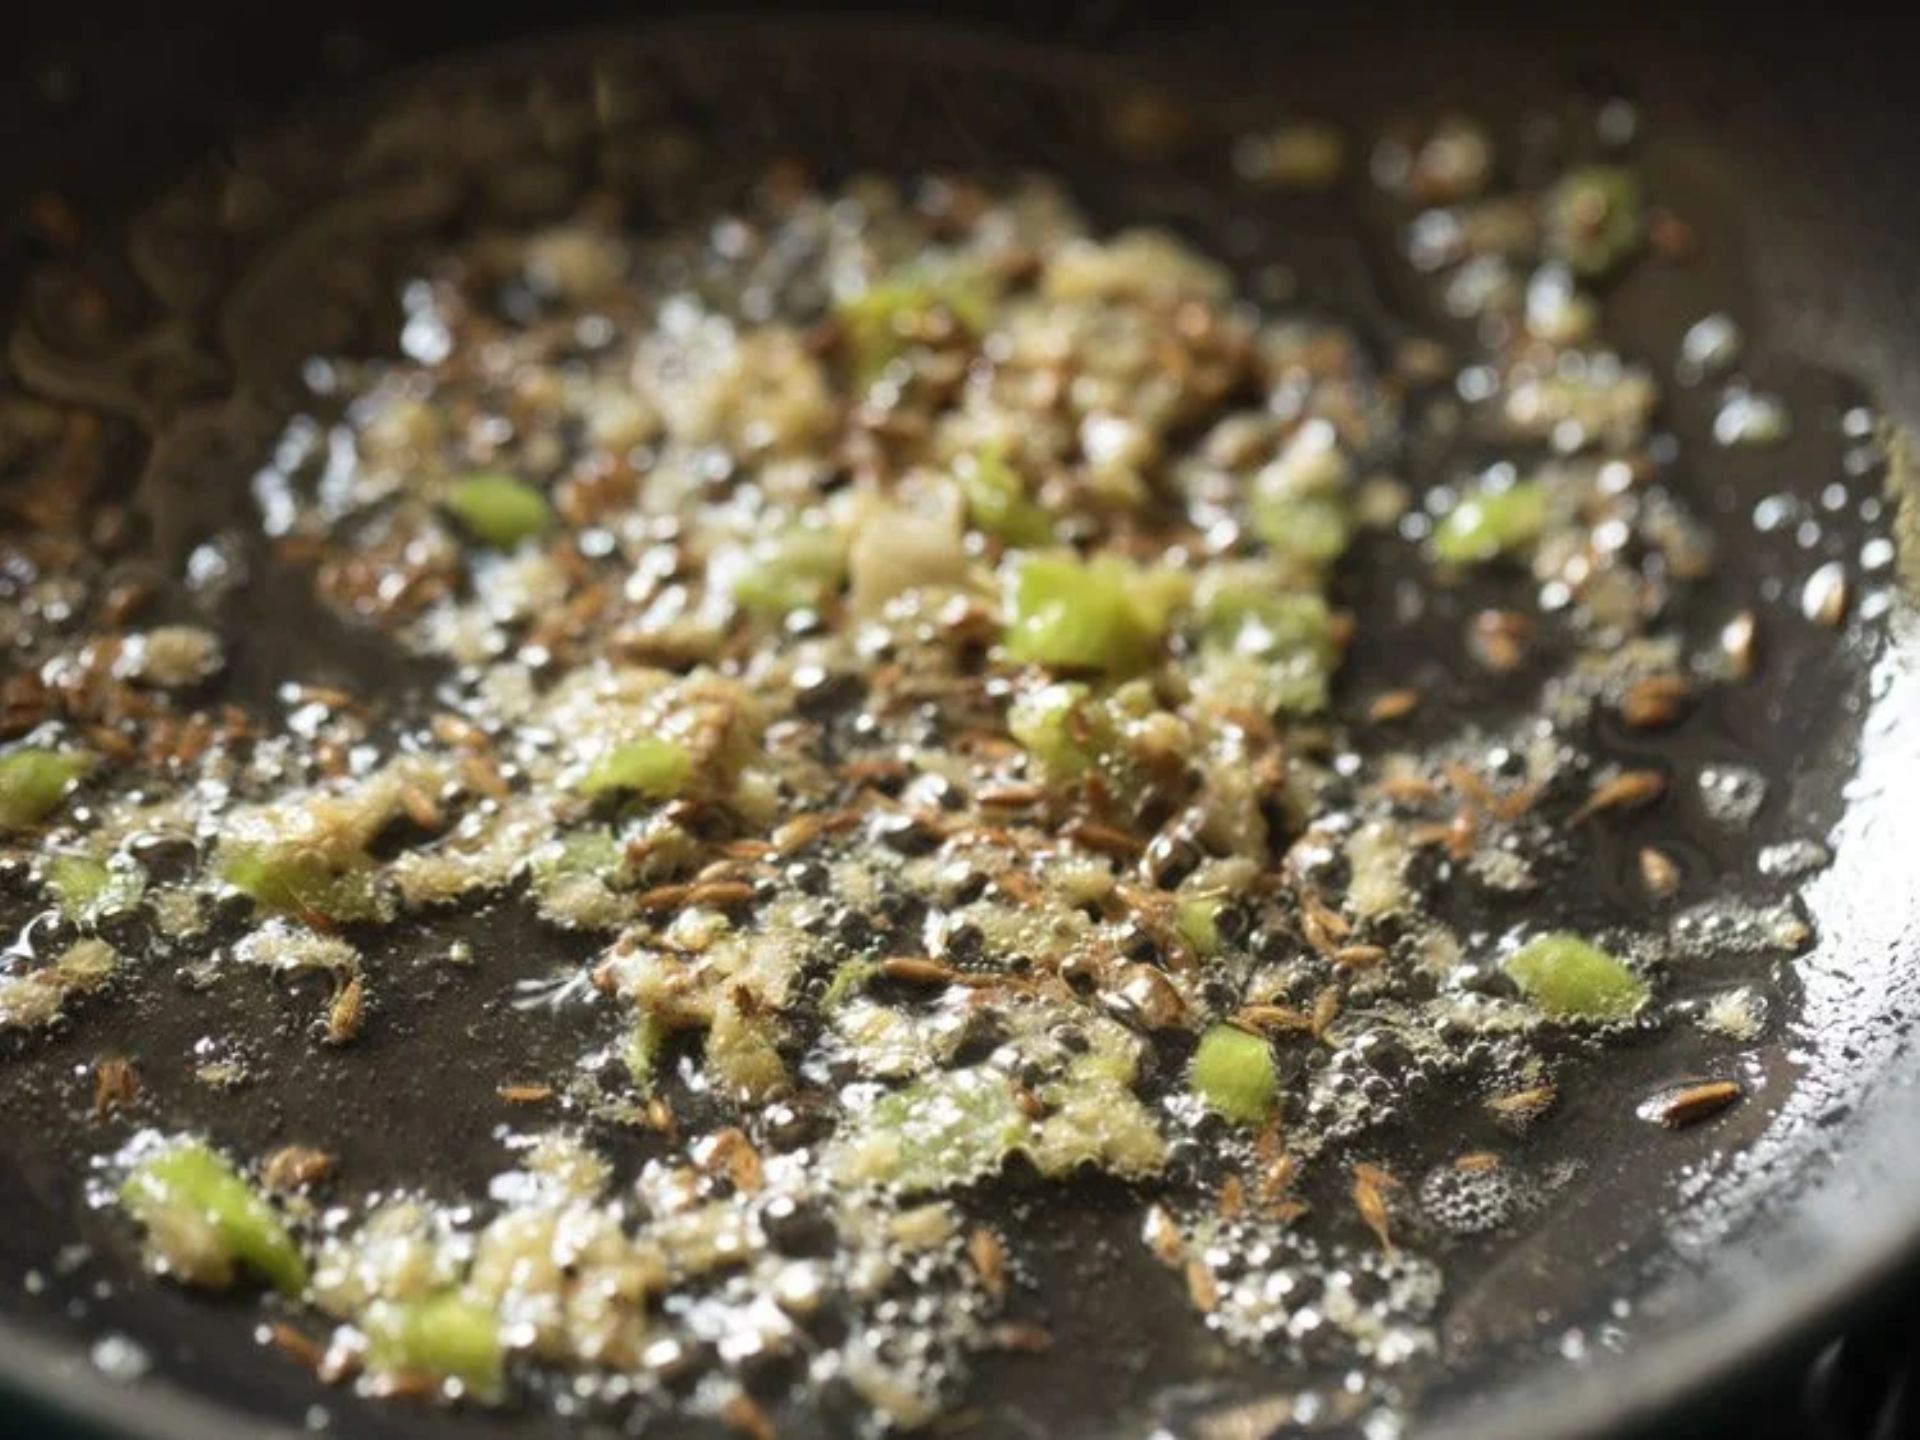
Give it a little sauté on low heat. That’s when the magic happens—when the raw smell of garlic and ginger decides to take a little break.
Step 5: Bringing in the Lilva Beans
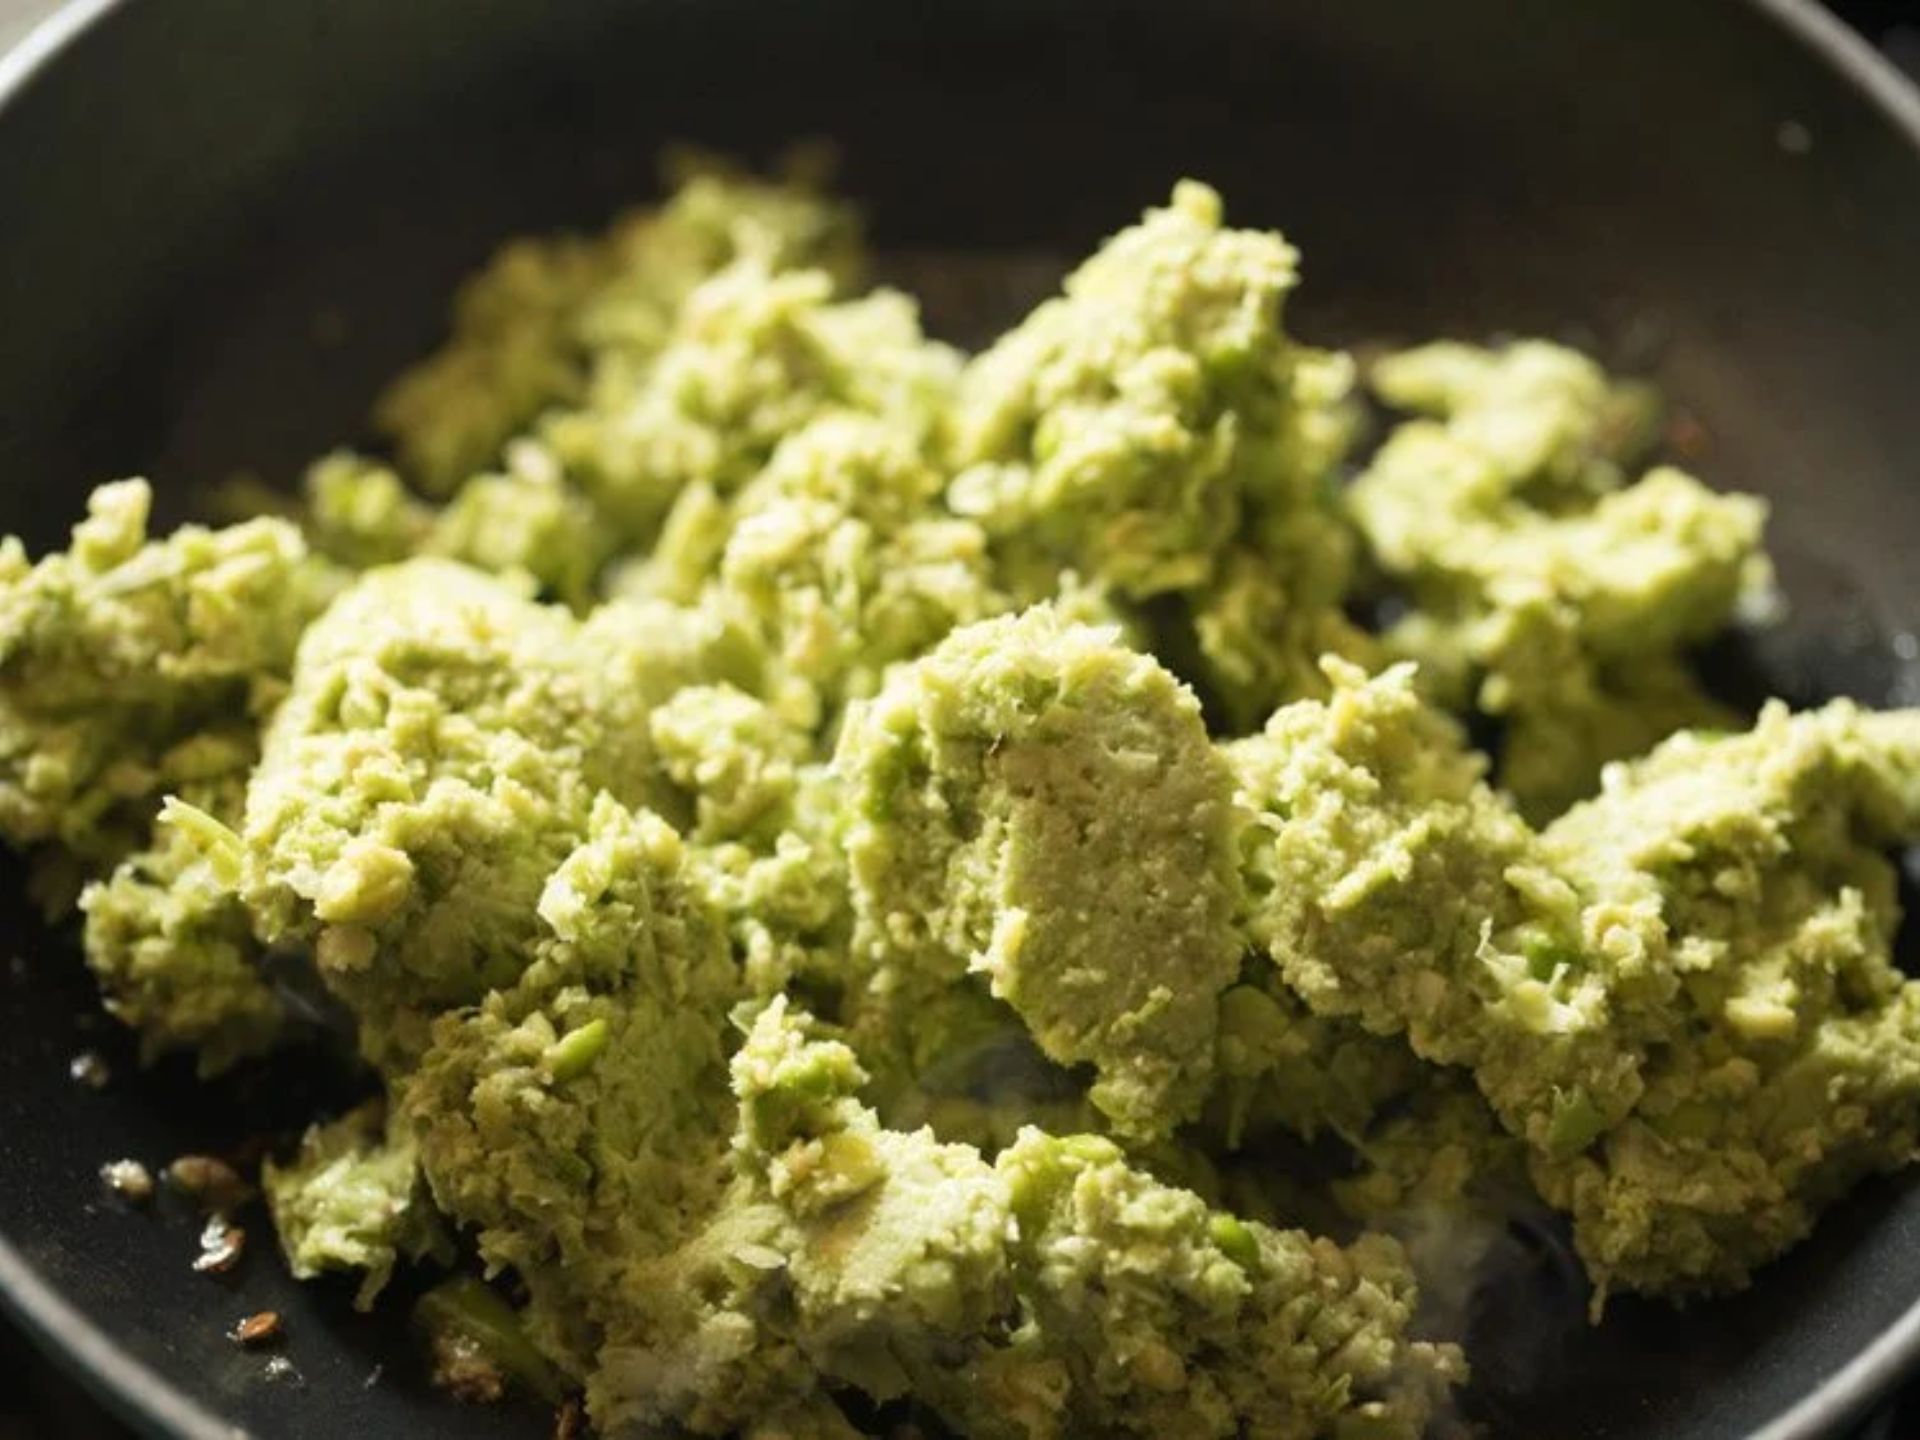
Time to add those coarsely ground lilva beans. These little fellas will add a whole lot of goodness to our stuffing.
Step 6: The Aromatic Mix
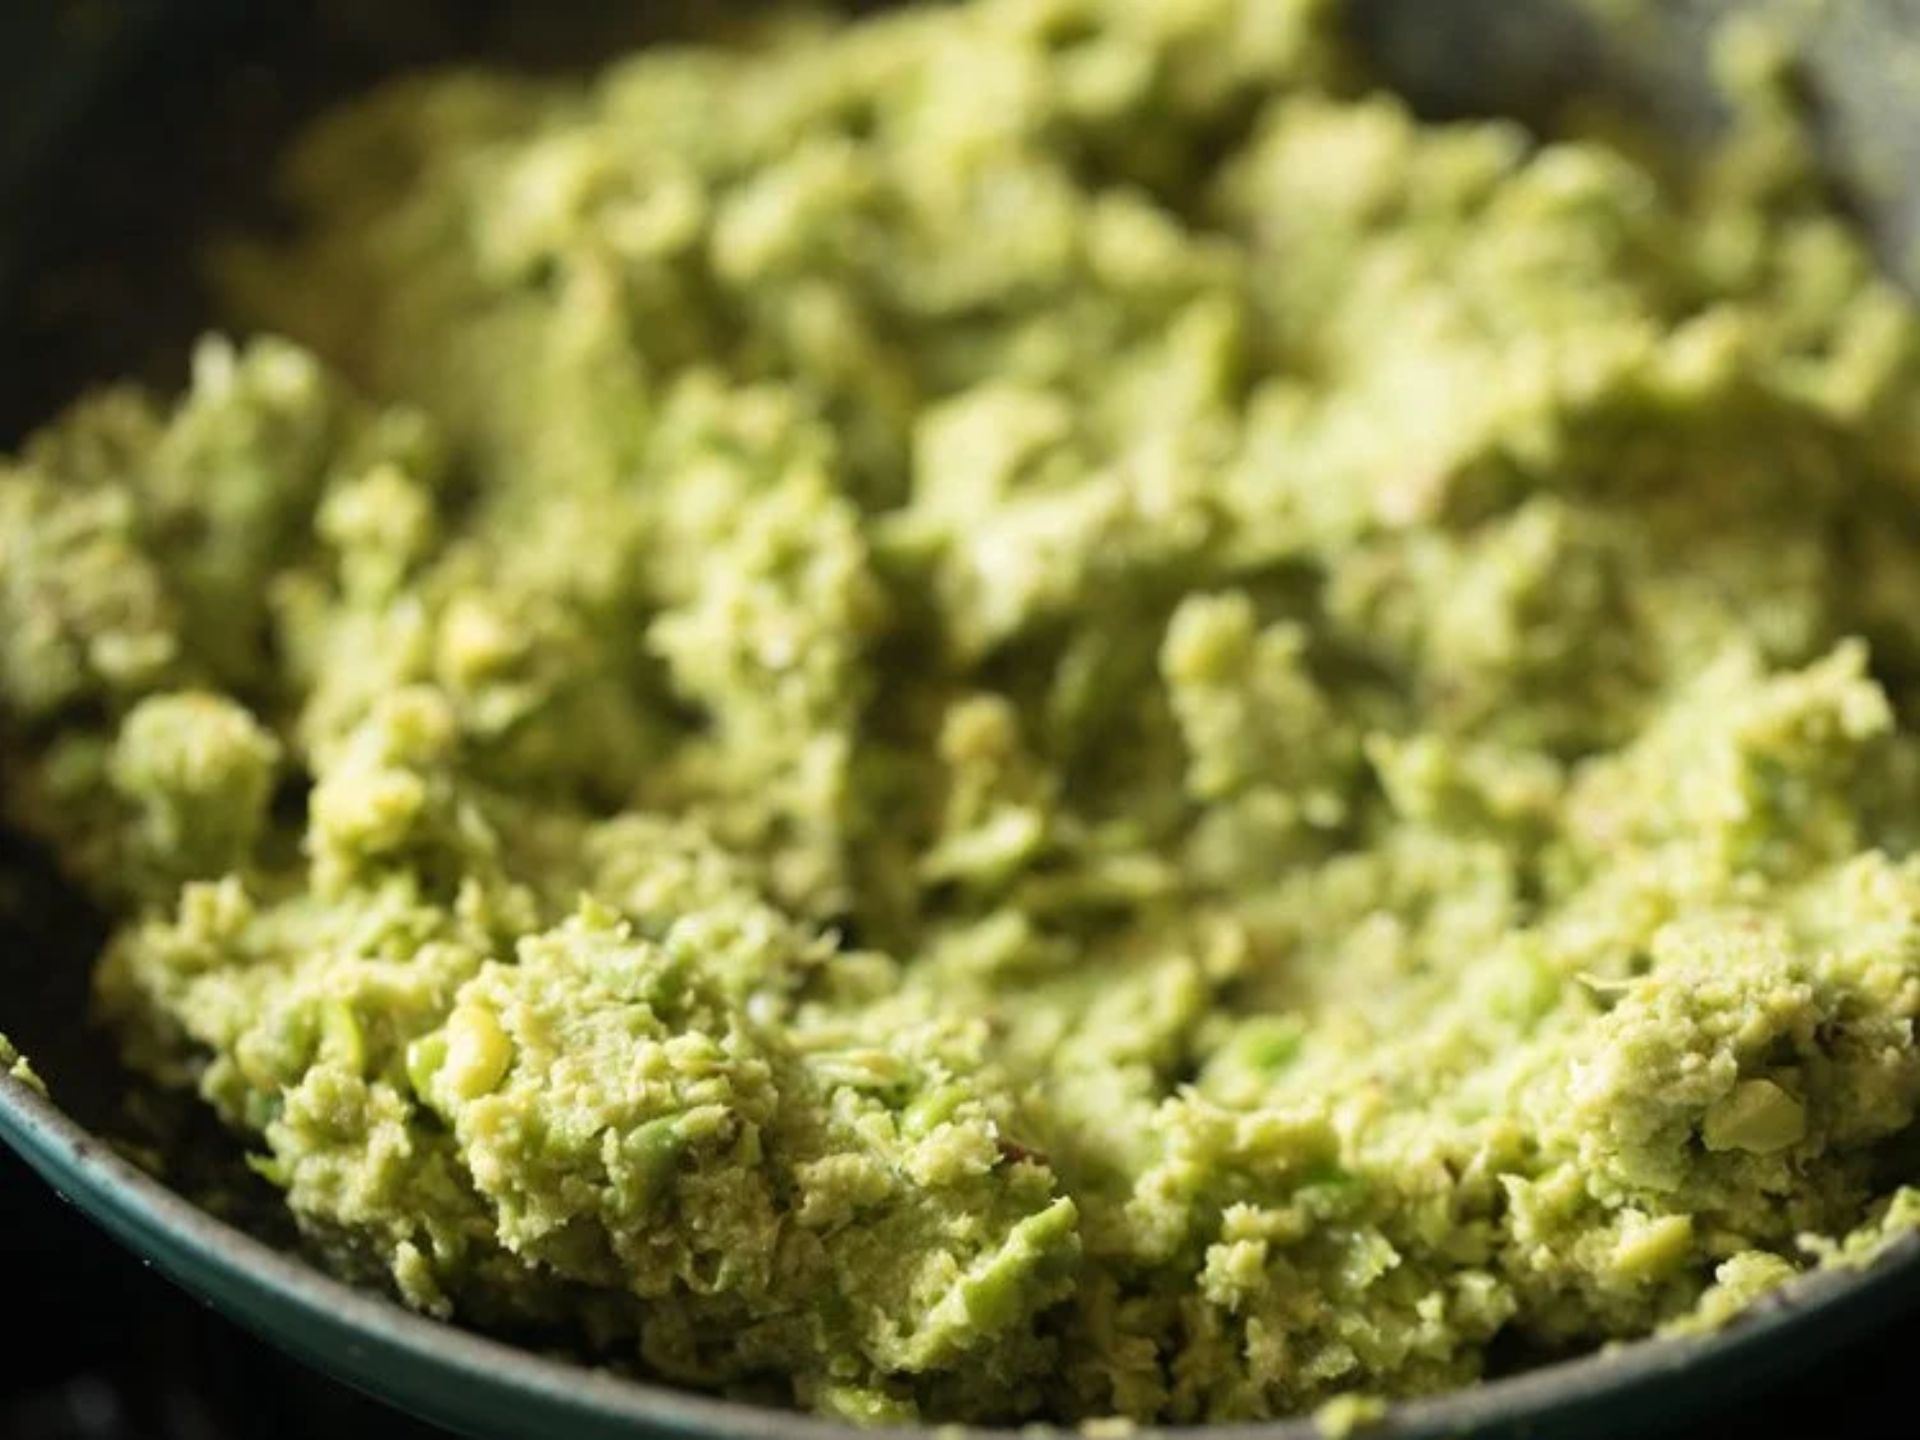
Mix it up well. Let it sauté gently for about 3 minutes. This is when the aroma starts to wrap around the kitchen.
Step 7: The Spice Brigade Arrives
Here’s where we bring in the team of flavors – half a teaspoon of cumin powder, another half of coriander powder (if you fancy), and half a teaspoon of garam masala powder. Oh, and don’t forget to sprinkle in some salt as per your taste buds’ orders.
Step 8: The Perfect Blend
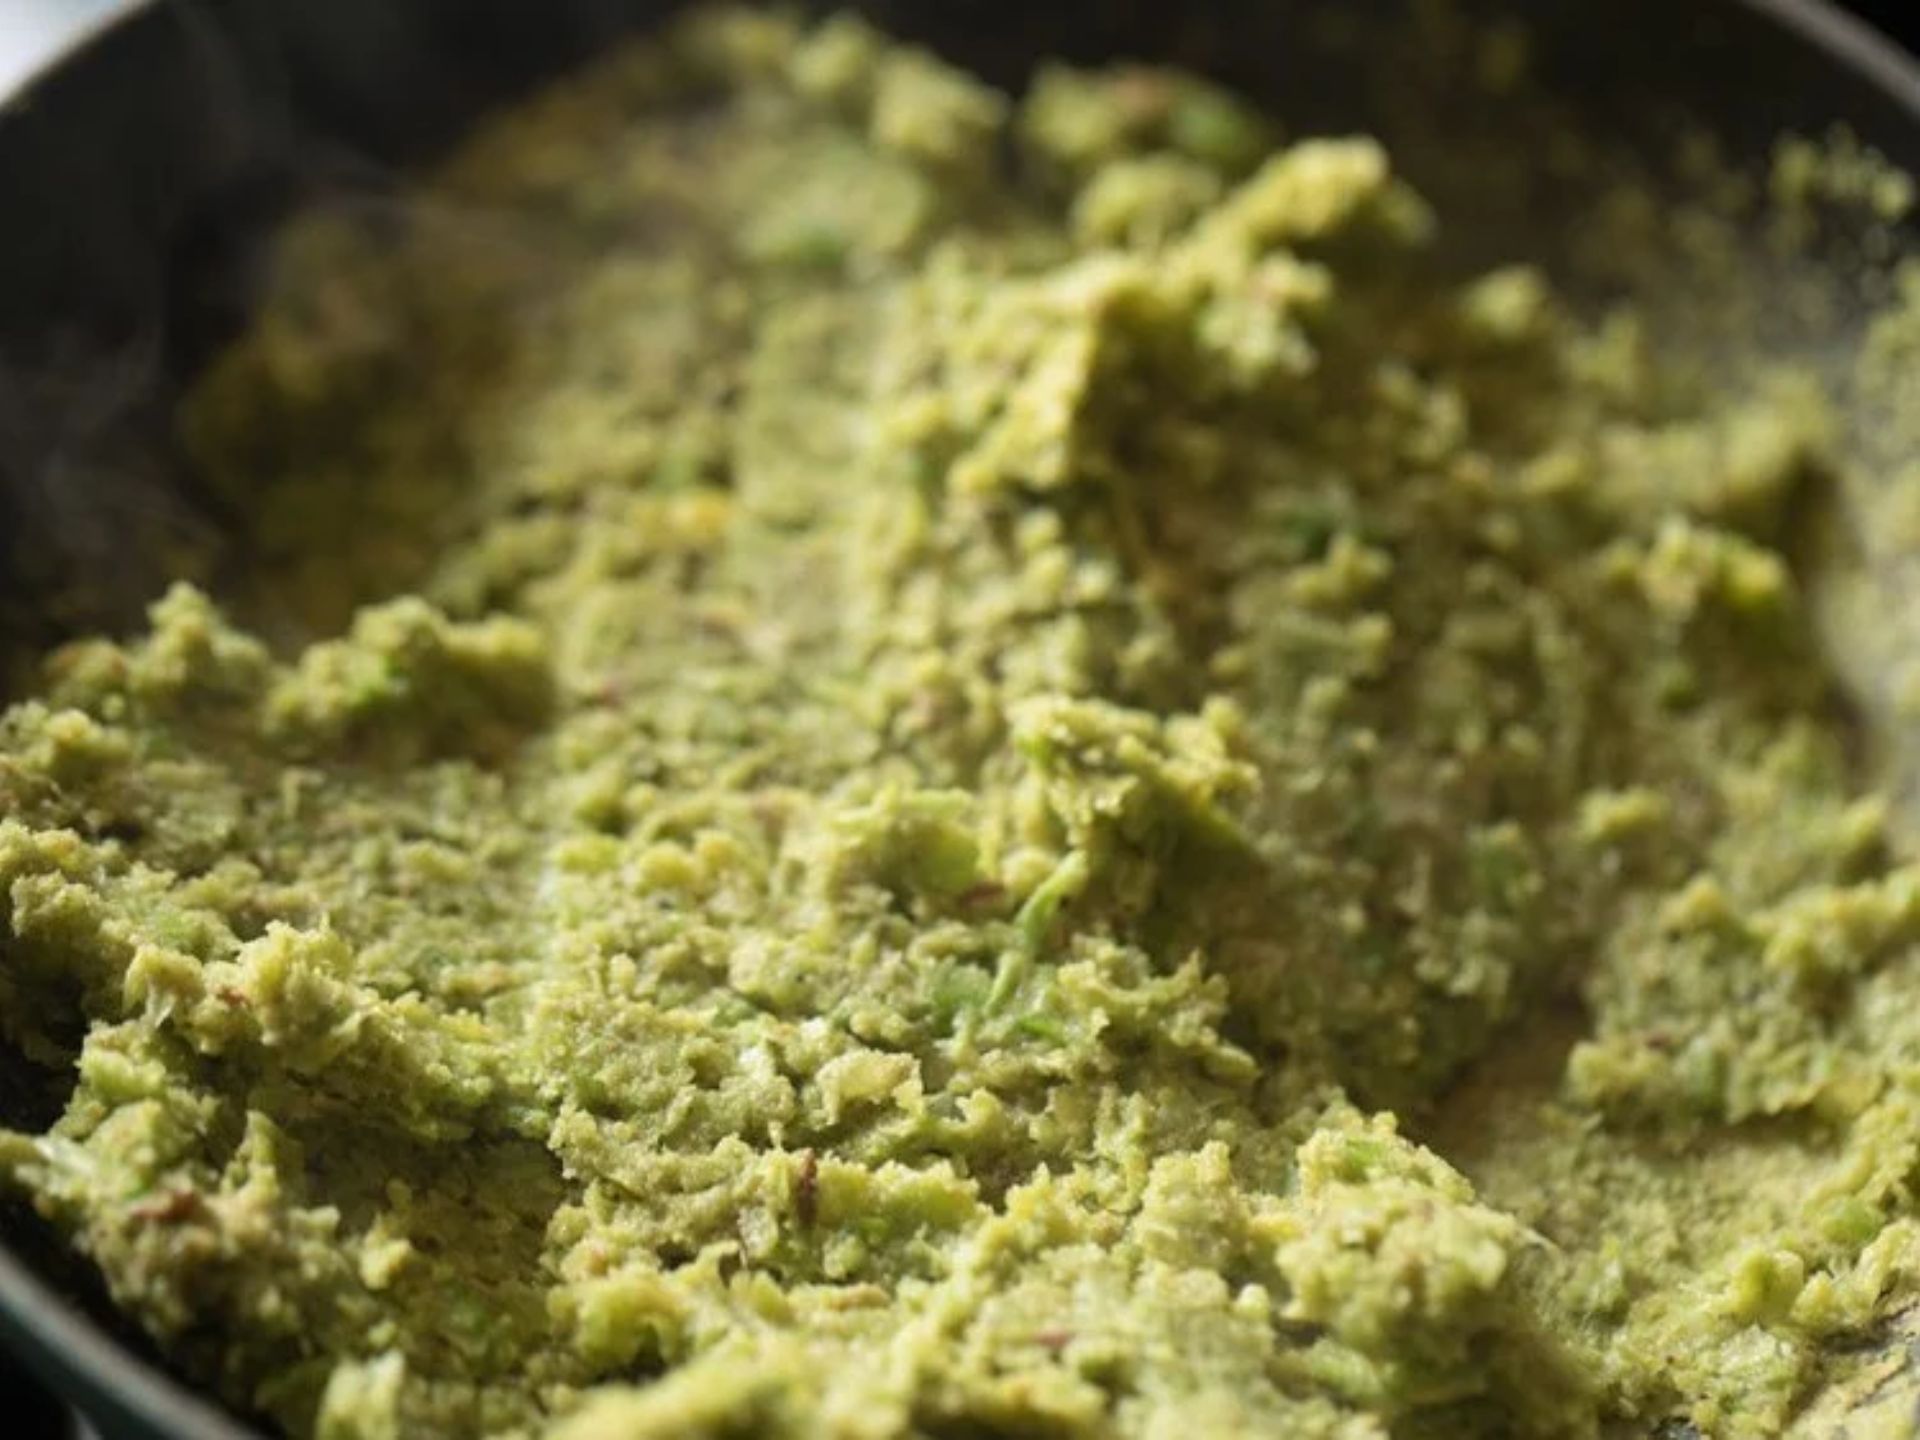
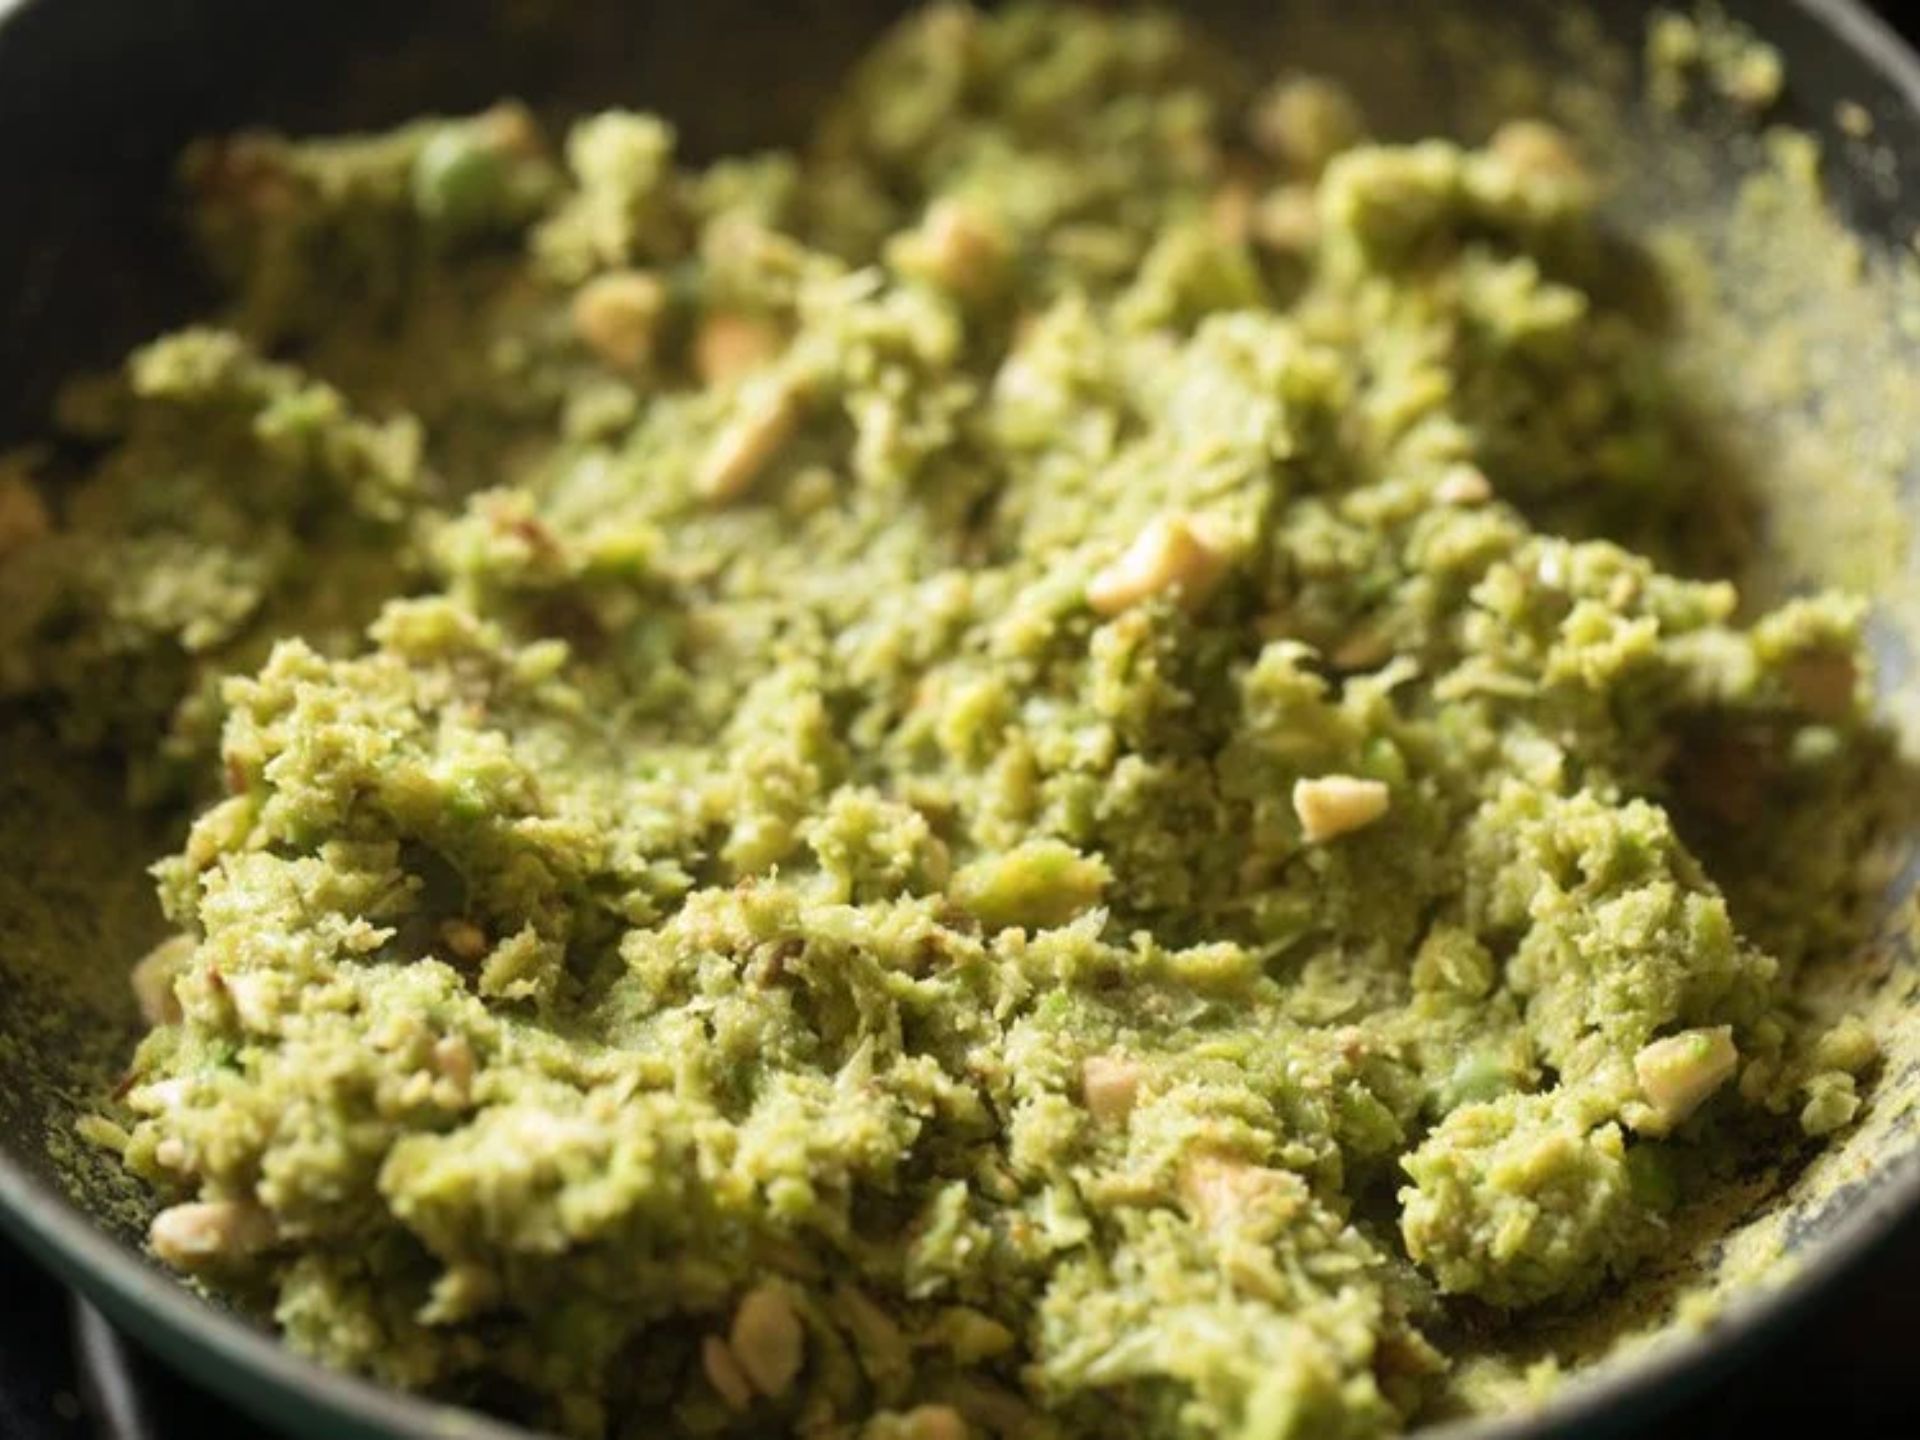
Mix it all up, making sure every bit gets a taste of those spices. Let it sauté for another 2-3 minutes. Stir it well, we don’t want any bits sticking around.
Step 9: Adding Some Crunch and Sweetness
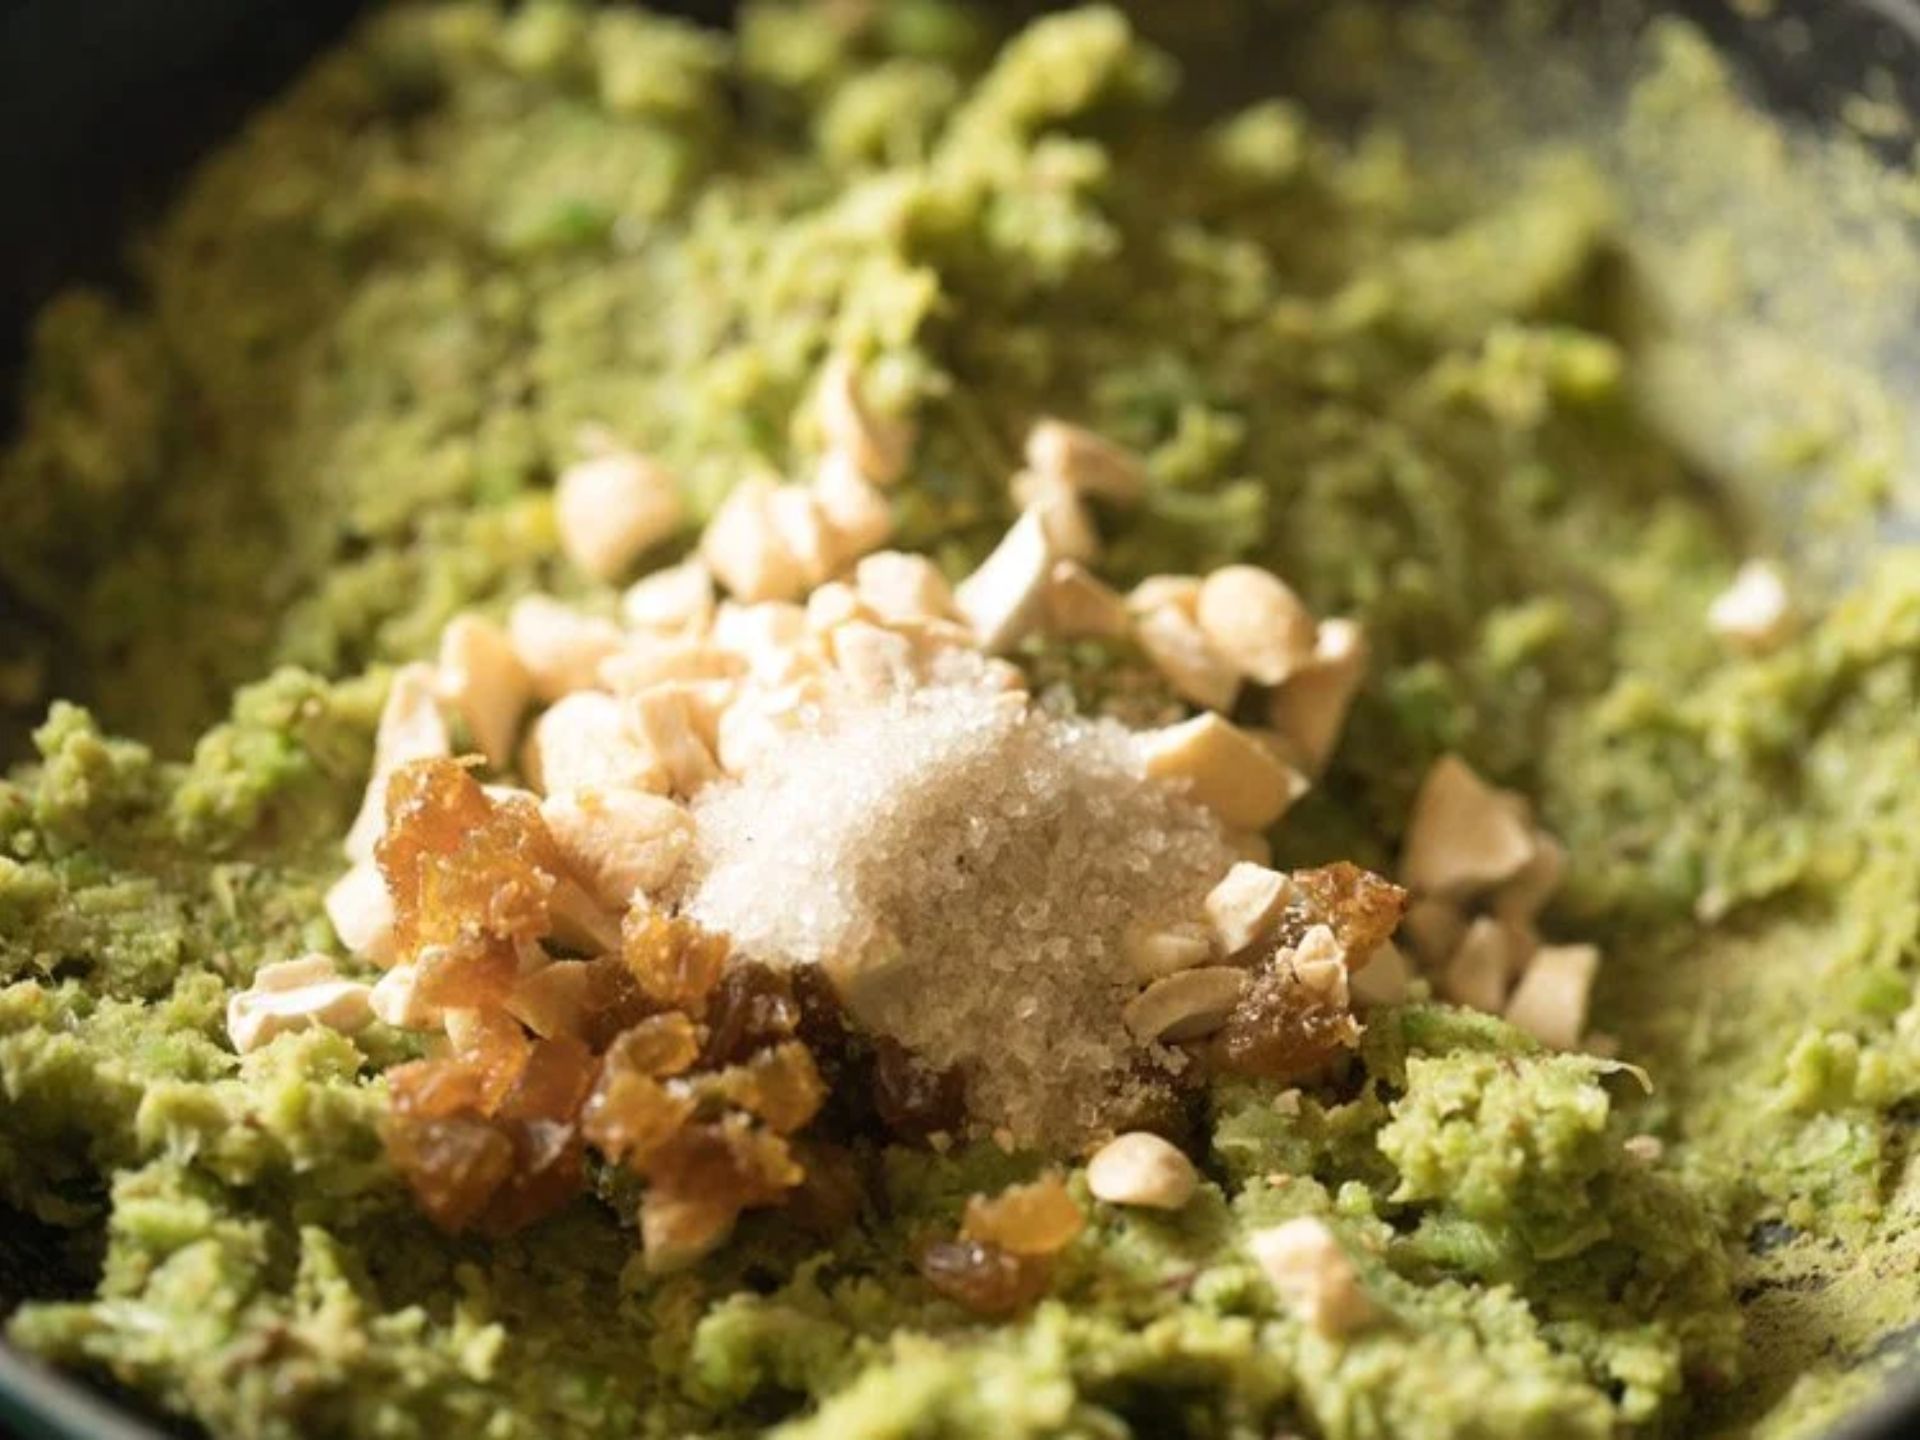
Turn off the heat and add in the delights – 2 tablespoons of chopped cashews, half a tablespoon of chopped raisins, and a sprinkle of sugar (just enough to sweeten the deal).
Step 10: Give It a Good Mix
Stir and mix it up like you’re creating a beautiful melody. Make sure all those ingredients become best friends.
Step 11: Freshness Alert
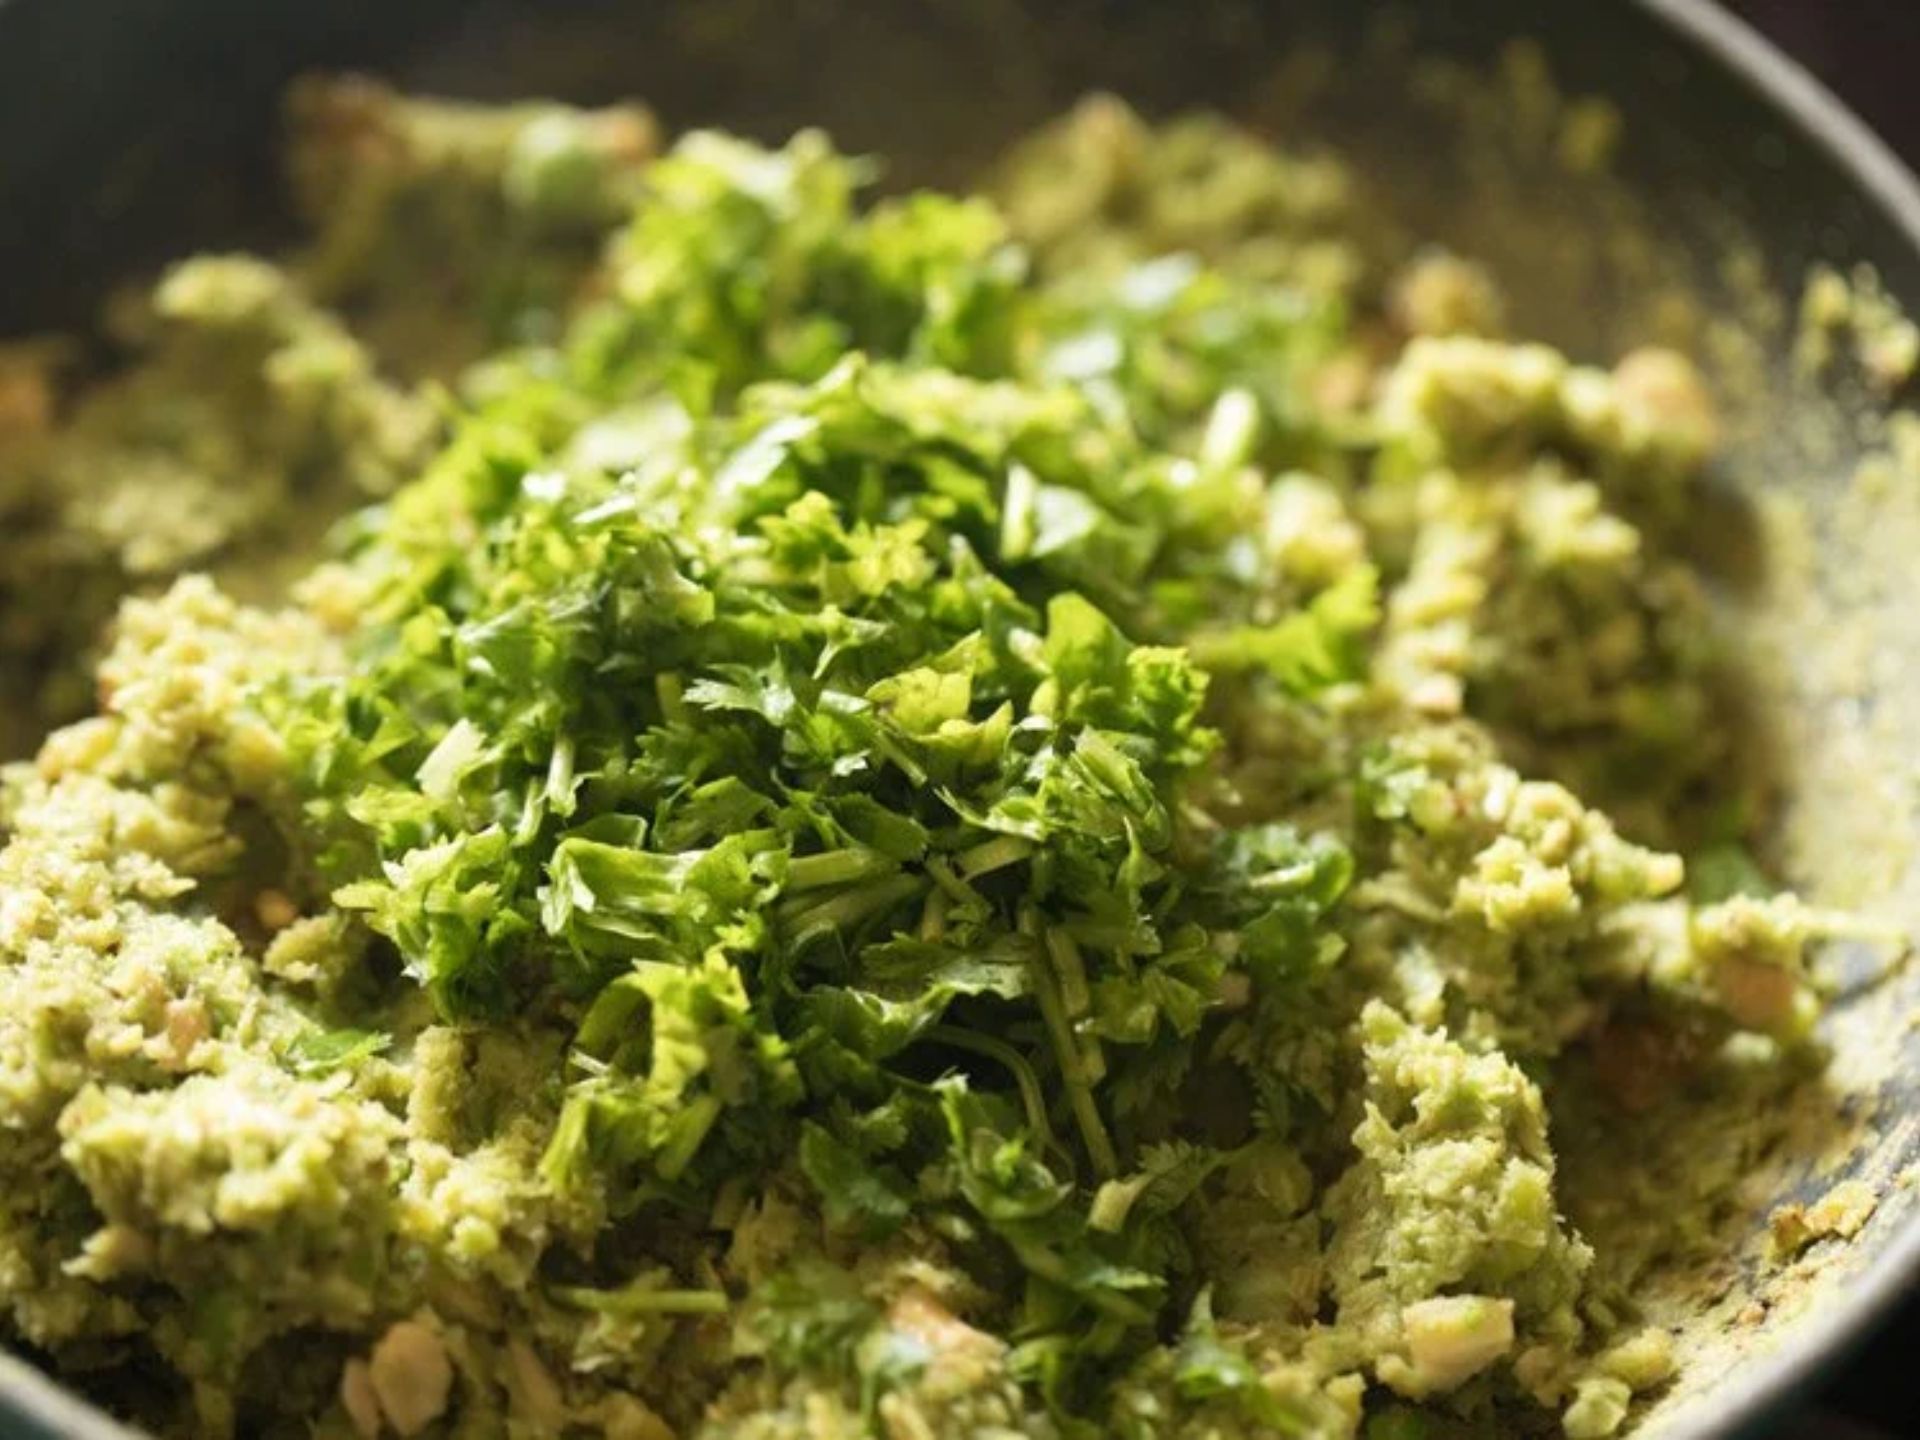
Time to bring in the freshness! Toss in a quarter cup of chopped coriander leaves. You can also add in some steamed and crushed green peas or mashed potatoes for that extra goodness. And hey, why not sprinkle in some grated coconut or crushed roasted peanuts too?
Step 12: Adding the Zing
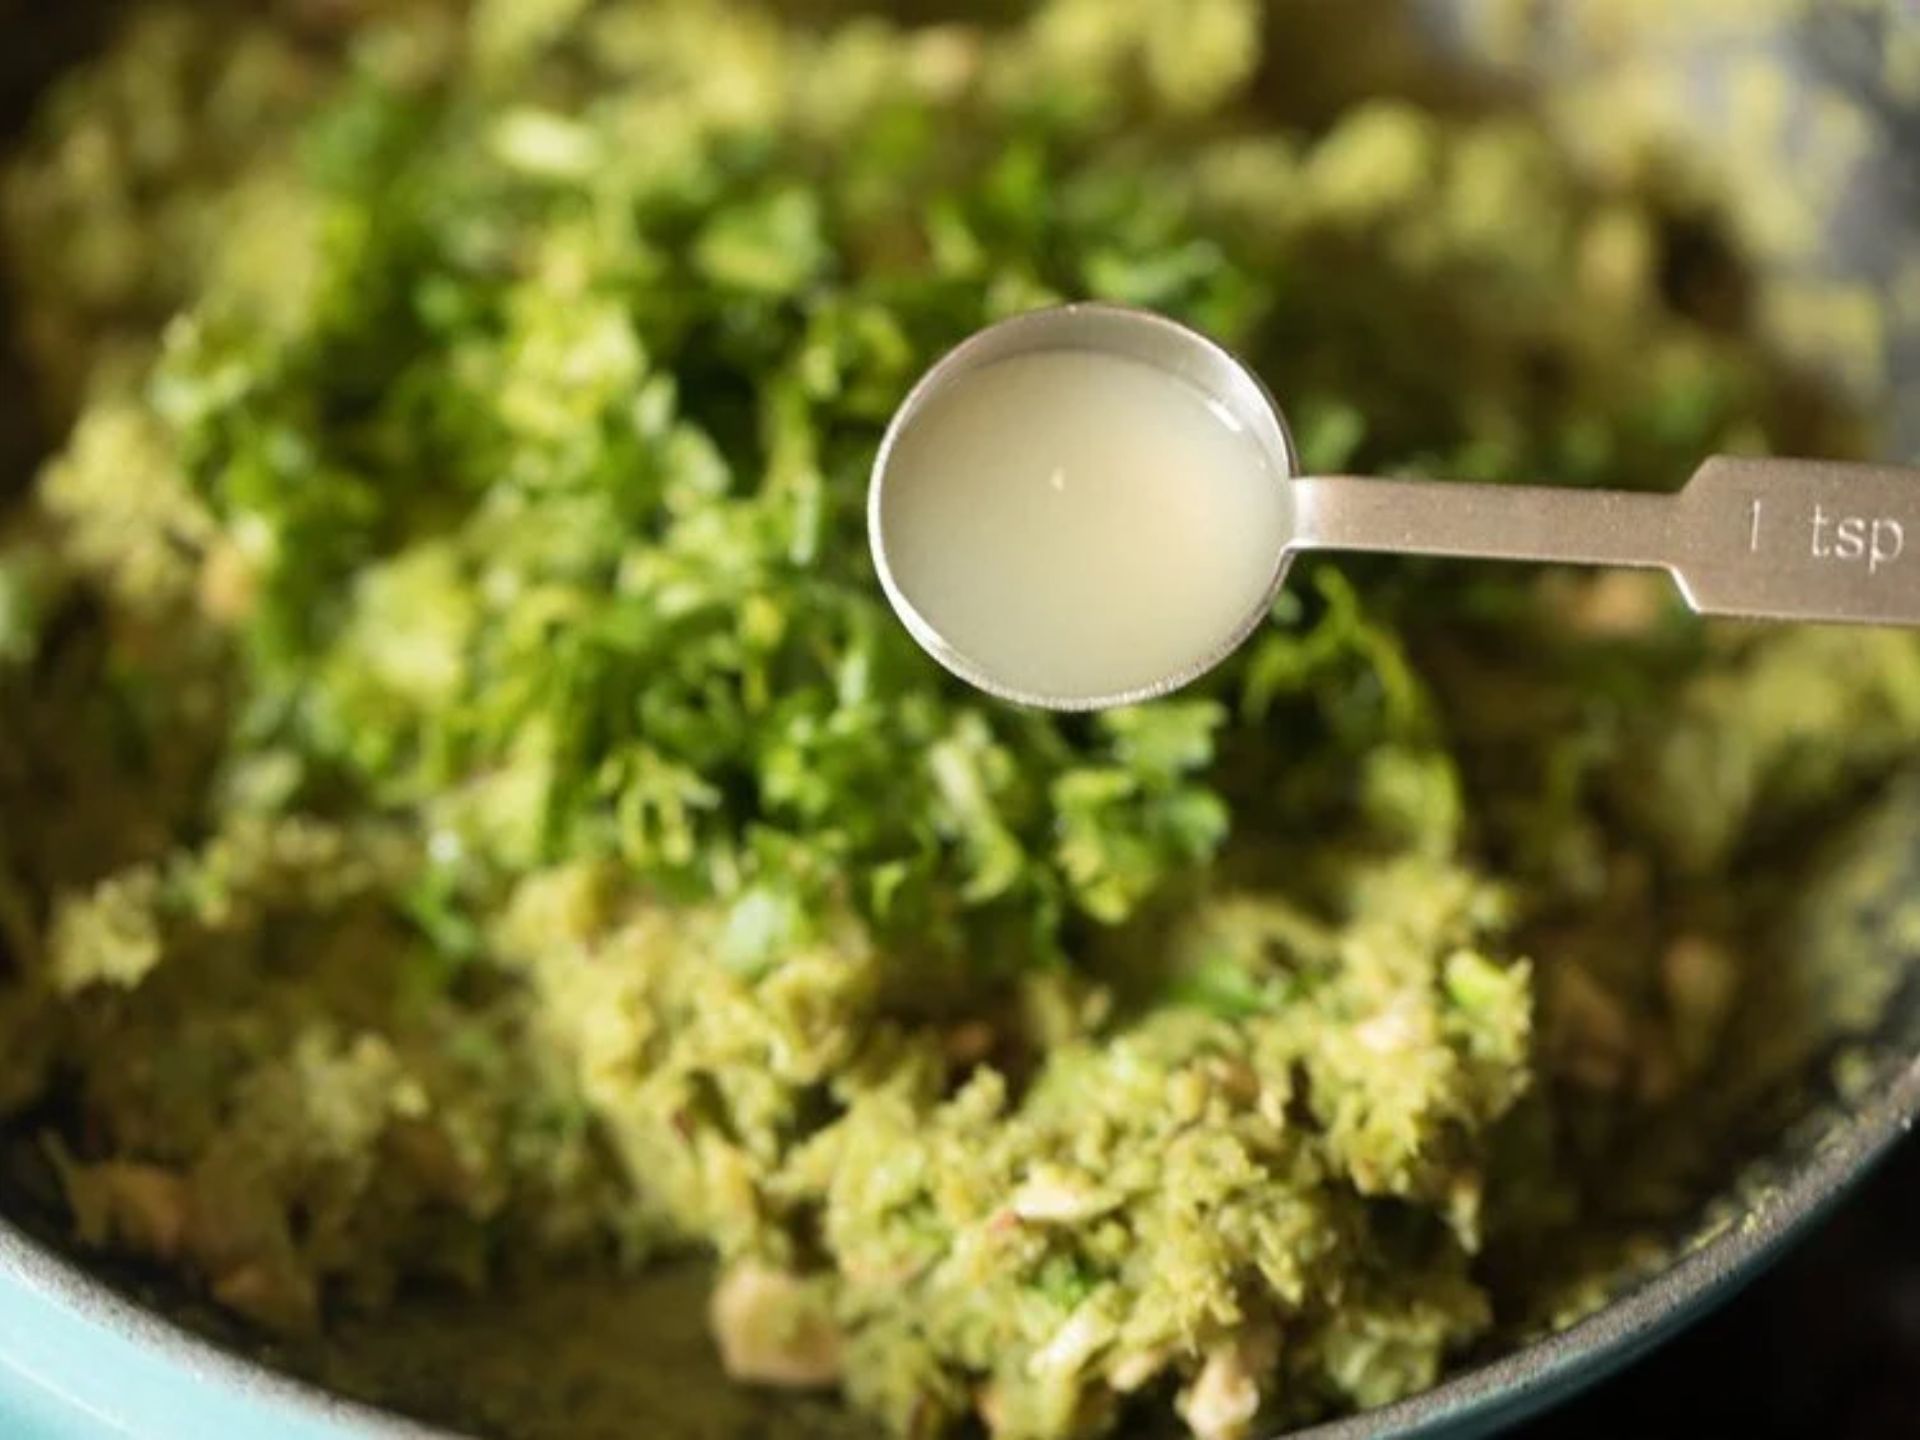
Now, let’s not forget the zing – 3 teaspoons of lemon juice. Give it a good mix, and taste. If it needs a little more love in the form of salt, sugar, or lemon juice, go ahead and add it. It’s your masterpiece!
Step 13: Rolling Time
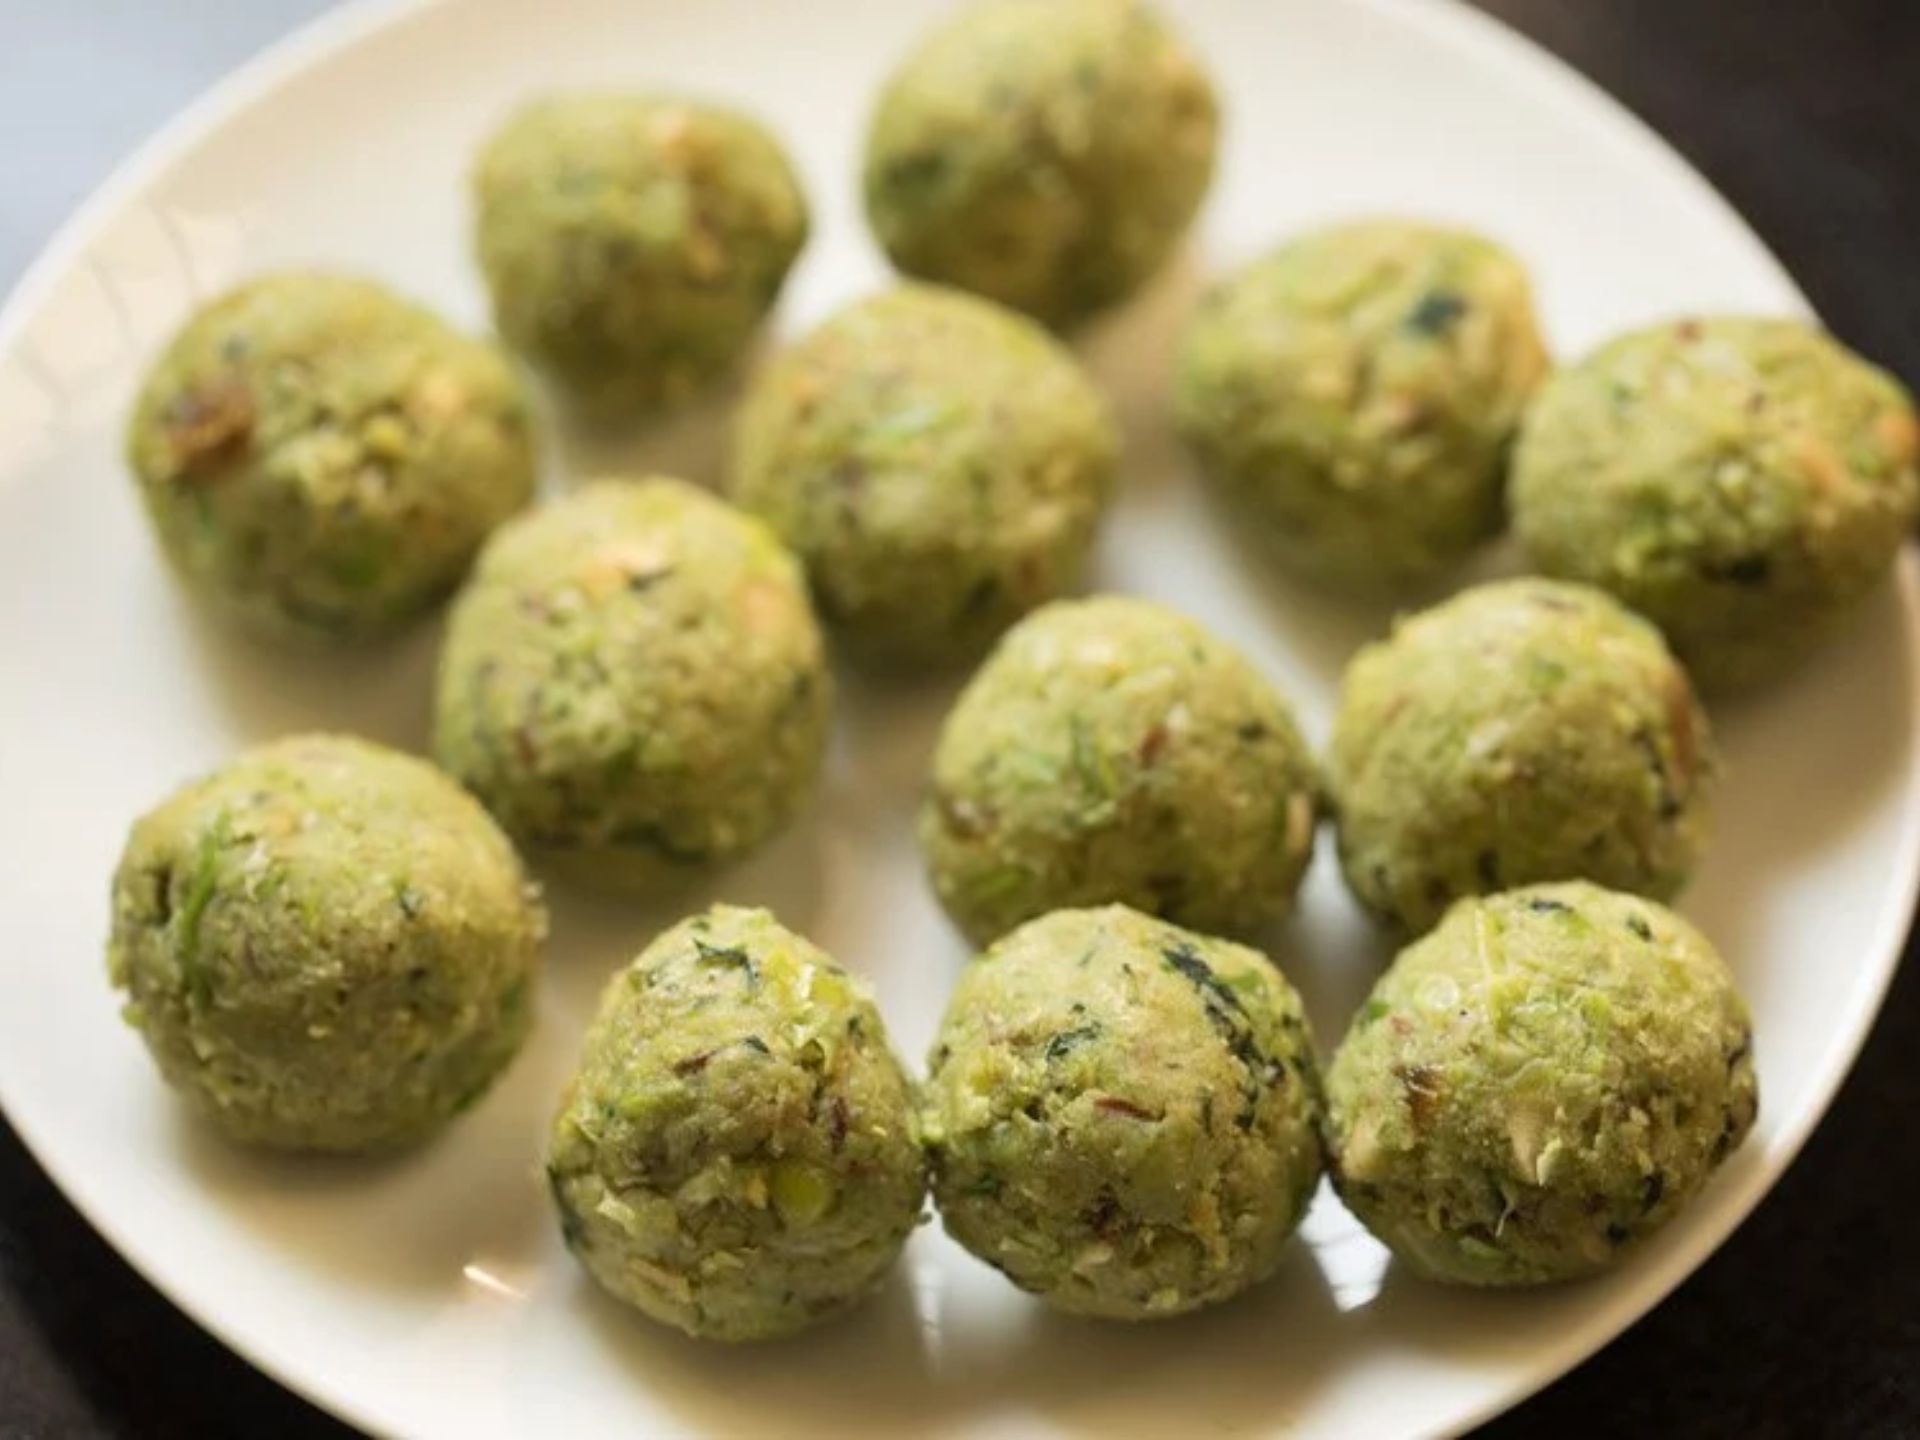
Shape the mixture into little balls, about 12 to 13 of them. Cover them up and let them rest for a while. They’re getting ready for their big moment!
Shaping and making Lilva kachori
Step 1: Getting Ready for Action
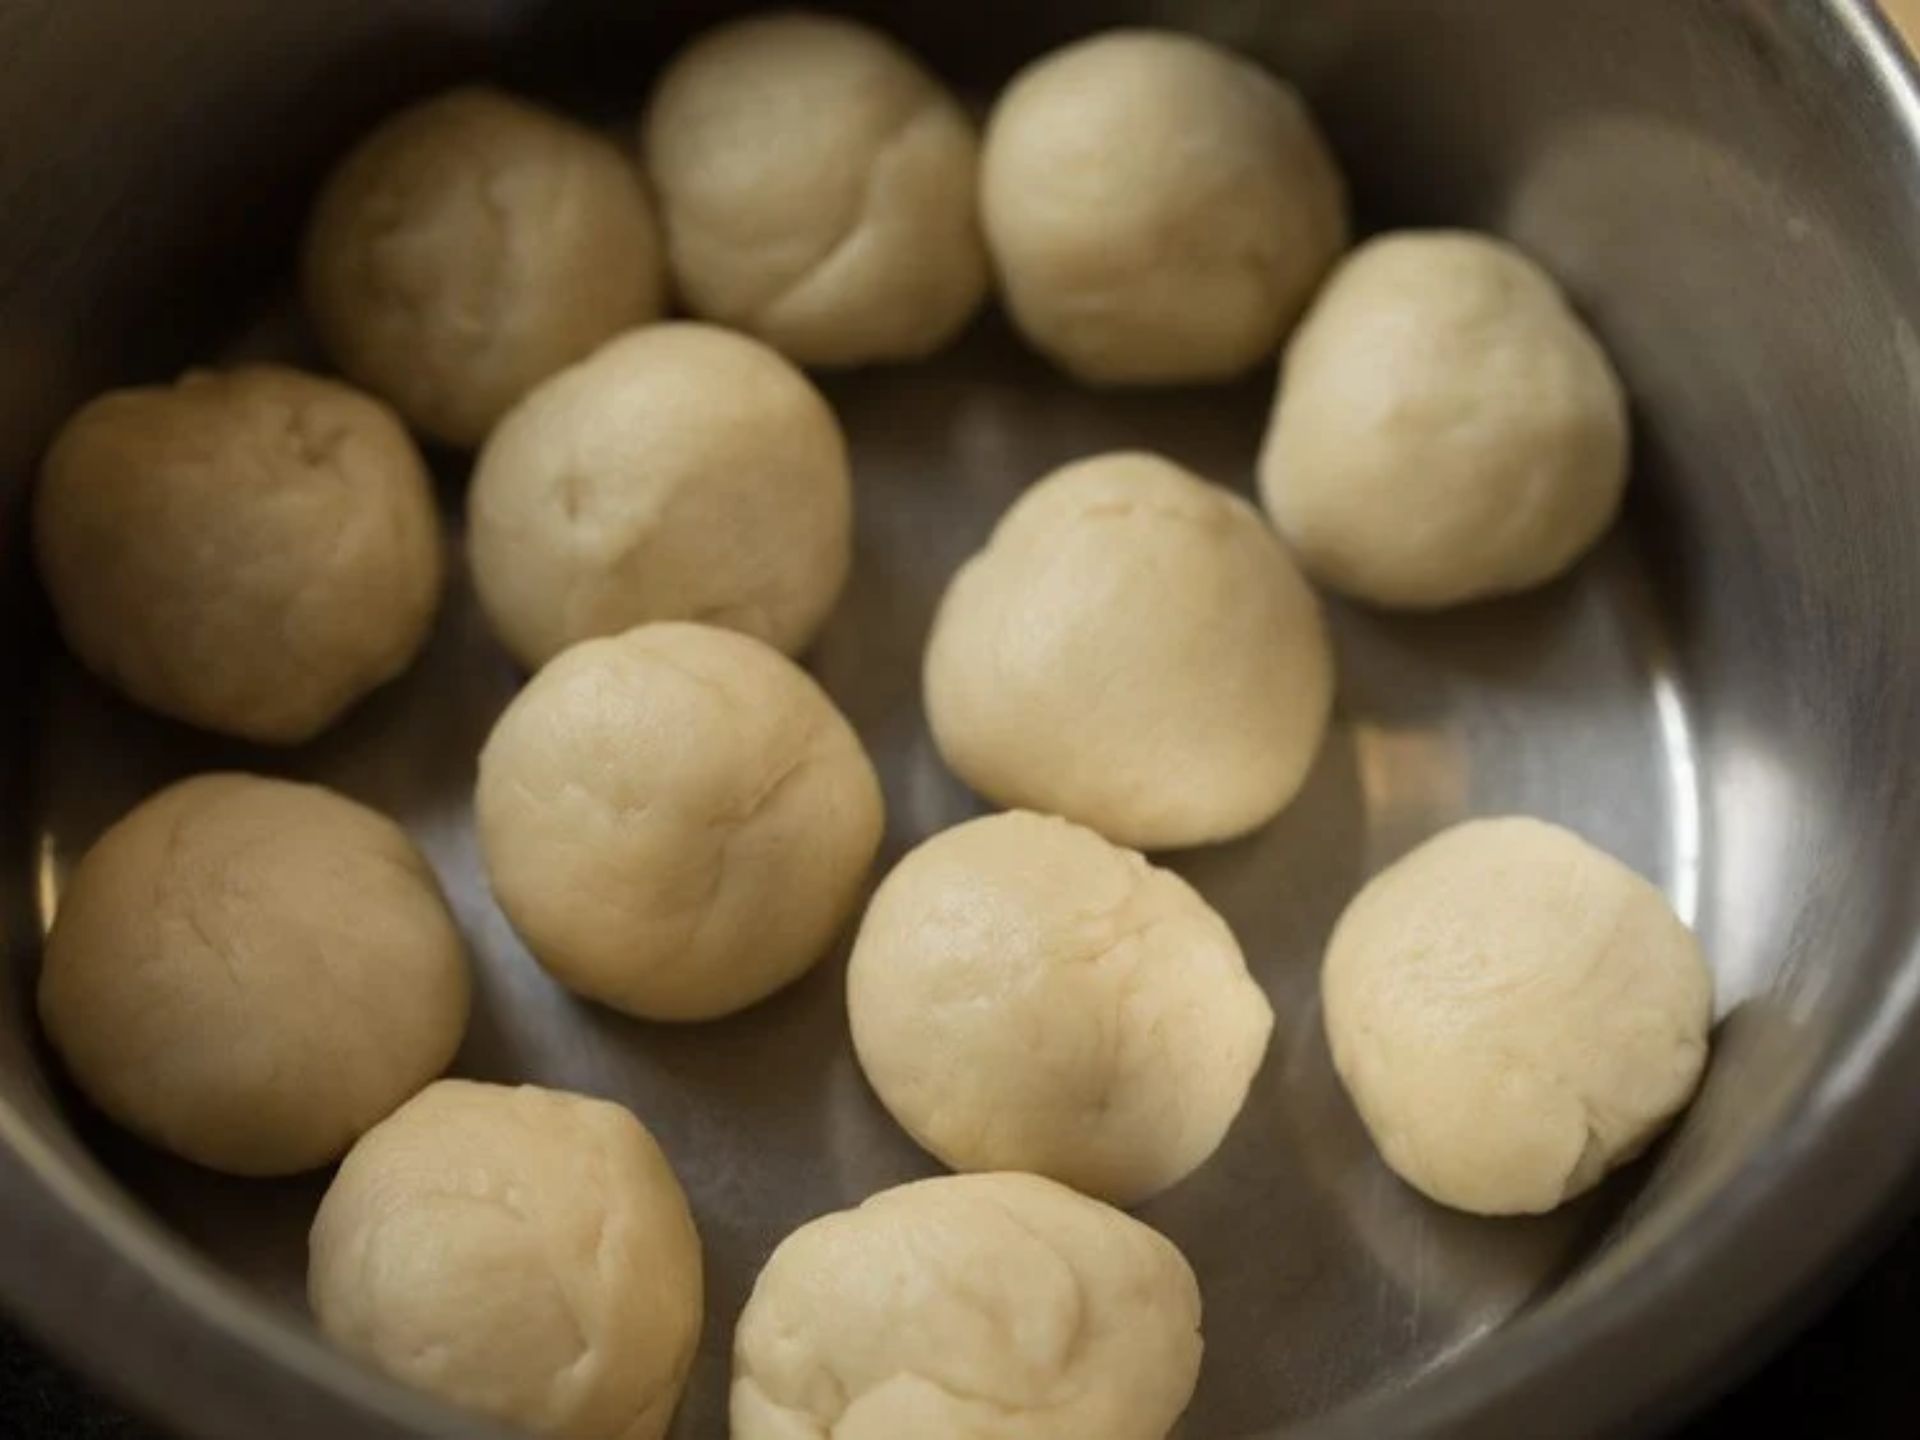
Alright, let’s get those hands working! Take the dough and give it a good knead, just like you’re making a special playdough. Pinch off about 12 to 13 small lumps and roll them into little balls. Imagine you’re creating a team of dough superheroes!
Step 2: Rolling into Shape
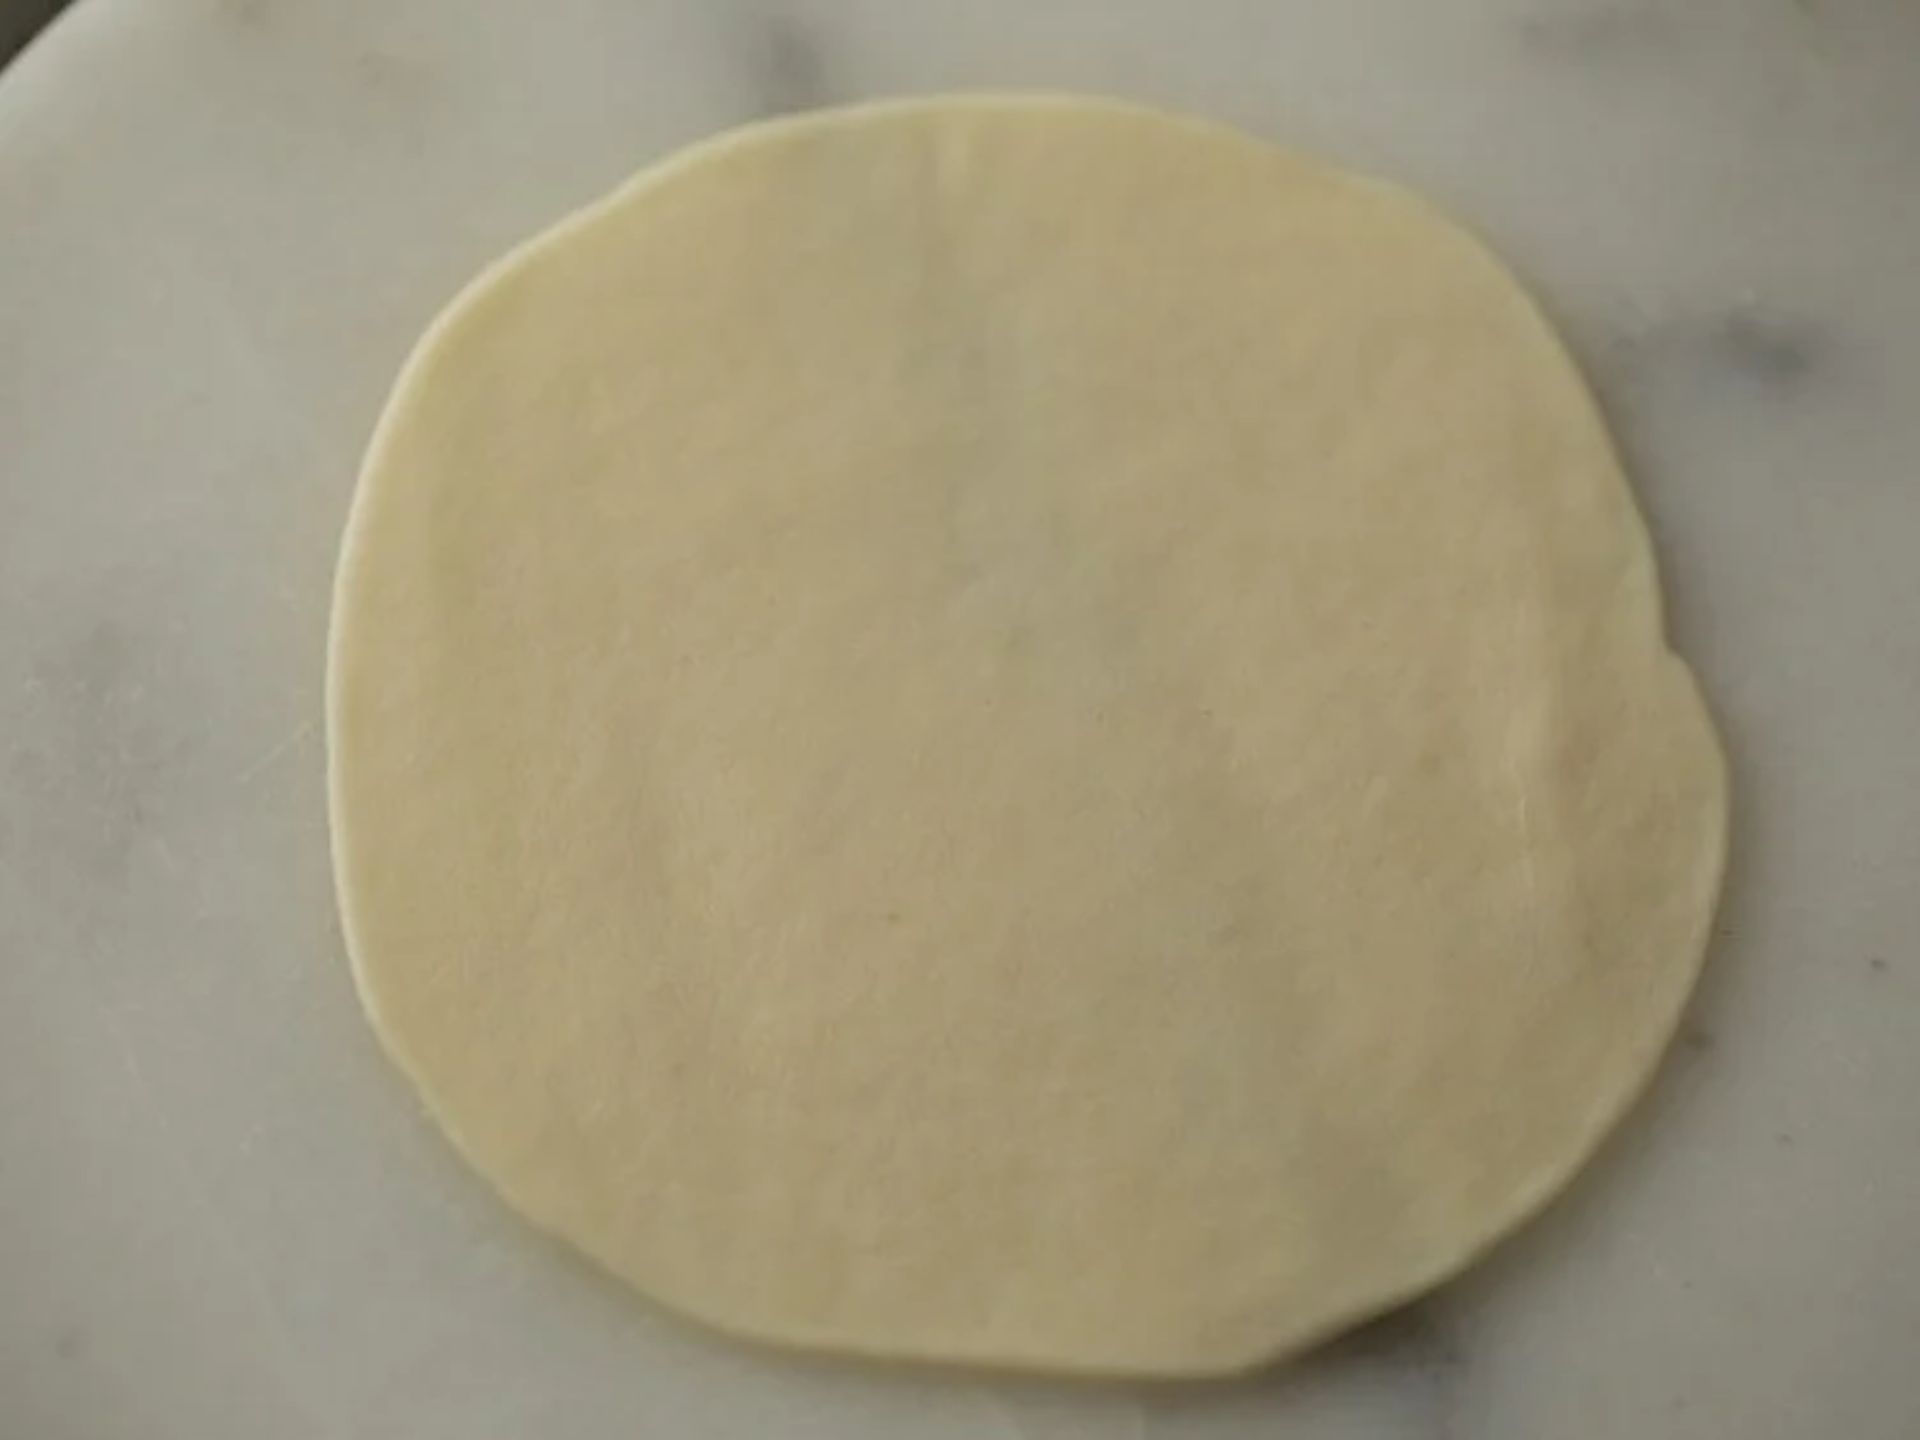
Now, it’s time to turn those dough balls into circles. Take one at a time, put it on your playdough arena, and roll it out into a circle about 5 to 6 inches wide. Be gentle, like you’re giving your dough buddy a soft hug.
Step 3: Center Stage for Stuffing
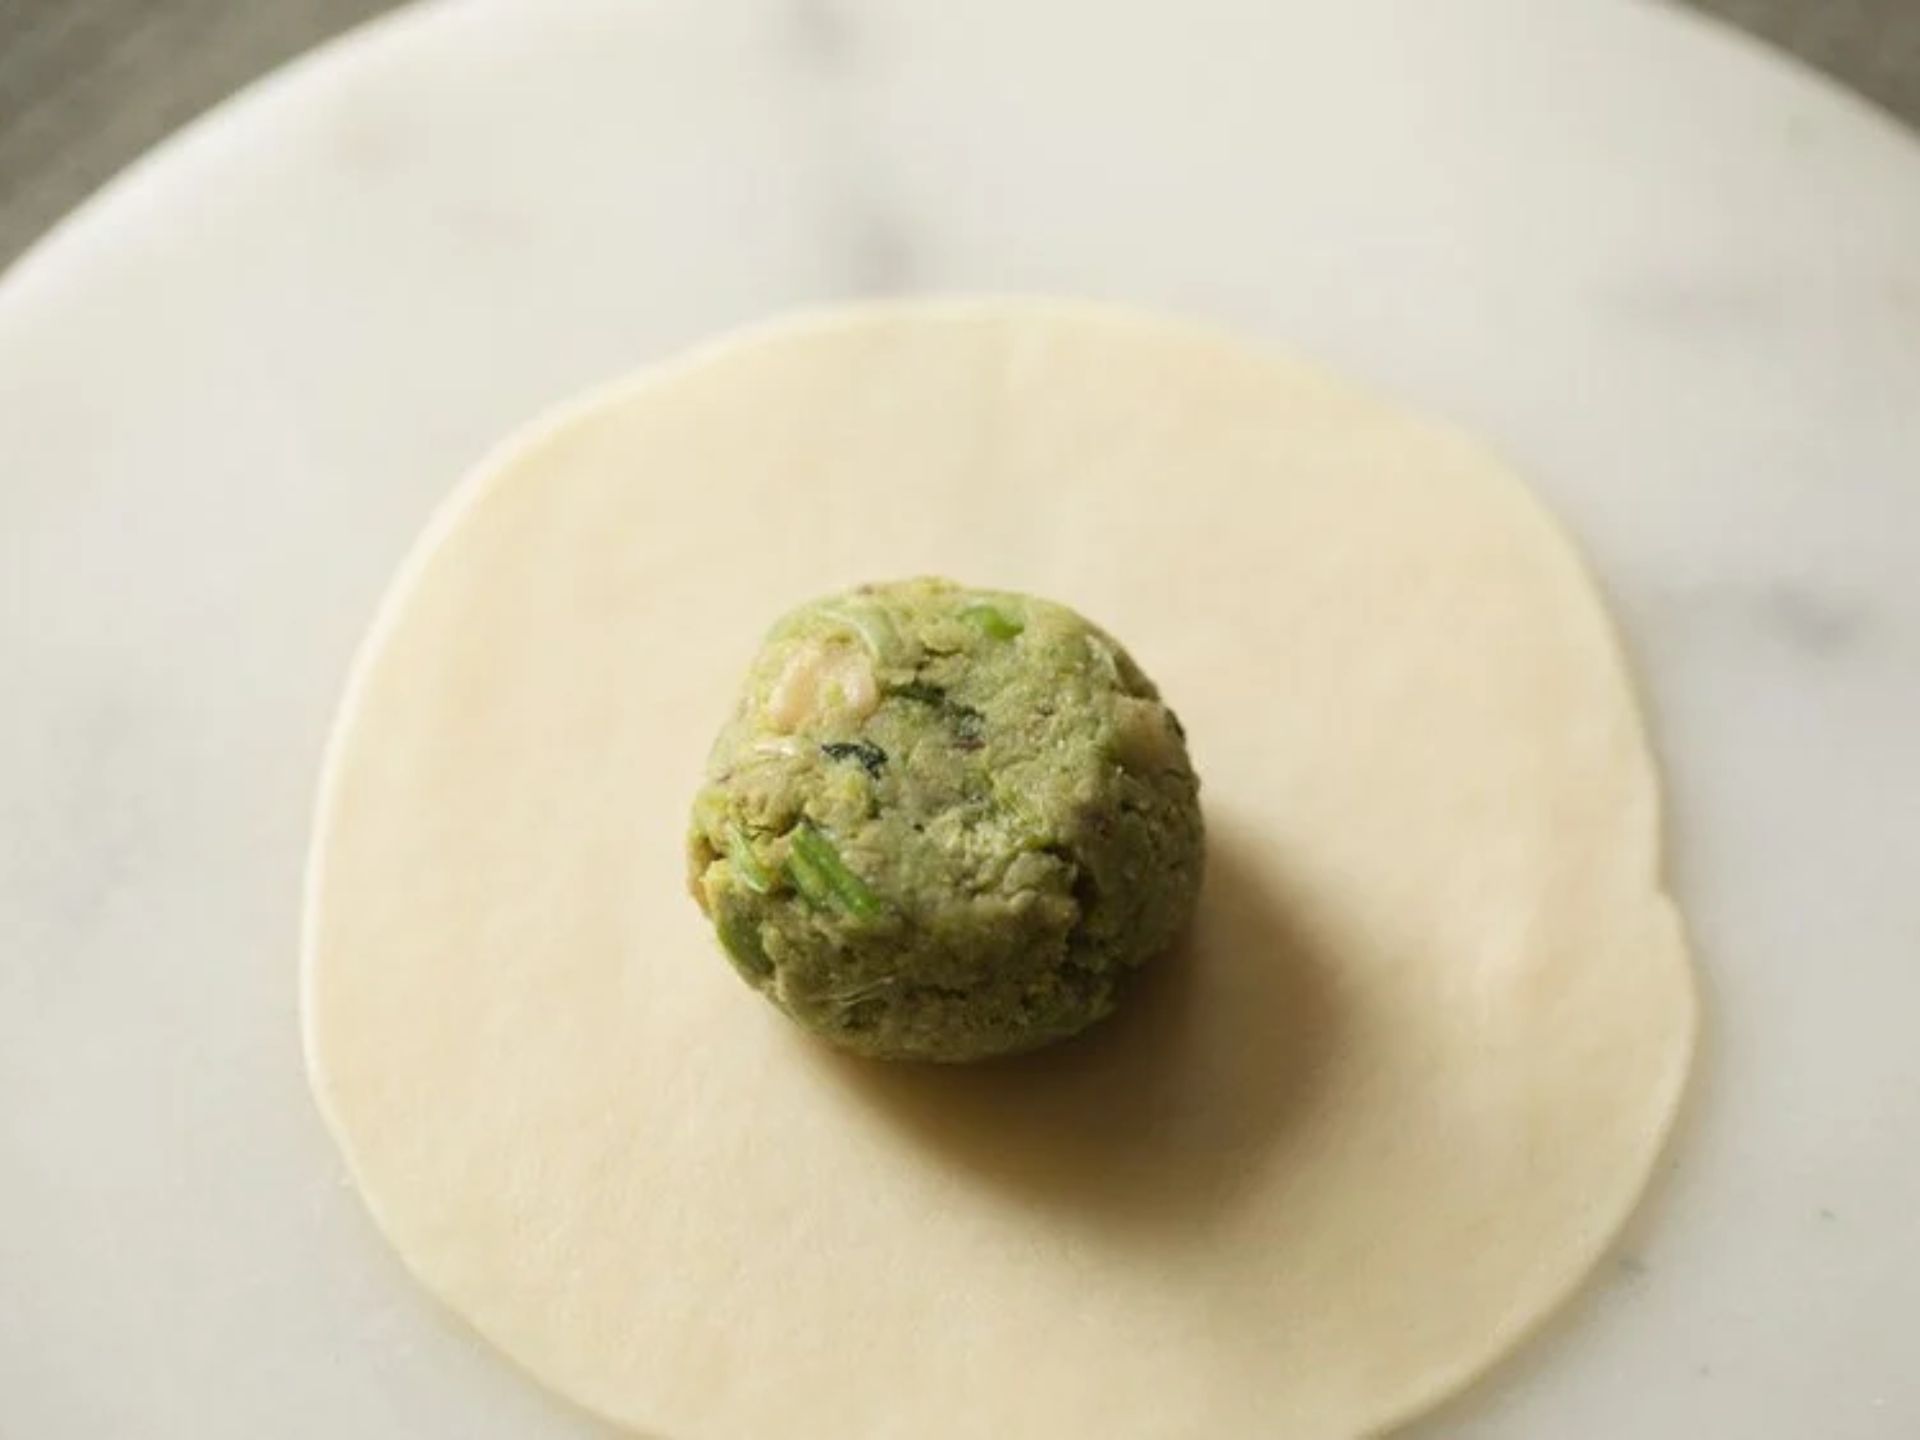
Place a little ball of our yummy stuffing right in the middle of your dough circle. It’s like giving your dough a surprise gift right in the heart! Gently press it down, making sure it’s comfy in there.
Step 4: The Art of Pleating
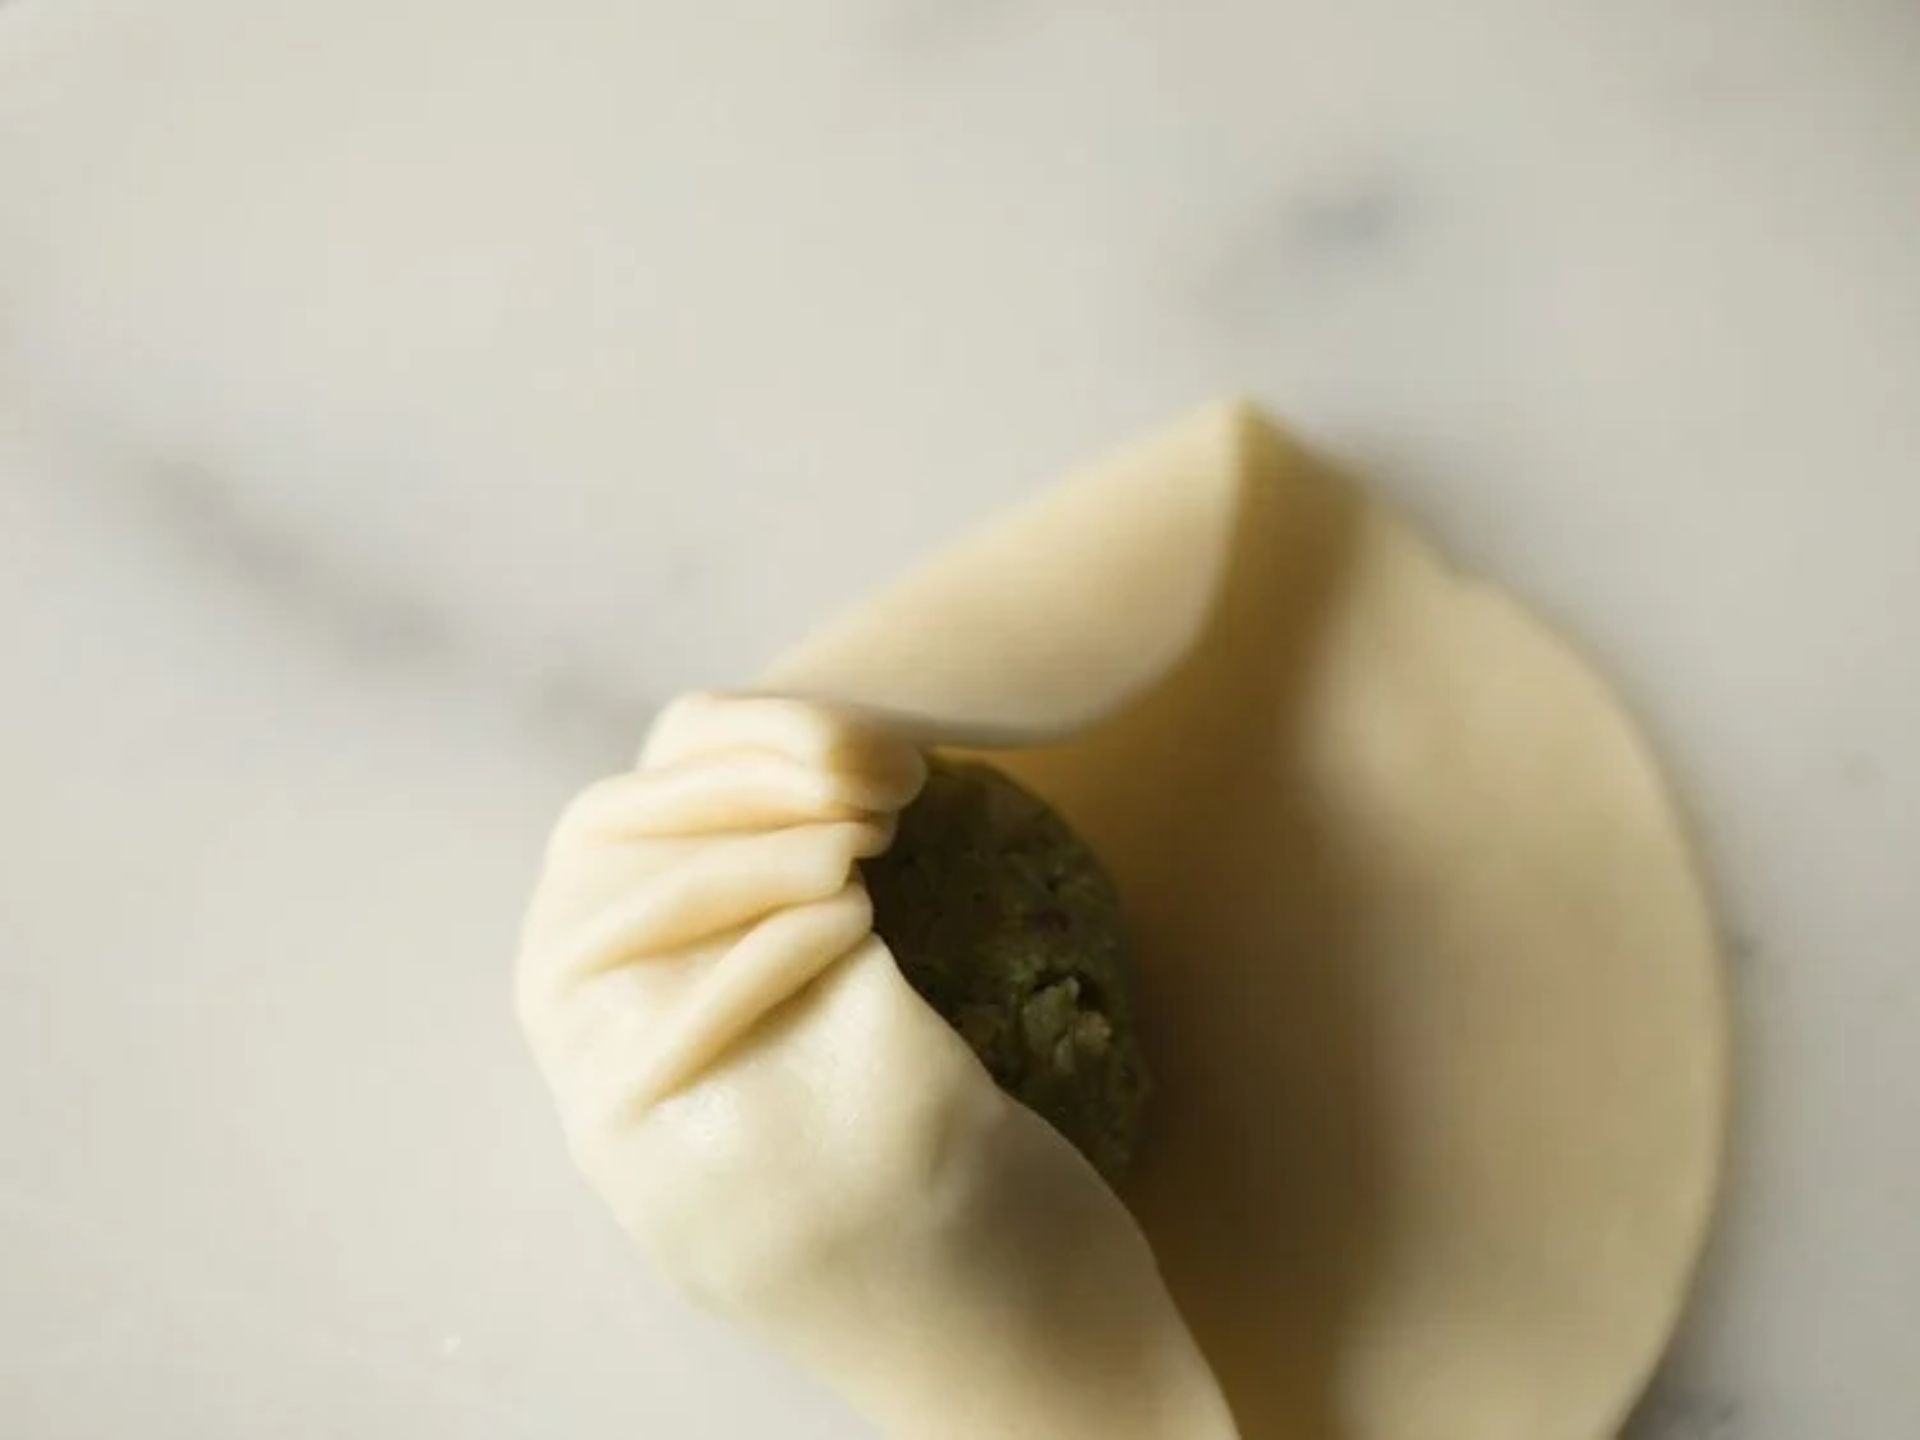
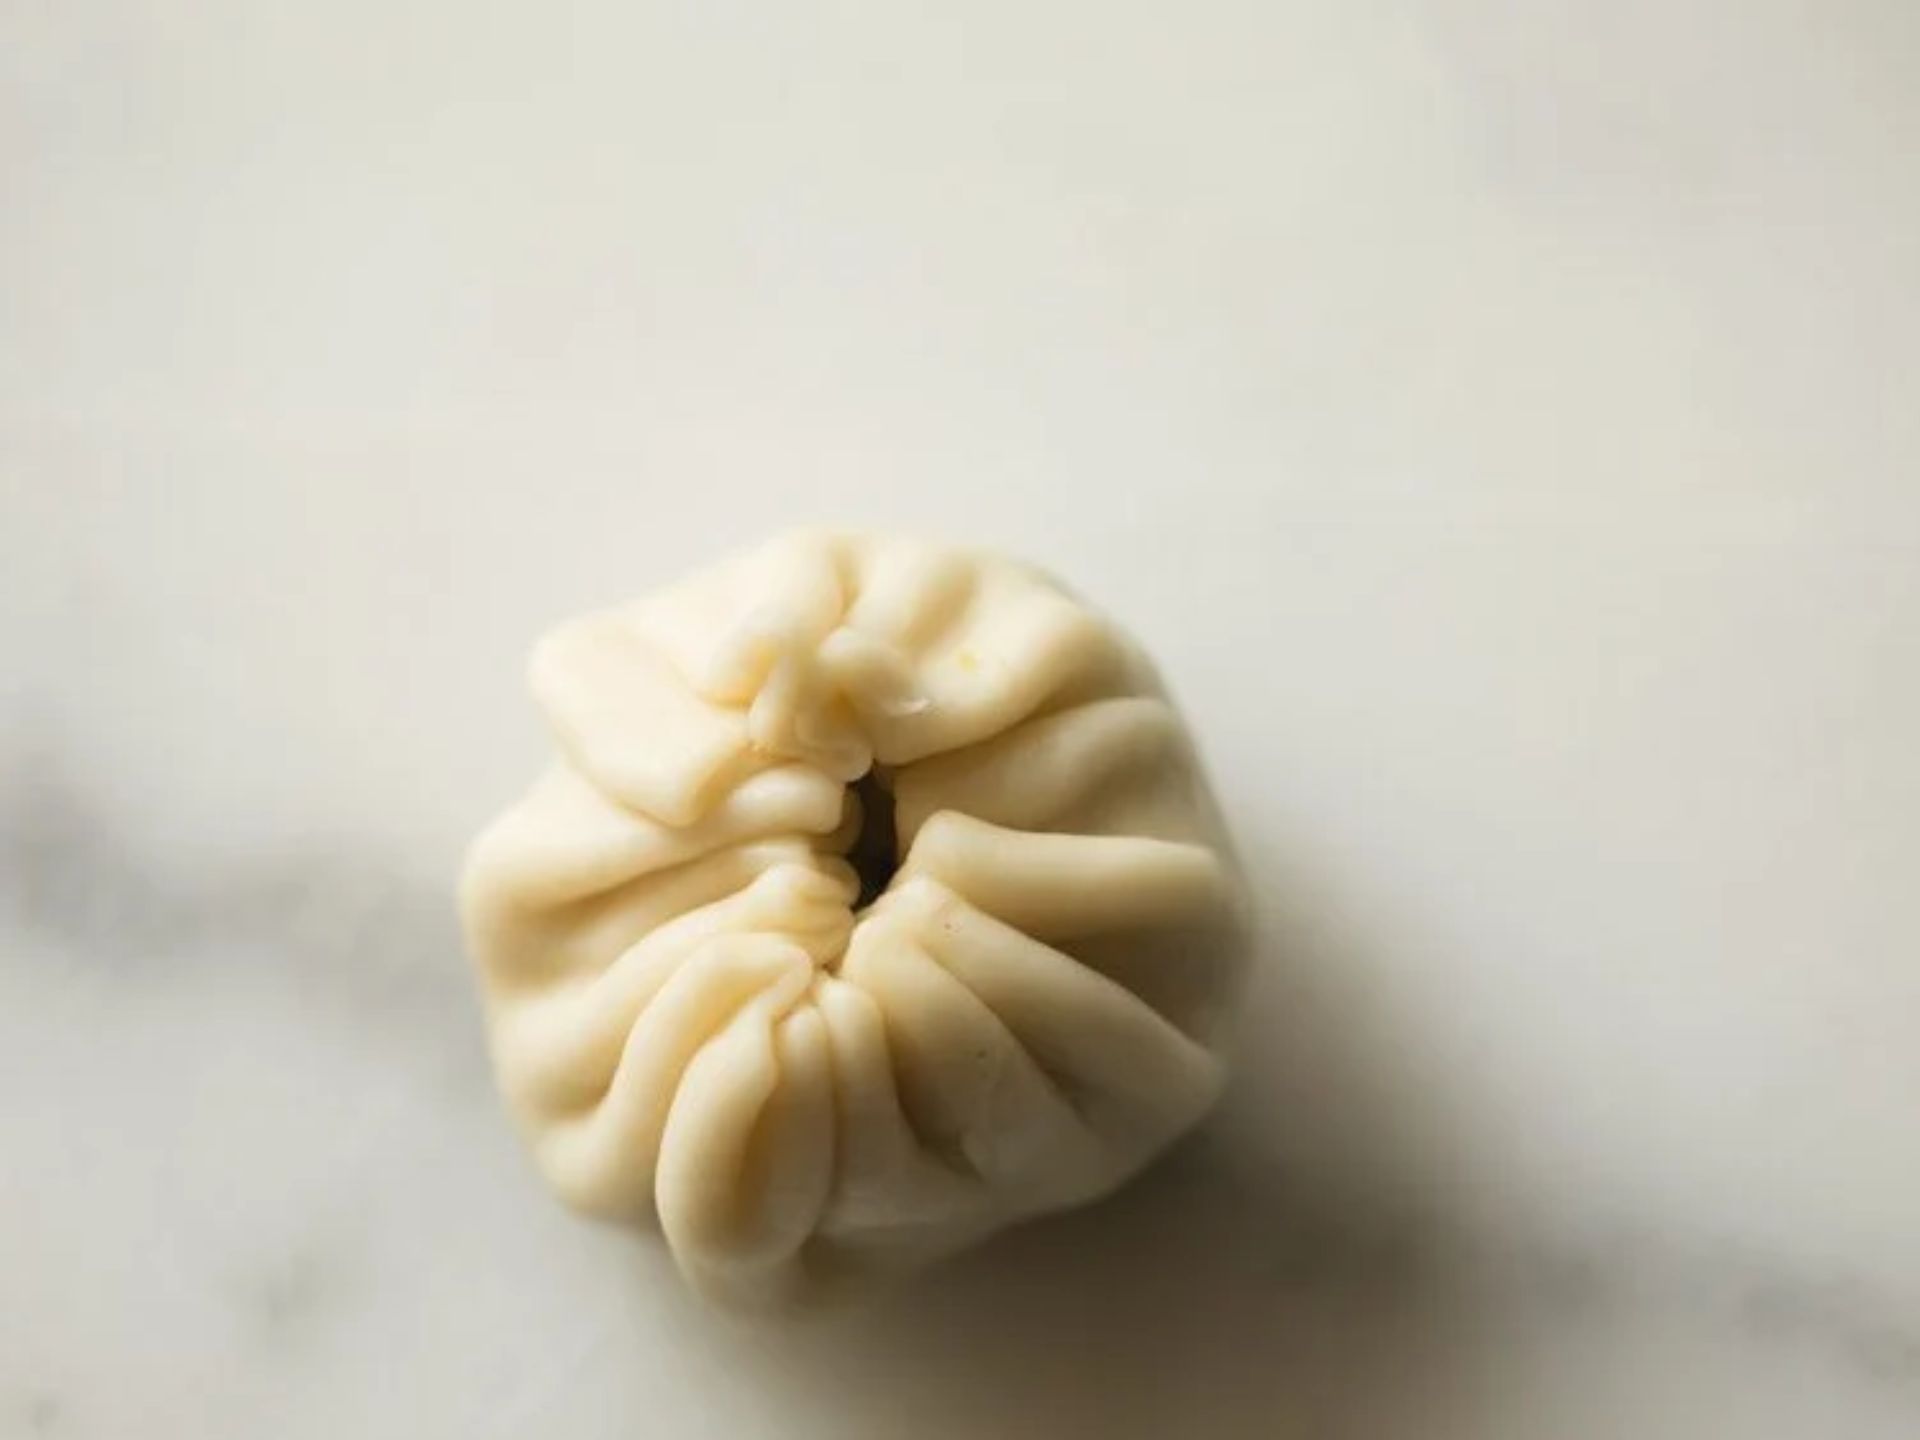
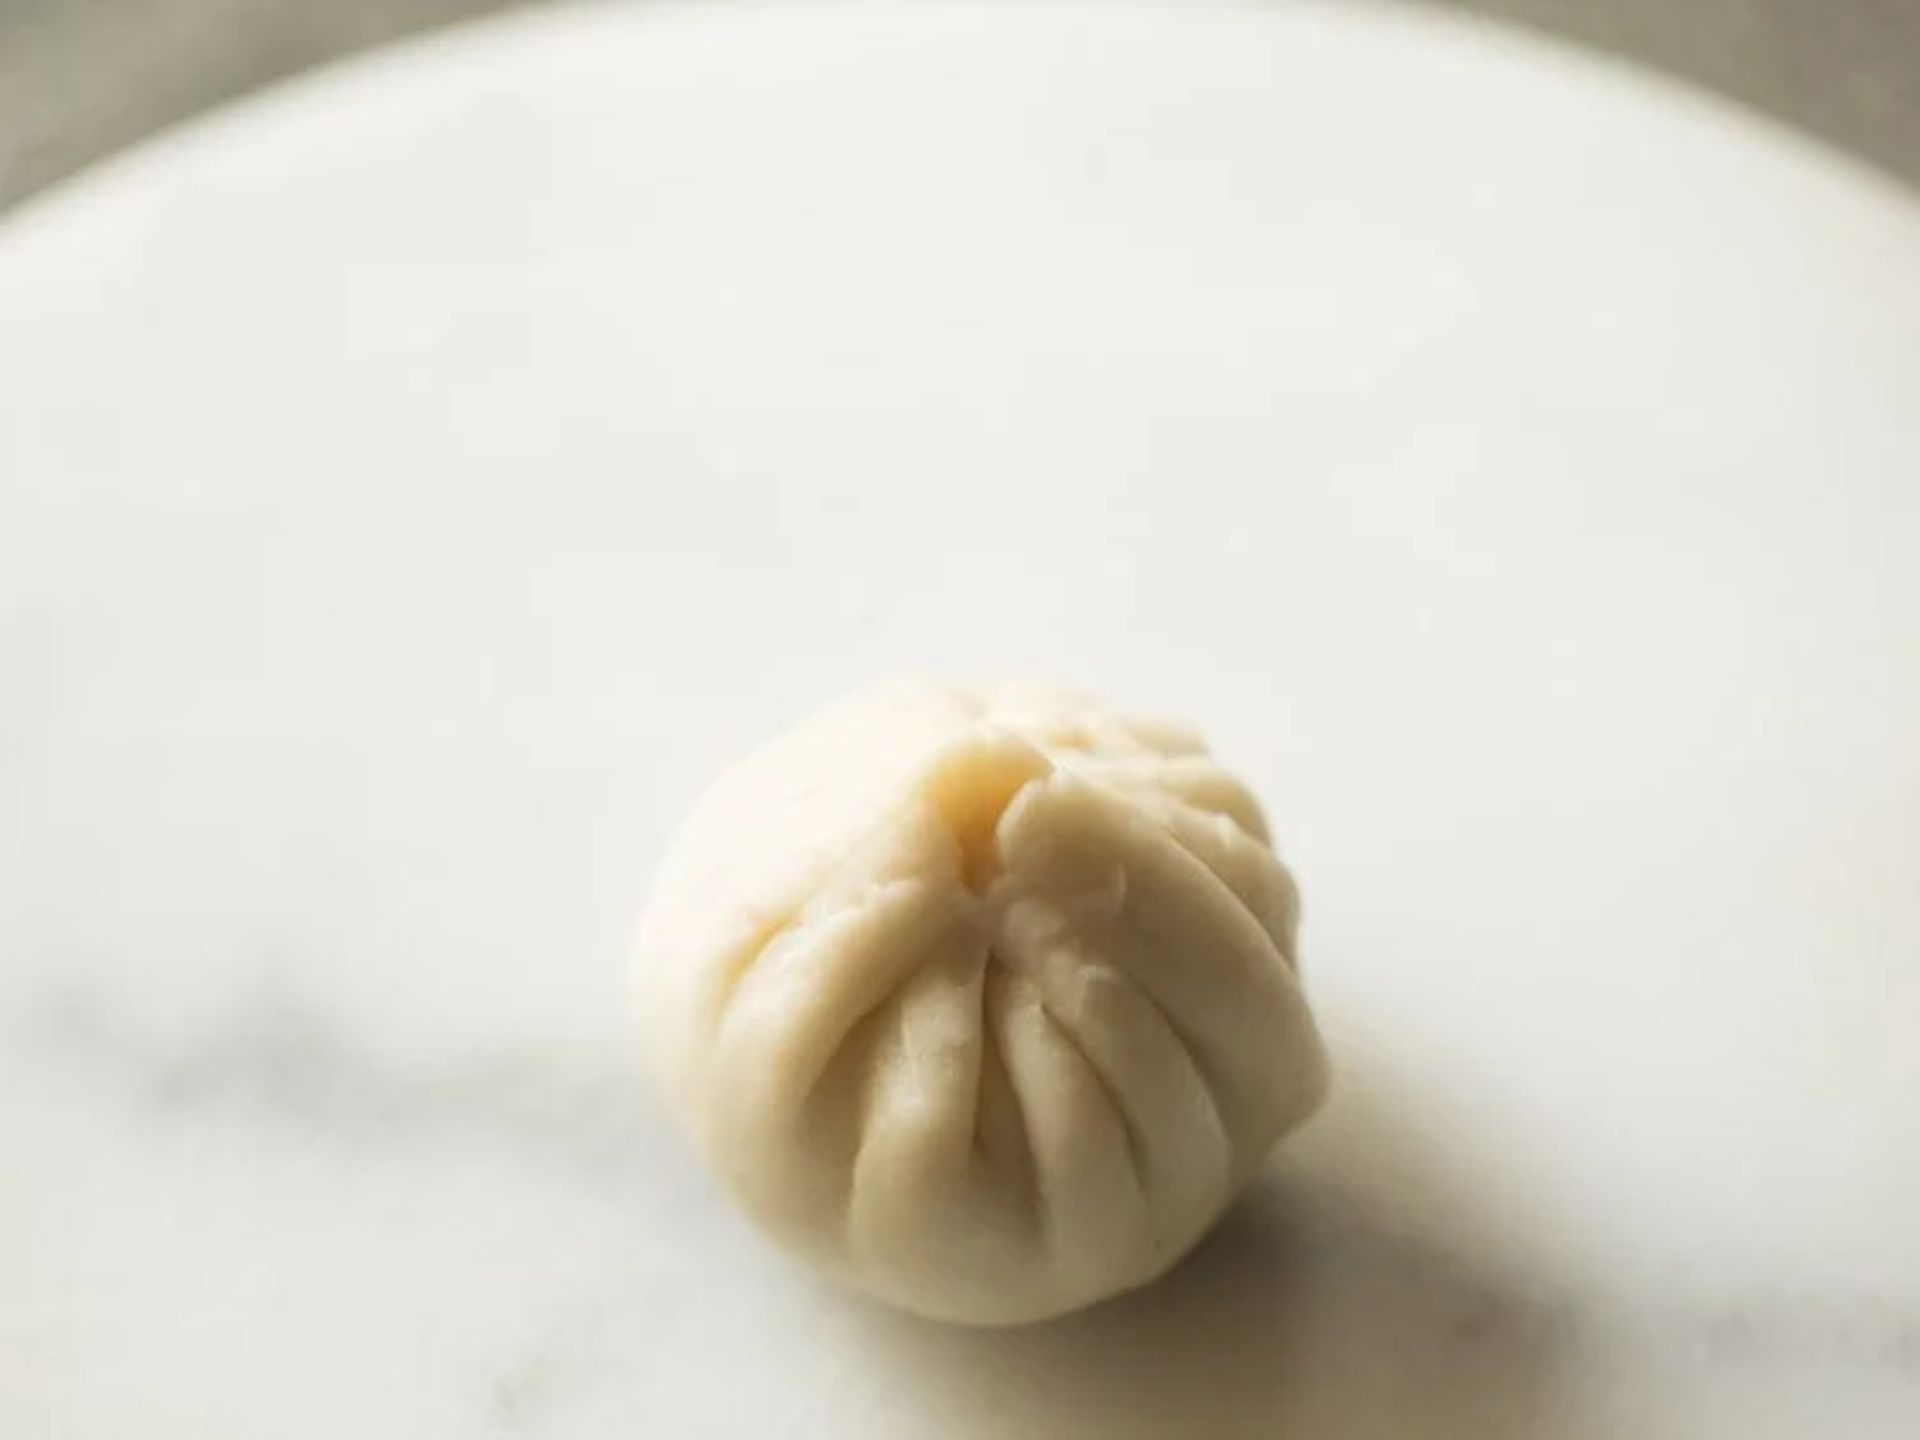
Now, let’s add some magic folds! Take the edges of your dough circle and fold them over the stuffing, just like you would wrap up a cozy blanket. Keep going until it’s all pleated up. It’s like creating a snug home for your little stuffing friend.
Step 5: Bringing It All Together
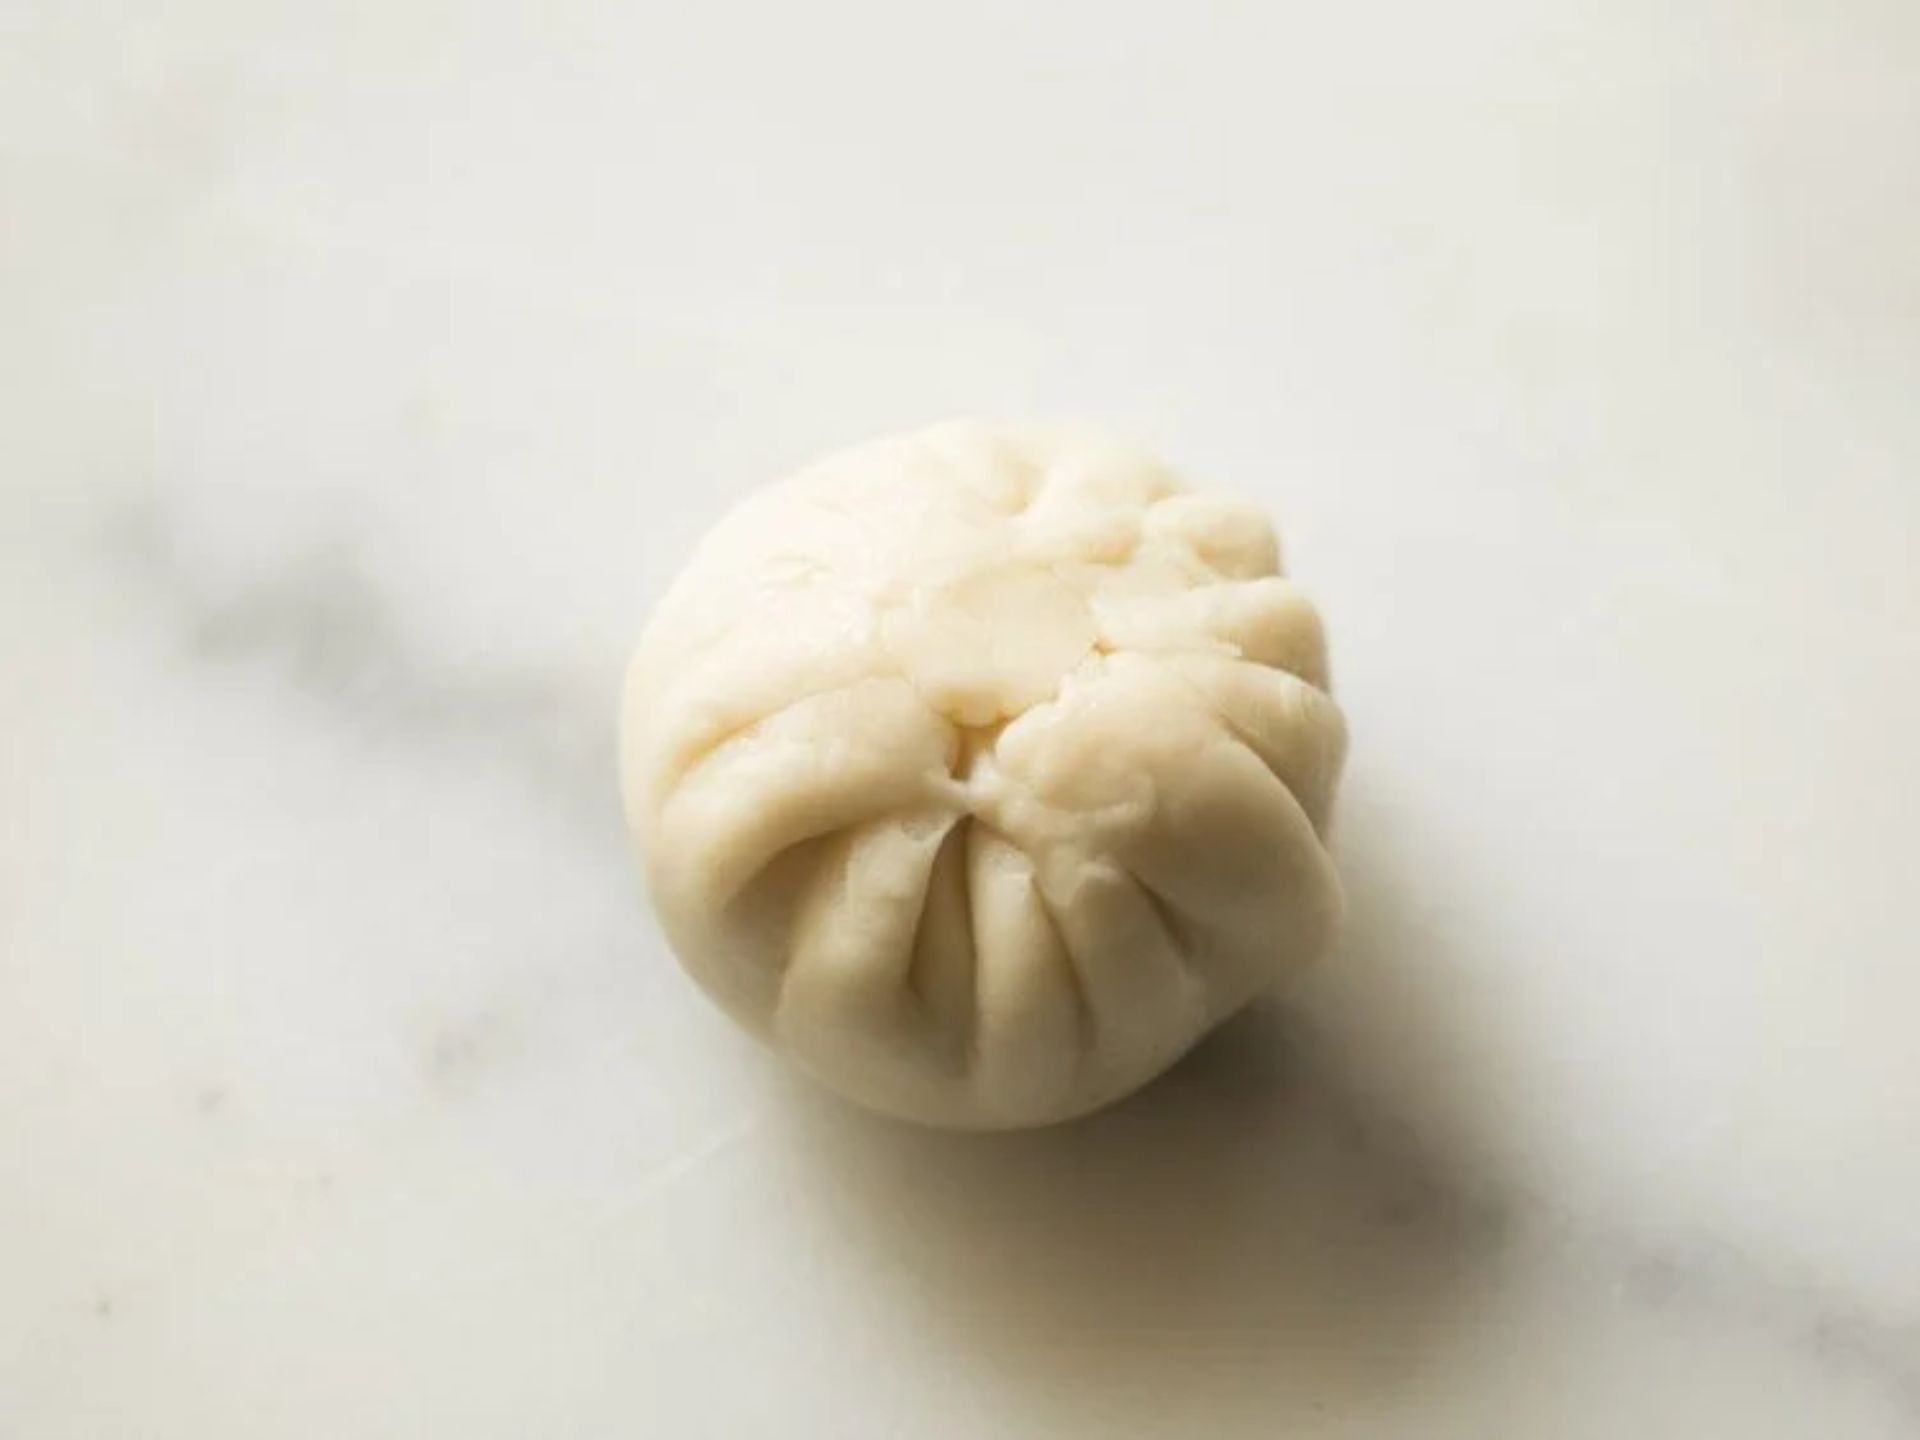
Keep pleating until the edges meet at the top, like friends giving each other a high-five. Join them together and give it a little press, sealing the friendship. It’s teamwork in action!
Step 6: The Perfect Flattening
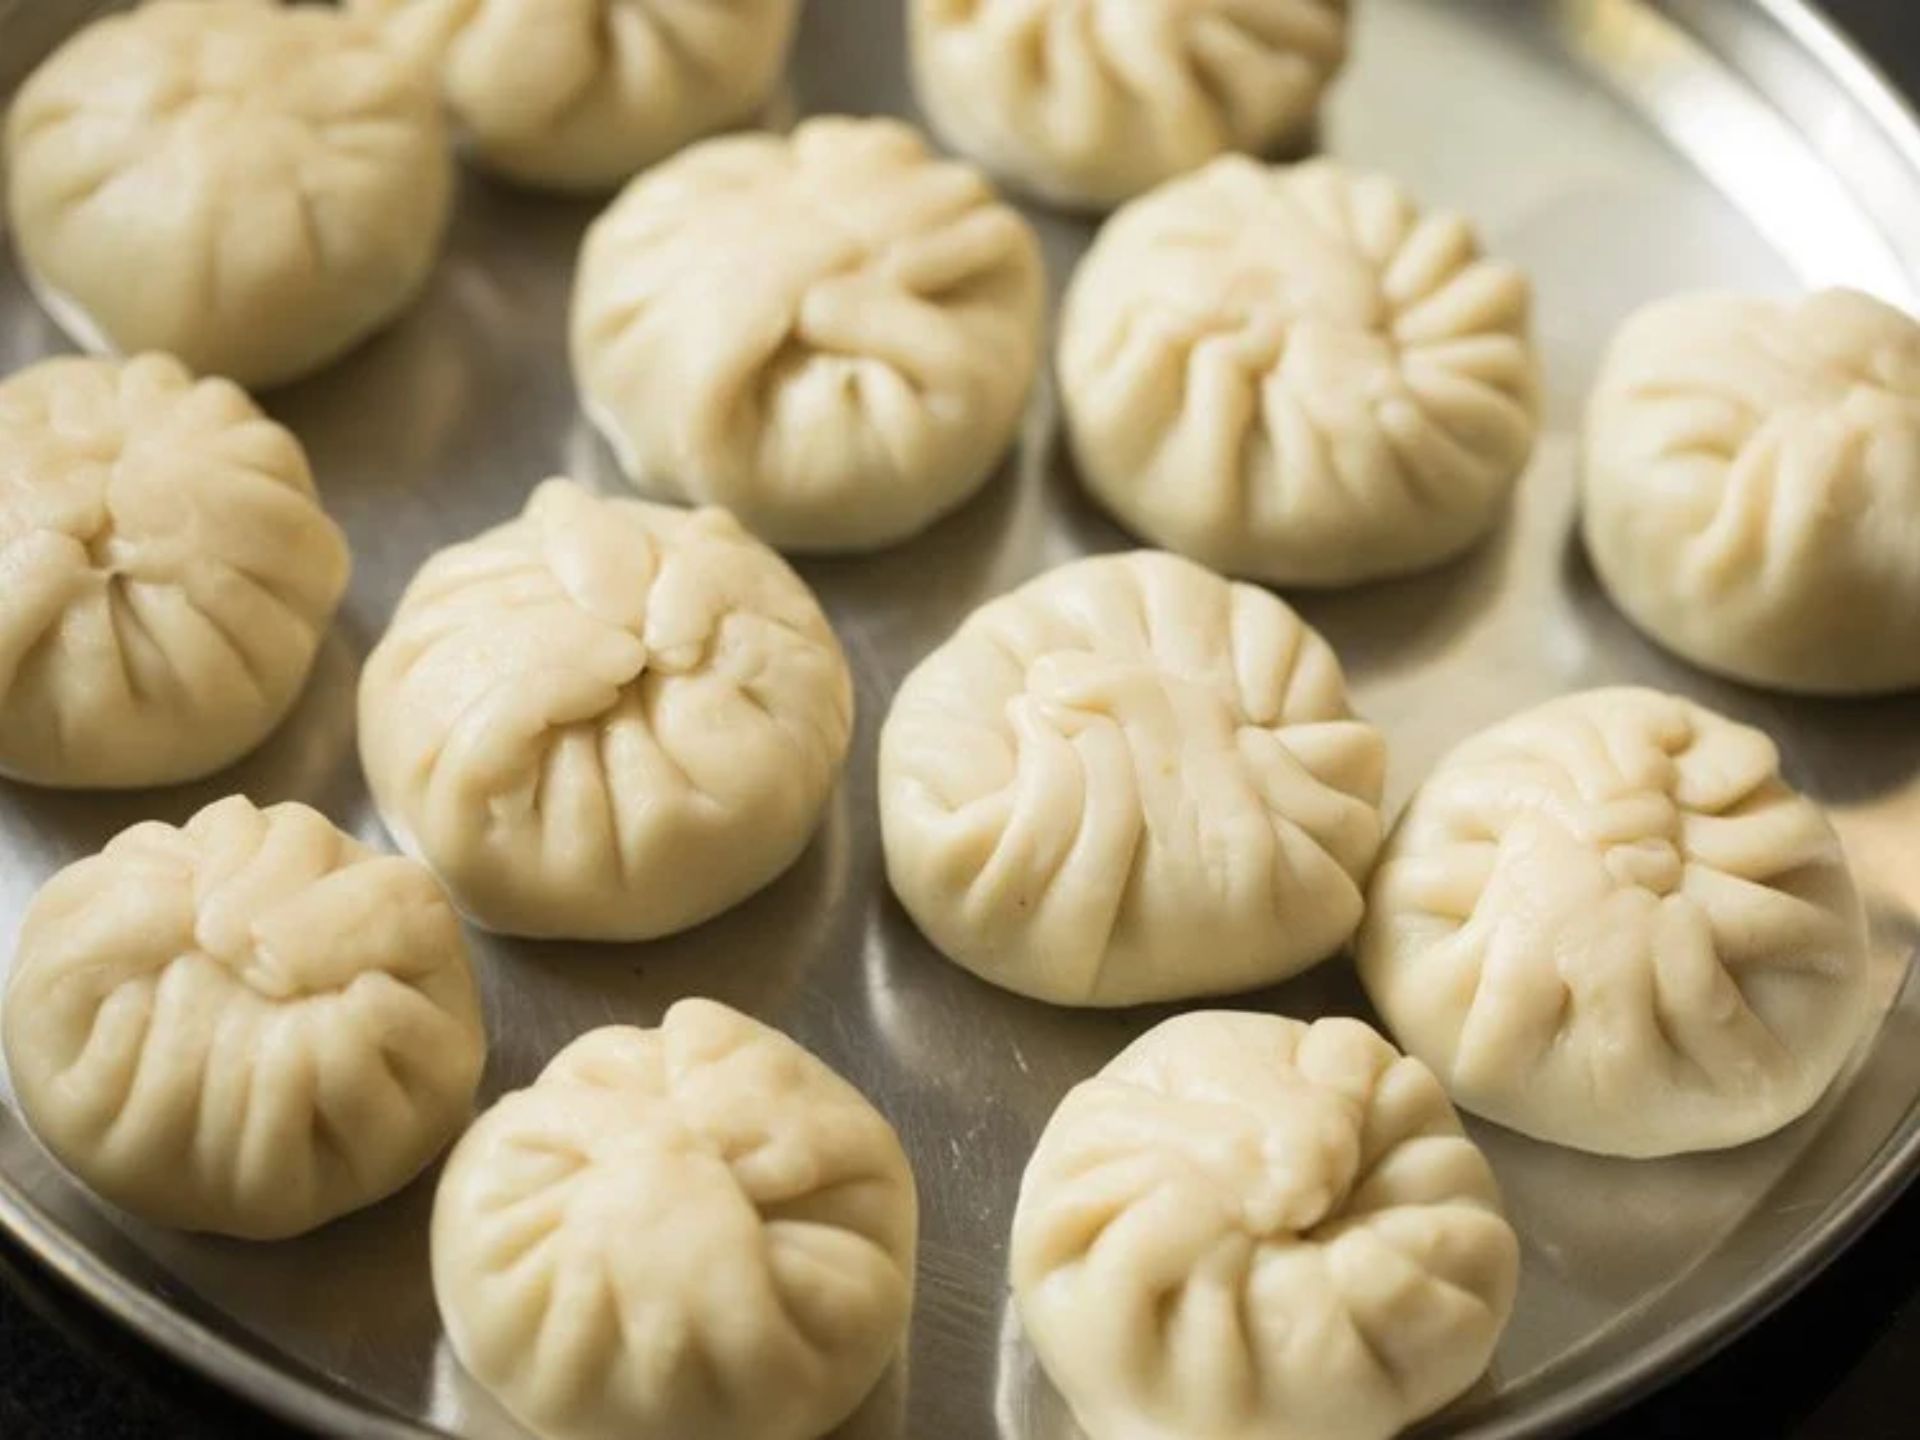
Gently press down on the top part you just joined. This makes it easier for our kachori to swim happily in the hot oil later. If you feel like being a little creative, you can press the edges without flattening the top. It’s like giving your kachori its own unique hairstyle!
Step 7: Repeat the Fun
Do this with all your dough circles and stuffing buddies. It’s like creating a whole family of delicious treats! Cover them up with a soft cotton napkin or kitchen towel, like tucking them in for a cozy nap.
Frying lilva kachori
Step 1: Warming Up the Oil
Let’s get the party started! Pour some oil into a big, round kadai and heat it up. Keep it on a medium-low flame; we don’t want it too hot. Imagine the oil as a cozy swimming pool for our kachoris.
Step 2: Temperature Check
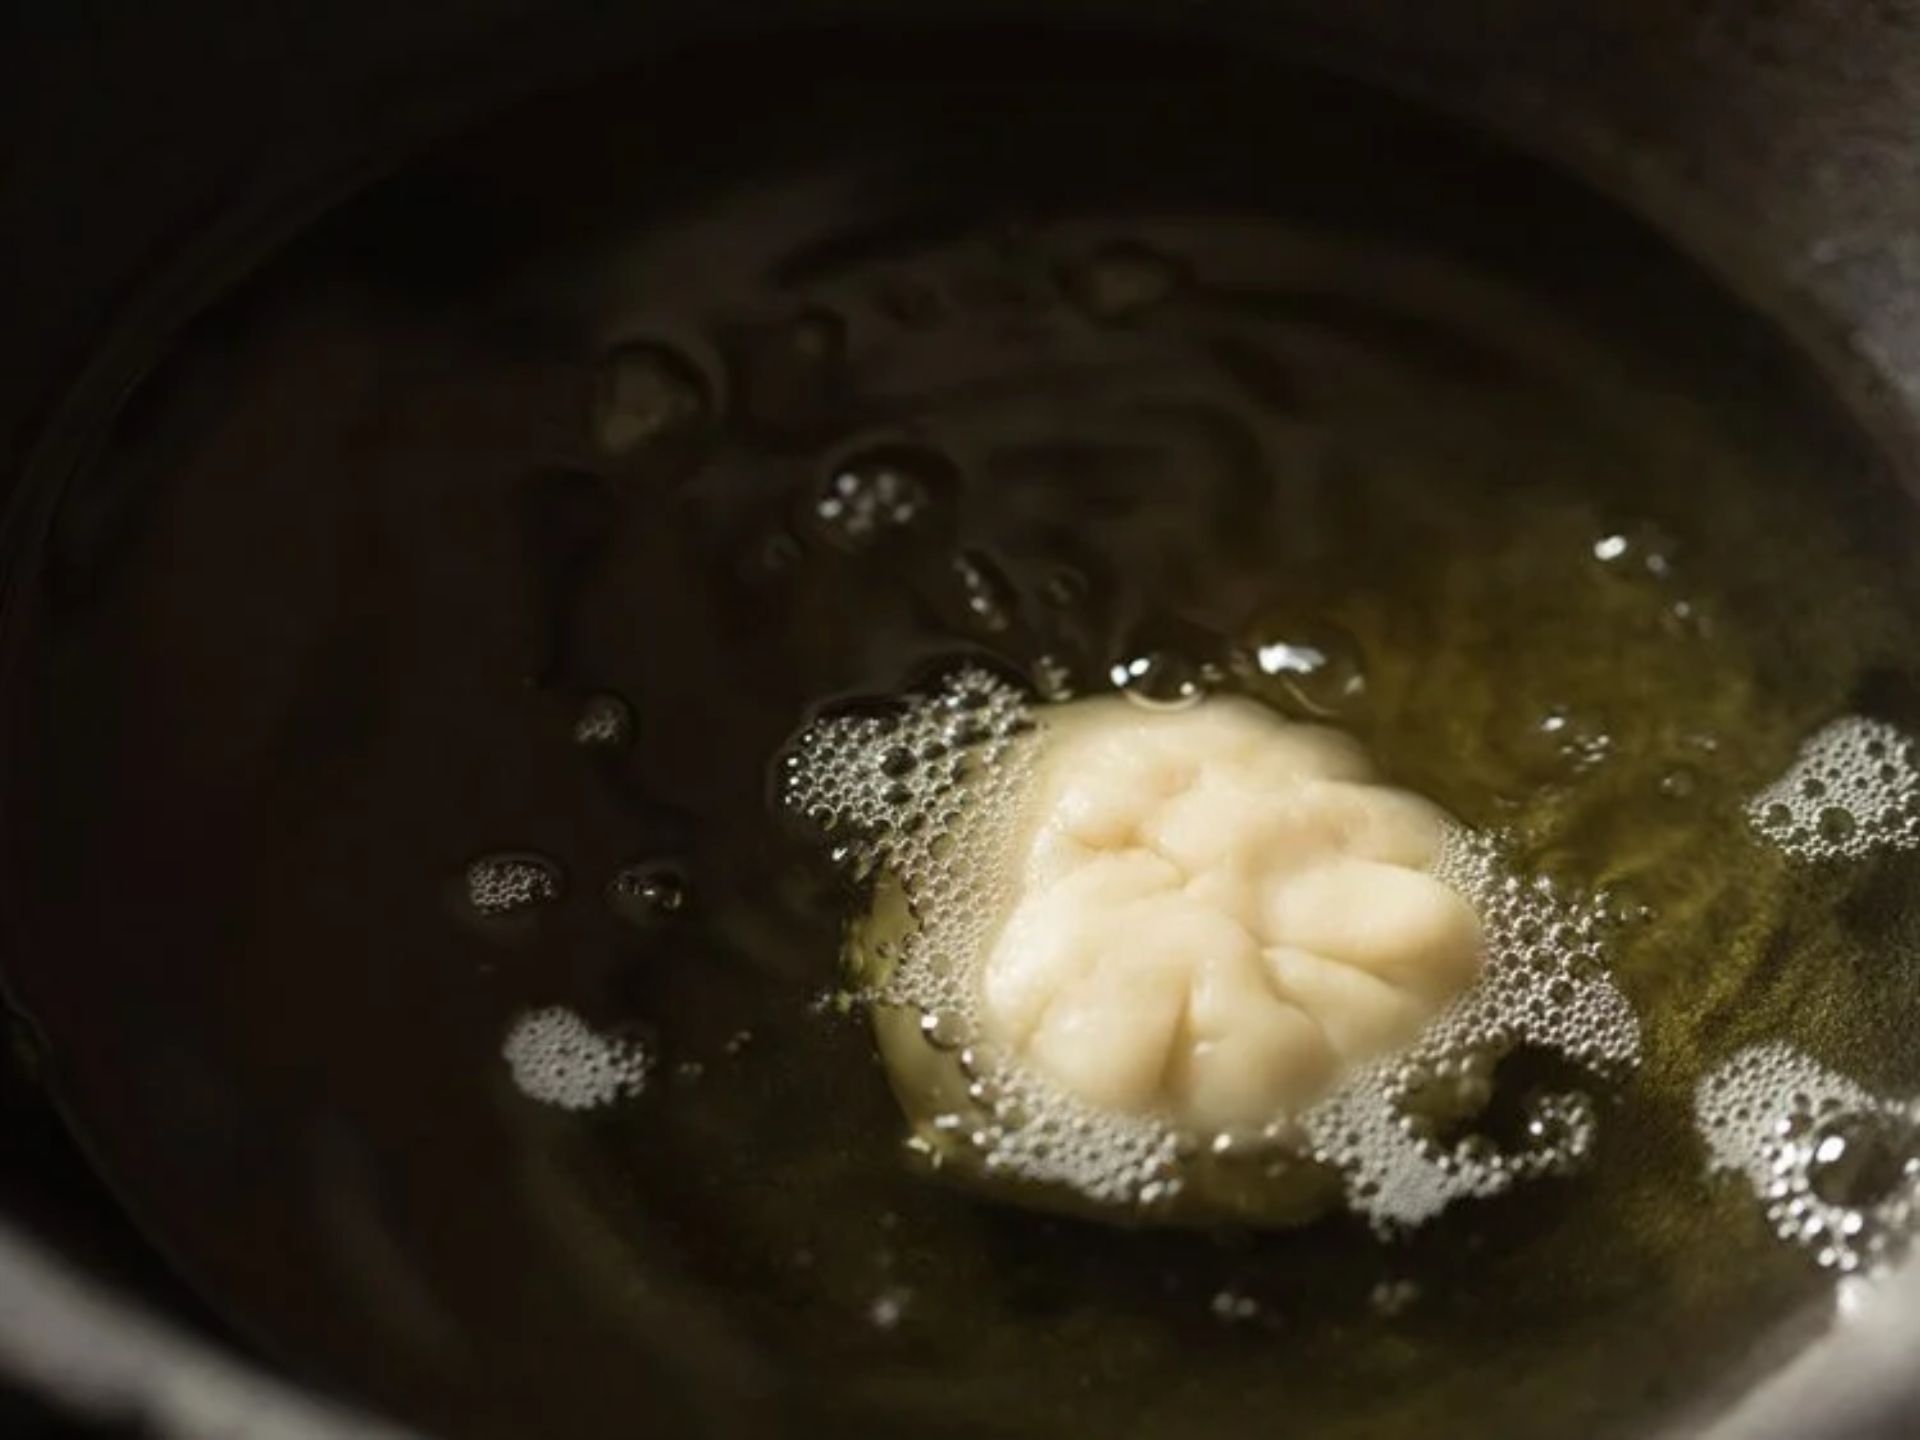
To make sure our oil is just right, drop in a tiny piece of dough. If it floats up nice and slow, like a little swimmer coming to the surface, that’s our signal that it’s ready for action. Now, let’s gently slide in our kachori buddies and watch them dance in the sizzling oil.
Step 3: The Sizzling Ballet
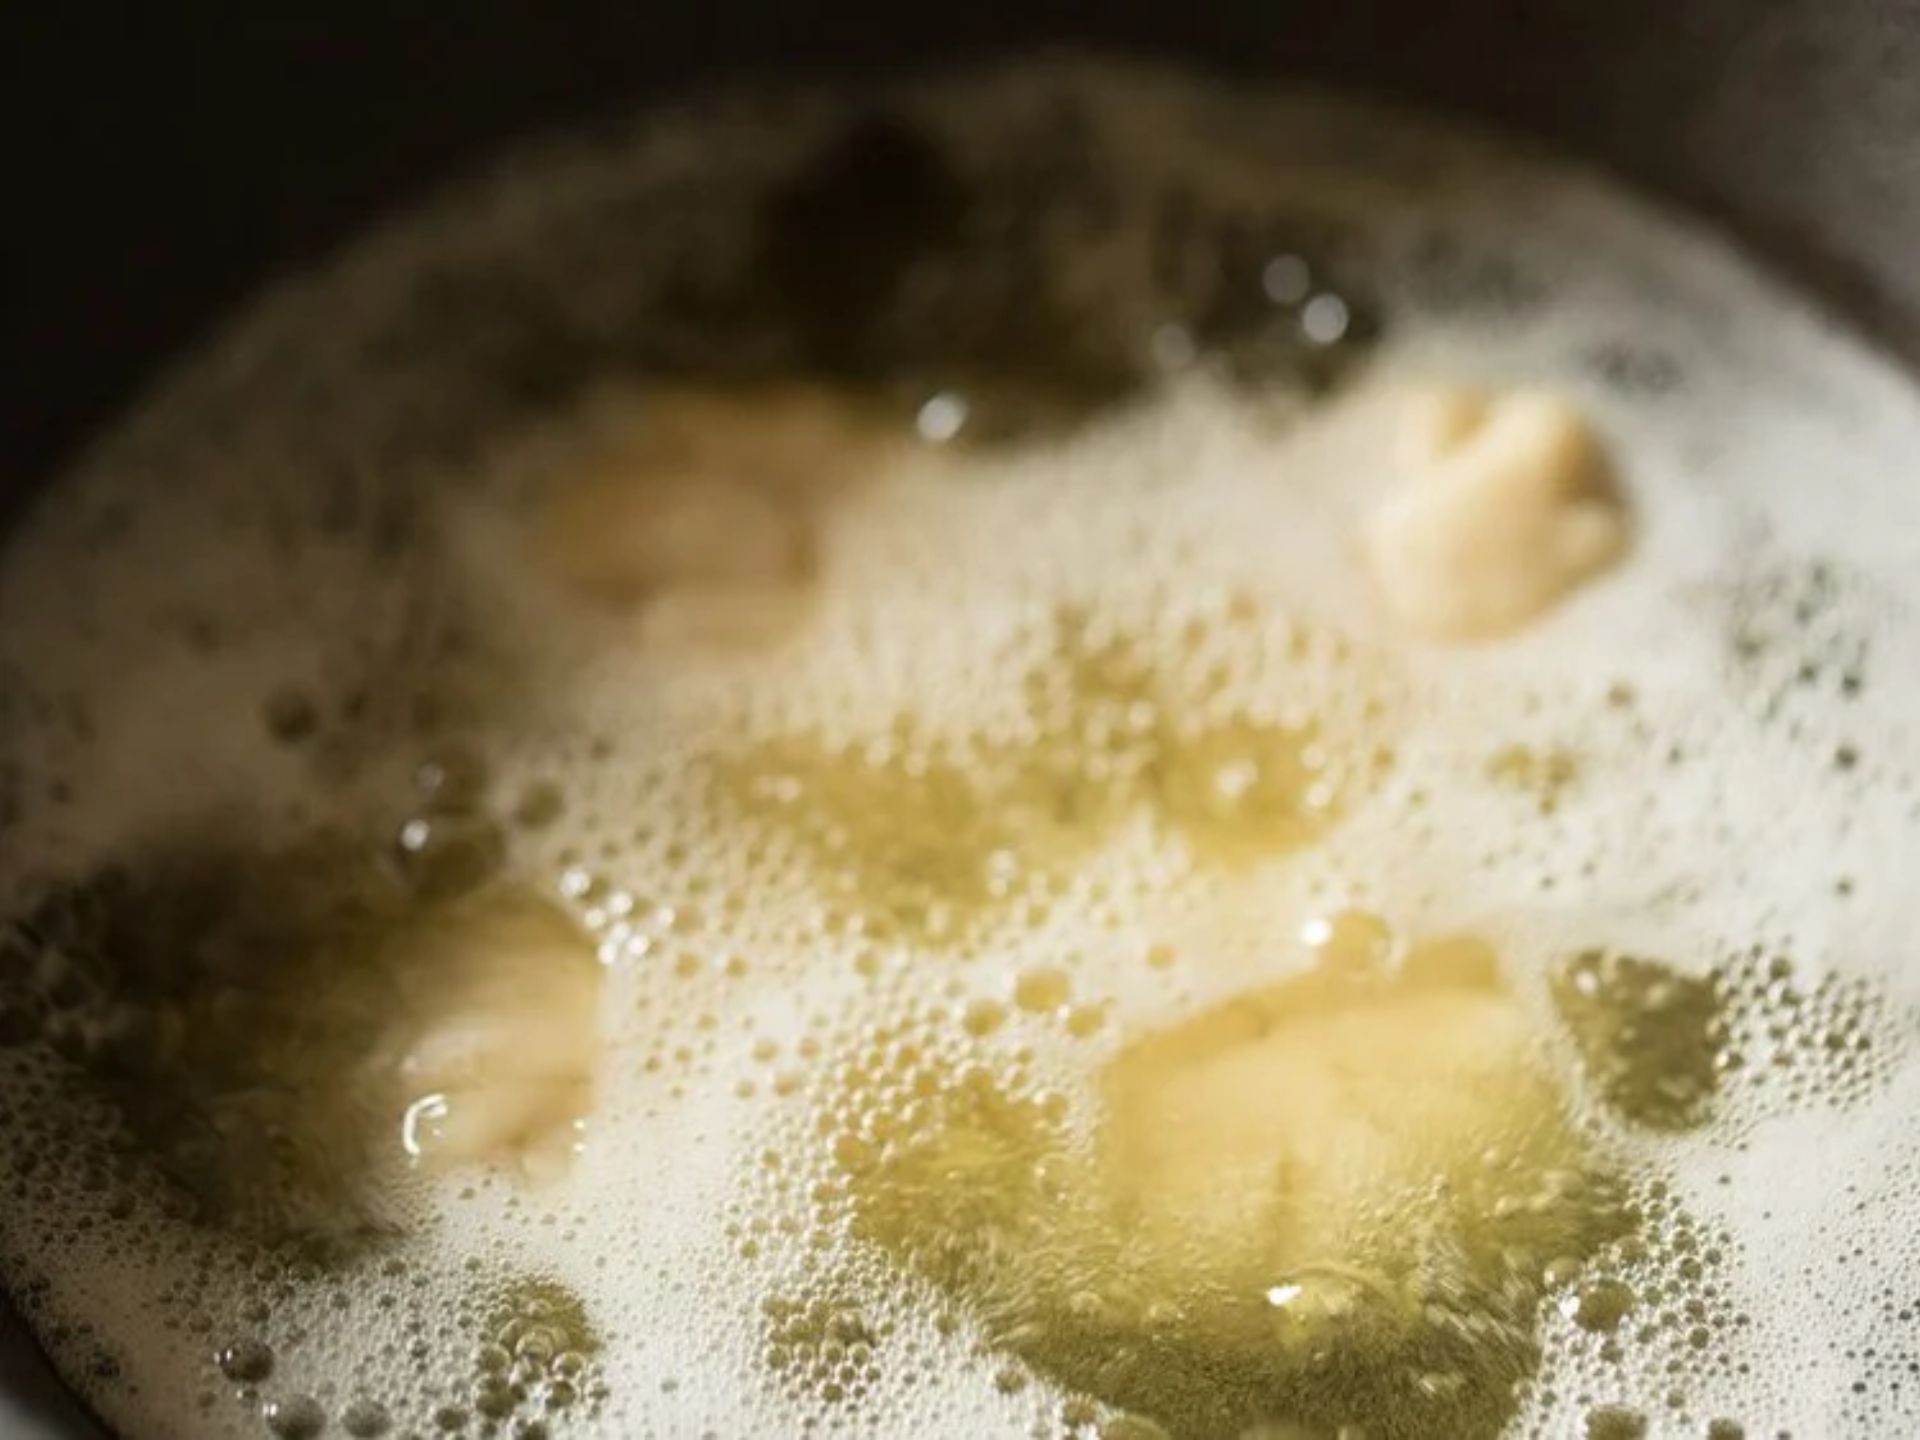
Fry about 4 to 5 kachoris at a time, or more if your kadai is feeling generous. Keep the flame on medium-low so our kachoris can have a slow, beautiful fry. It’s like they’re having a little dance party in the hot oil!
Step 4: Flipping the Fun
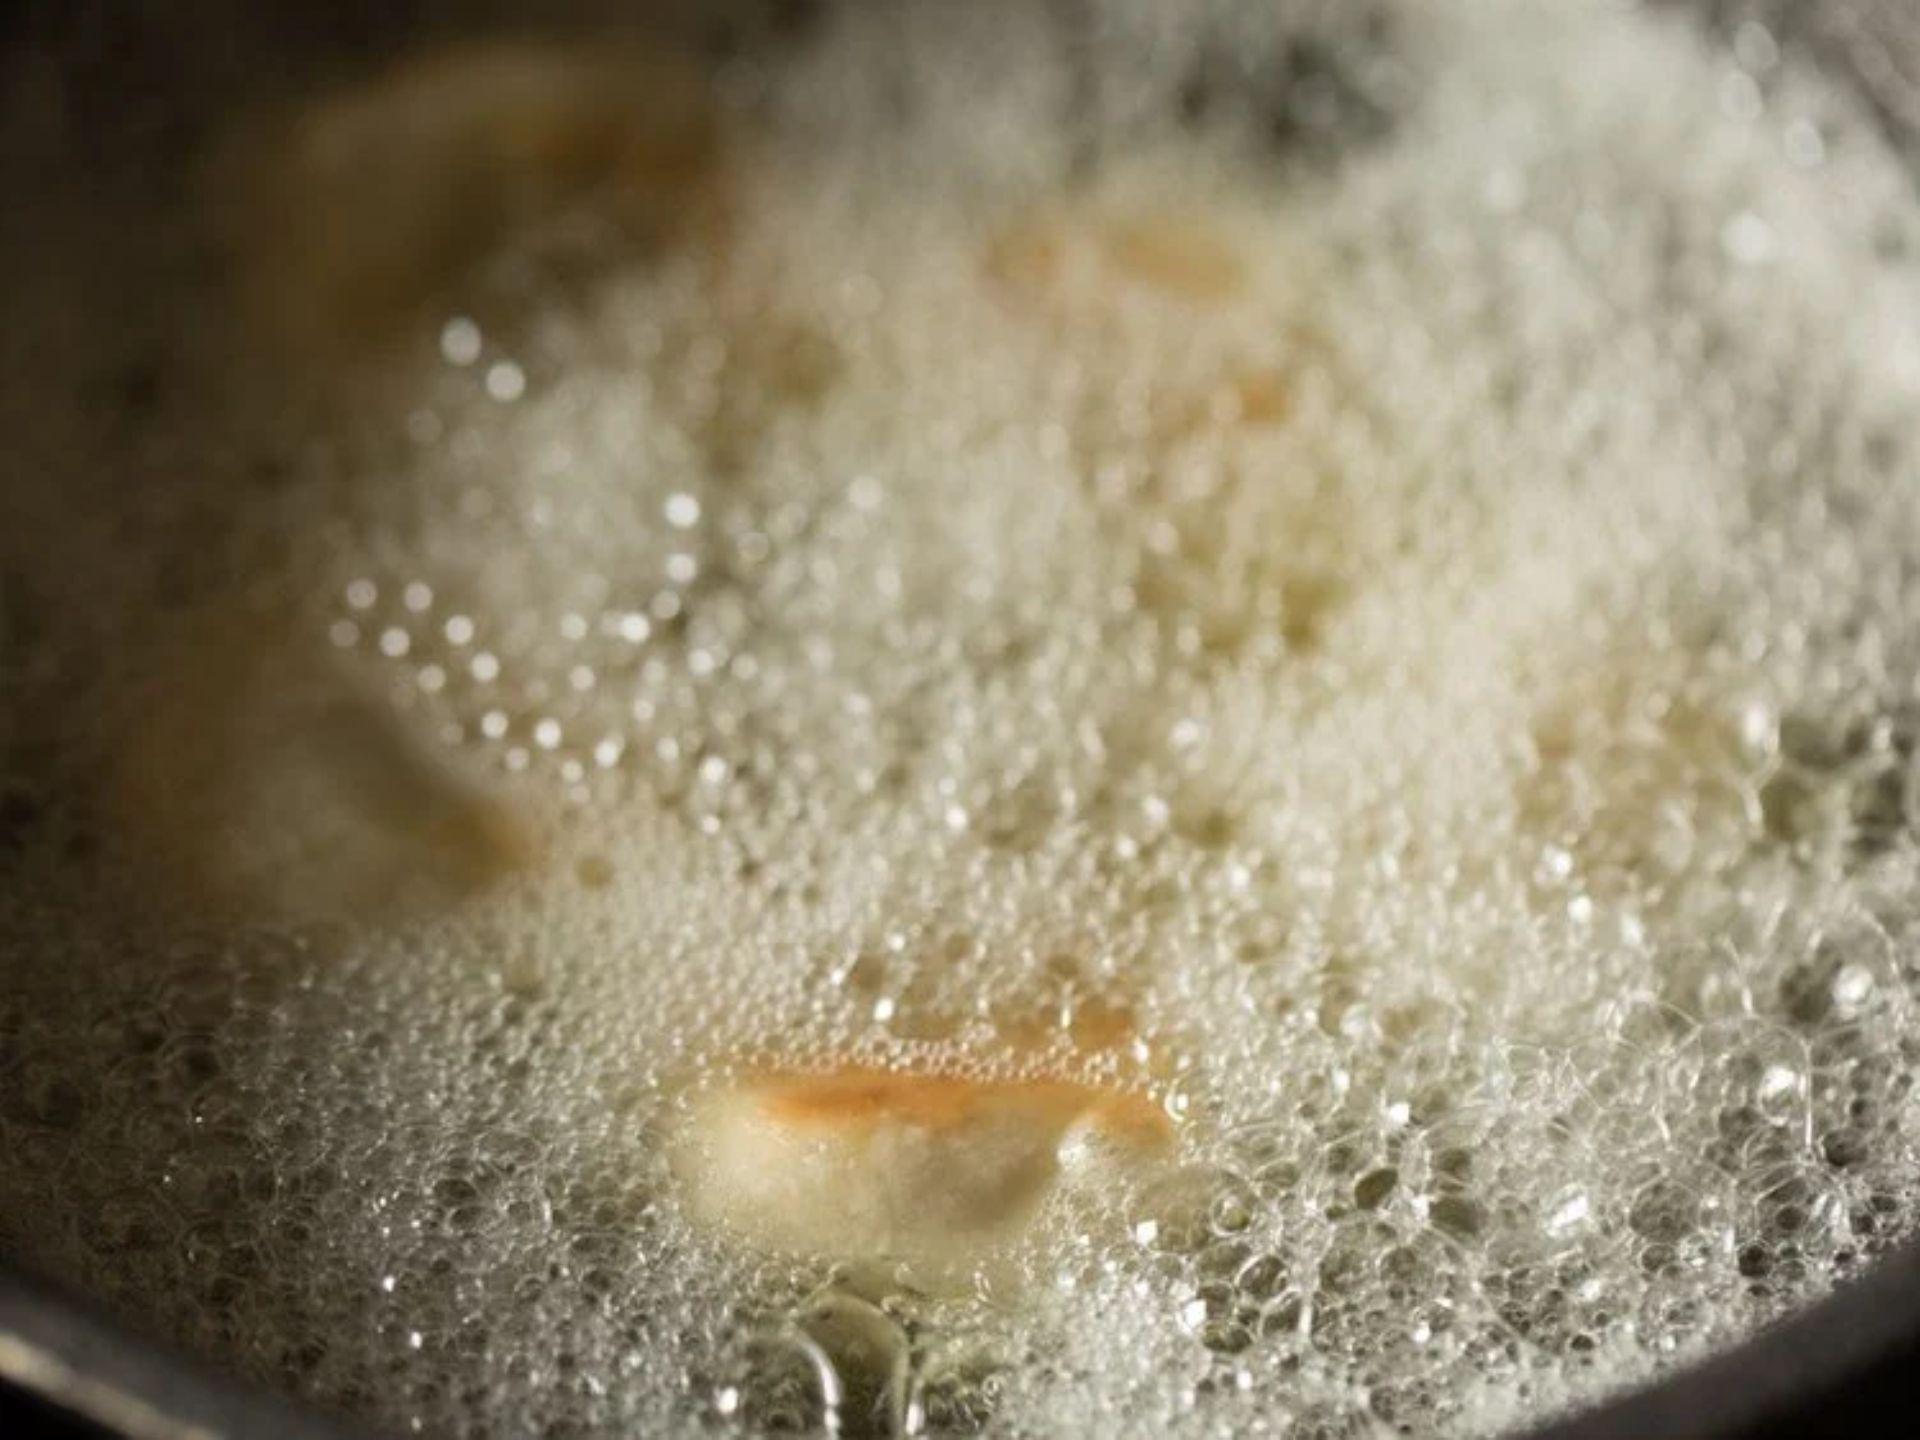
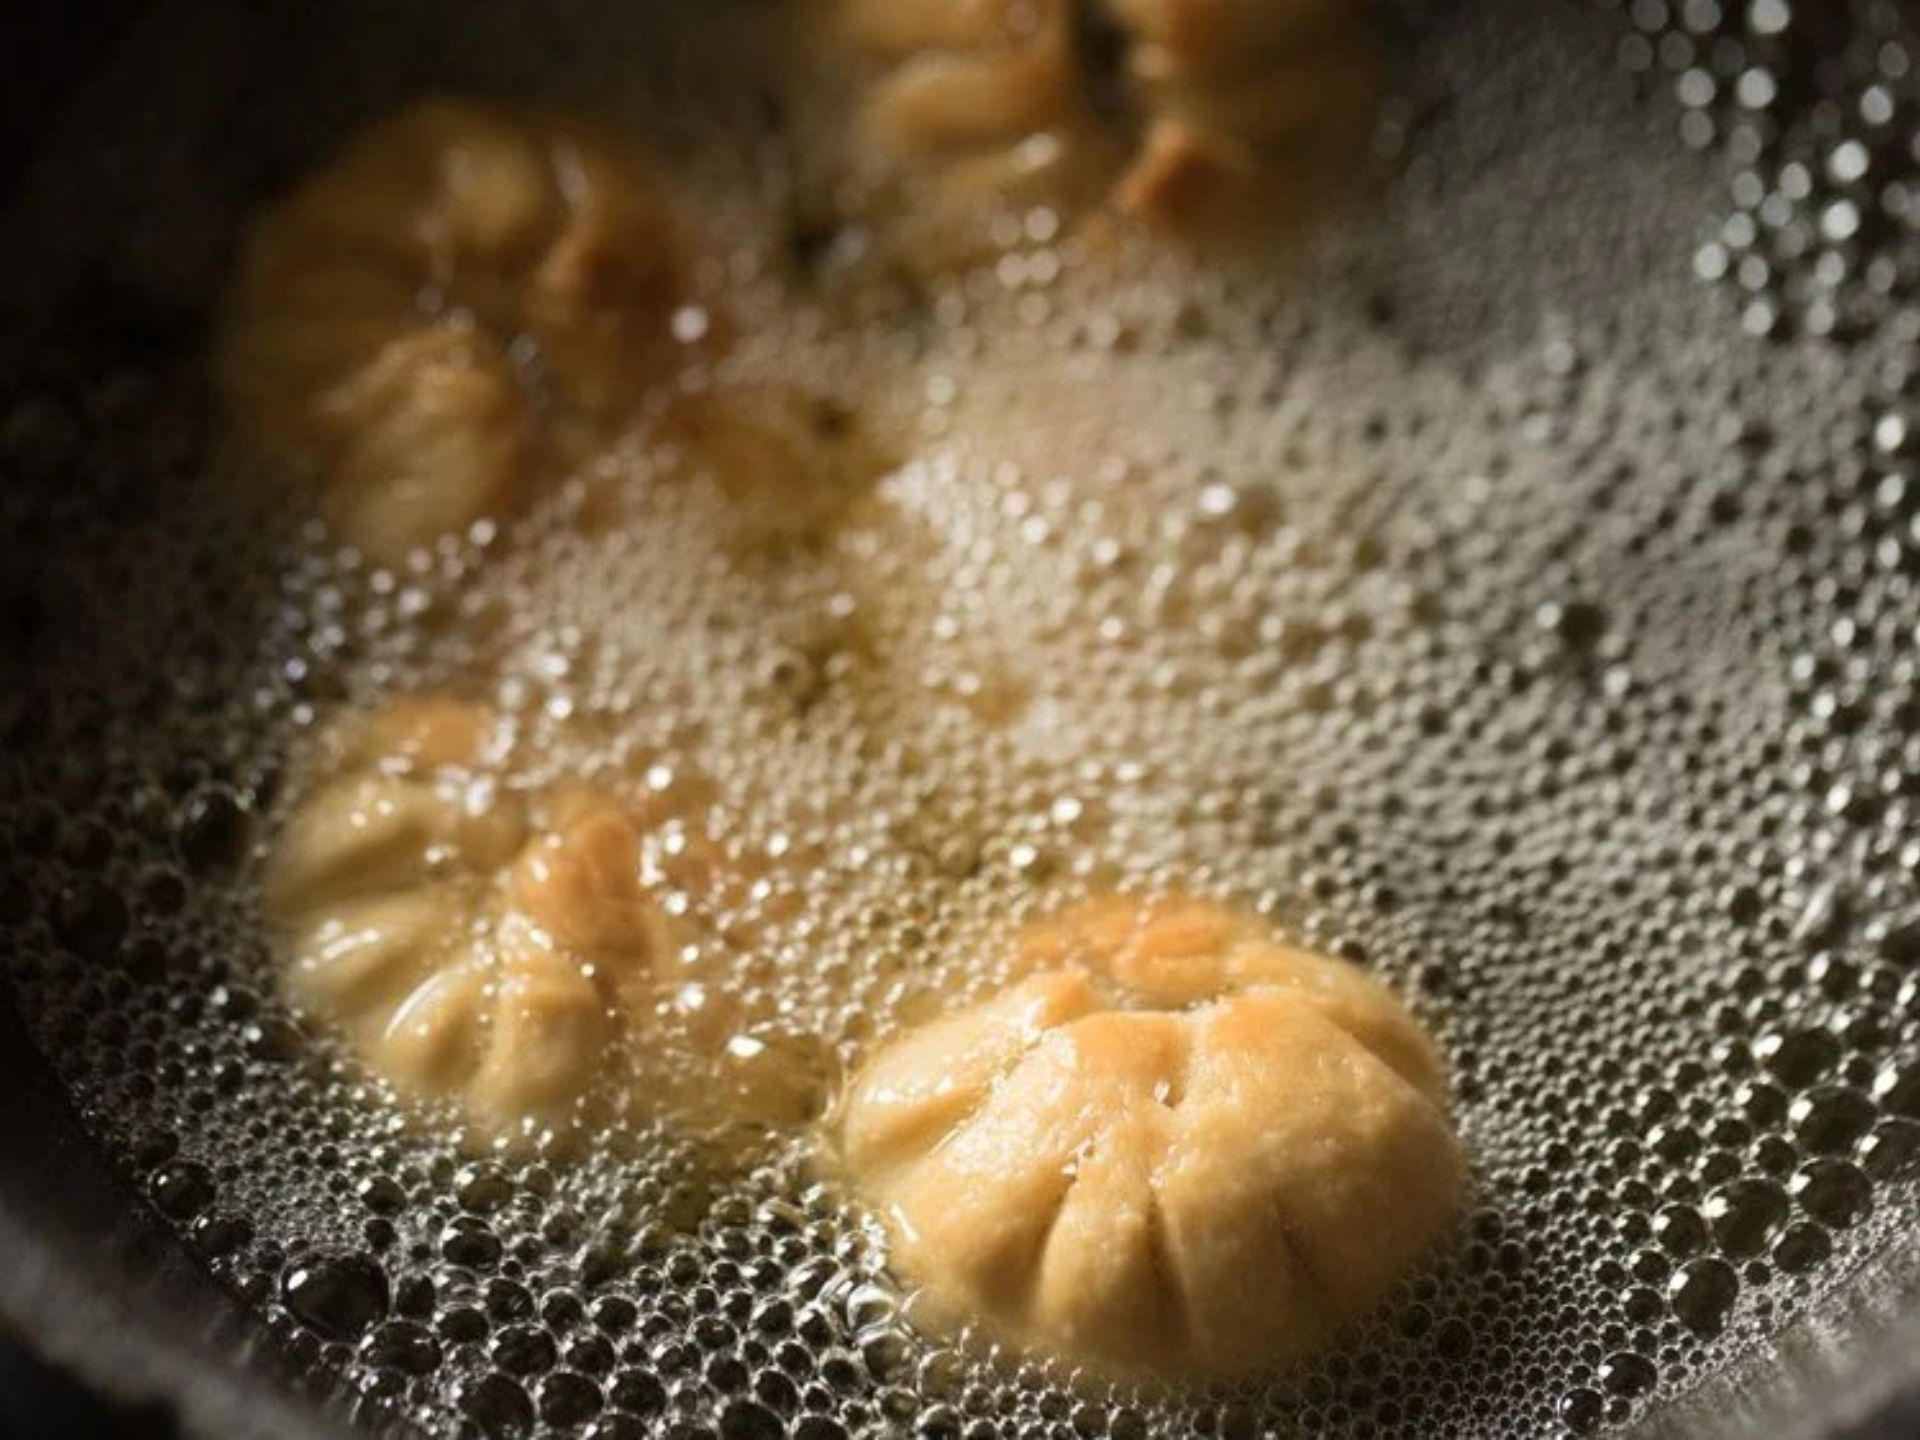
When one side of our kachoris turns a lovely light gold, it’s time for a flip! Use a slotted spoon to gently turn them over, like you’re turning the page of a delicious book. Keep flipping and turning them often so they get a nice, even tan.
Step 5: Crispy Transformation
Watch as our kachoris transform into golden, crispy delights. Fry them until the crust is super crisp and shining with a beautiful golden glow. It’s like turning our doughy superheroes into crunchy superheroes!
Step 6: Rescue Mission
Using our slotted spoon, rescue our crispy kachoris from the hot oil bath. Let them drain any extra oil right there in the kadai. They’re like little adventurers returning from a tasty expedition.
Step 7: Cozy Resting Spot
Place our freshly fried kachoris on some kitchen paper towels. They get to take a little nap there, soaking up any extra oil. Just like tucking them into a cozy bed after a day of excitement.
And there you have it! Our lilva ni kachori are now all dressed up and ready to be the stars of the show. Serve them hot or warm with your favorite chutney, and get ready for a flavor explosion!
Nutrition Facts
– Calories: 158
– Fat: 8g
– Saturated Fat: 1g
– Carbohydrates: 18g
– Fiber: 2g
– Sugar: 1g
– Protein: 3g
– Sodium: 216mg
– Potassium: 96mg
– Vitamin A: 21 IU
– Vitamin B1 (Thiamine): 1mg
– Vitamin B2 (Riboflavin): 1mg
– Vitamin B3 (Niacin): 1mg
– Vitamin B6: 1mg
– Vitamin C: 2mg
– Vitamin E: 3mg
– Vitamin K: 2µg
– Calcium: 10mg
– Vitamin B9 (Folate): 46µg
– Iron: 1mg
– Magnesium: 16mg
– Phosphorus: 45mg
– Zinc: 1mg
People also Read
🌟 Elevate Your Palate: Unleash the Delight of Yellowfin Tuna Tartare (2023)
🥩🌴 Tropical Temptation | Easy Beef Broccoli Recipe Hawaii Style (2023)
🍗🌯 Explore Delicious Flavor: Trader Joe’s Chicken Shawarma | Tasty Delights (2023)
Gujrati Lilva Kachori Recipe
Ingredients
Ingredients to make Lilva Kachori
For Kachori Dough
- - 1.5 cups all-purpose flour maida
- - 3 tablespoons oil
- - ½ teaspoon salt or adjust to taste
- - 6 tablespoons water
For Green Chili+Ginger+Garlic Paste
- - 1 or 2 green chilies – chopped
- - 1 inch ginger or 1 teaspoon chopped ginger
- - 2 medium garlic cloves – chopped
For Lilva Kachori Stuffing
- - 1.33 cup lilva fresh pigeon peas, fresh tuvar beans – 215 grams
- - 1 tablespoon oil
- - ½ teaspoon cumin seeds jeera
- - 1 pinch asafoetida hing
- - ½ teaspoon cumin powder
- - ½ teaspoon coriander powder – optional
- - ½ teaspoon garam masala
- - 2 tablespoons chopped cashews
- - ½ tablespoons chopped raisins
- - ¼ cup chopped coriander leaves
- - 2 teaspoons sugar or adjust to taste
- - 3 teaspoons lemon juice or adjust to taste
- - Salt as required
Other Ingredients
- - Oil for deep frying as required
Instructions
Step 1: Preparing the Dough
- - Take 1.5 cups of all-purpose flour (maida) and add ½ teaspoon of salt. 🍚 Mix equal parts of atta (whole wheat flour) and maida for a twist. 🔄
Step 2: Adding Oil to the Mix
- - Add 3 tablespoons of oil to the flour. 🛢️ Use your fingertips to mix until it resembles breadcrumbs for the kachori's outer layer. 🤲
Step 3: Achieving the Right Texture
- - Ensure the mixture holds together well without breaking. 🤝 This determines the kachori's crispy texture. 🍴
Step 4: Introducing Water Gradually
- - Pour 6 tablespoons of water gradually. 💧 Keep kneading until it forms a semi-soft dough. Let it rest for 30 minutes. ⏳
Step 5: Kneading to Perfection
- - Knead the dough until semi-soft. 🤲 Cover it and let it rest for 30 minutes before proceeding. 🛌
Step 6: Grinding Lilva Beans
- - Rinse 1 and ⅓ cup of lilva beans in a grinder for a semi-coarse paste. 🌀
Step 7: Making Green Chili+Ginger+Garlic Paste
- - Crush 1-2 green chilies, an inch of ginger, and 2 garlic cloves (or green garlic chives) for a flavorful paste. 🌶️
Step 8: Preparing the Flavor Base
- - Heat 1 tablespoon of oil in a pan and add ½ teaspoon of cumin seeds. 🔥 Sauté the chili+ginger+garlic paste and asafoetida. 🌿
Step 9: Adding Lilva Beans
- - Mix in the ground lilva beans and sauté for 3 minutes. 🥣
Step 10: Adding Spices
- - Incorporate cumin powder, coriander powder, garam masala, and salt. 🔍 Sauté for 2-3 minutes. 🌈
Step 11: Adding Nuts & Herbs
- - Turn off heat and add chopped cashews, raisins, coriander leaves, and optional ingredients like peas or potatoes. 🥜
Step 12: Adding Lemon Juice
- - Mix in 3 teaspoons of lemon juice and adjust seasoning as per taste. 🍋 Shape the mixture into balls. 🏀
Step 13: Shaping the Kachori
- - Knead the dough and form small balls. Roll them out, place the filling, pleat, and shape them into circles. 🔄
Step 14: Frying Lilva Kachori
- - Heat oil in a kadai on medium-low. 🔥 Fry the kachoris until golden, flipping occasionally for even frying. 🍳
Step 15: Draining and Serving
- - Remove the kachoris and let them drain on paper towels. 🧻 Serve hot with your favorite chutney for a delightful treat! 🌮
- Your Lilva Kachori journey is complete! Enjoy these crispy, flavorful snacks with your preferred chutney for a taste sensation! 🎉
Notes
Nutrition Facts
- Calories: 158 - Fat: 8g - Saturated Fat: 1g - Carbohydrates: 18g - Fiber: 2g - Sugar: 1g - Protein: 3g - Sodium: 216mg - Potassium: 96mg - Vitamin A: 21 IU - Vitamin B1 (Thiamine): 1mg - Vitamin B2 (Riboflavin): 1mg - Vitamin B3 (Niacin): 1mg - Vitamin B6: 1mg - Vitamin C: 2mg - Vitamin E: 3mg - Vitamin K: 2µg - Calcium: 10mg - Vitamin B9 (Folate): 46µg - Iron: 1mg - Magnesium: 16mg - Phosphorus: 45mg - Zinc: 1mg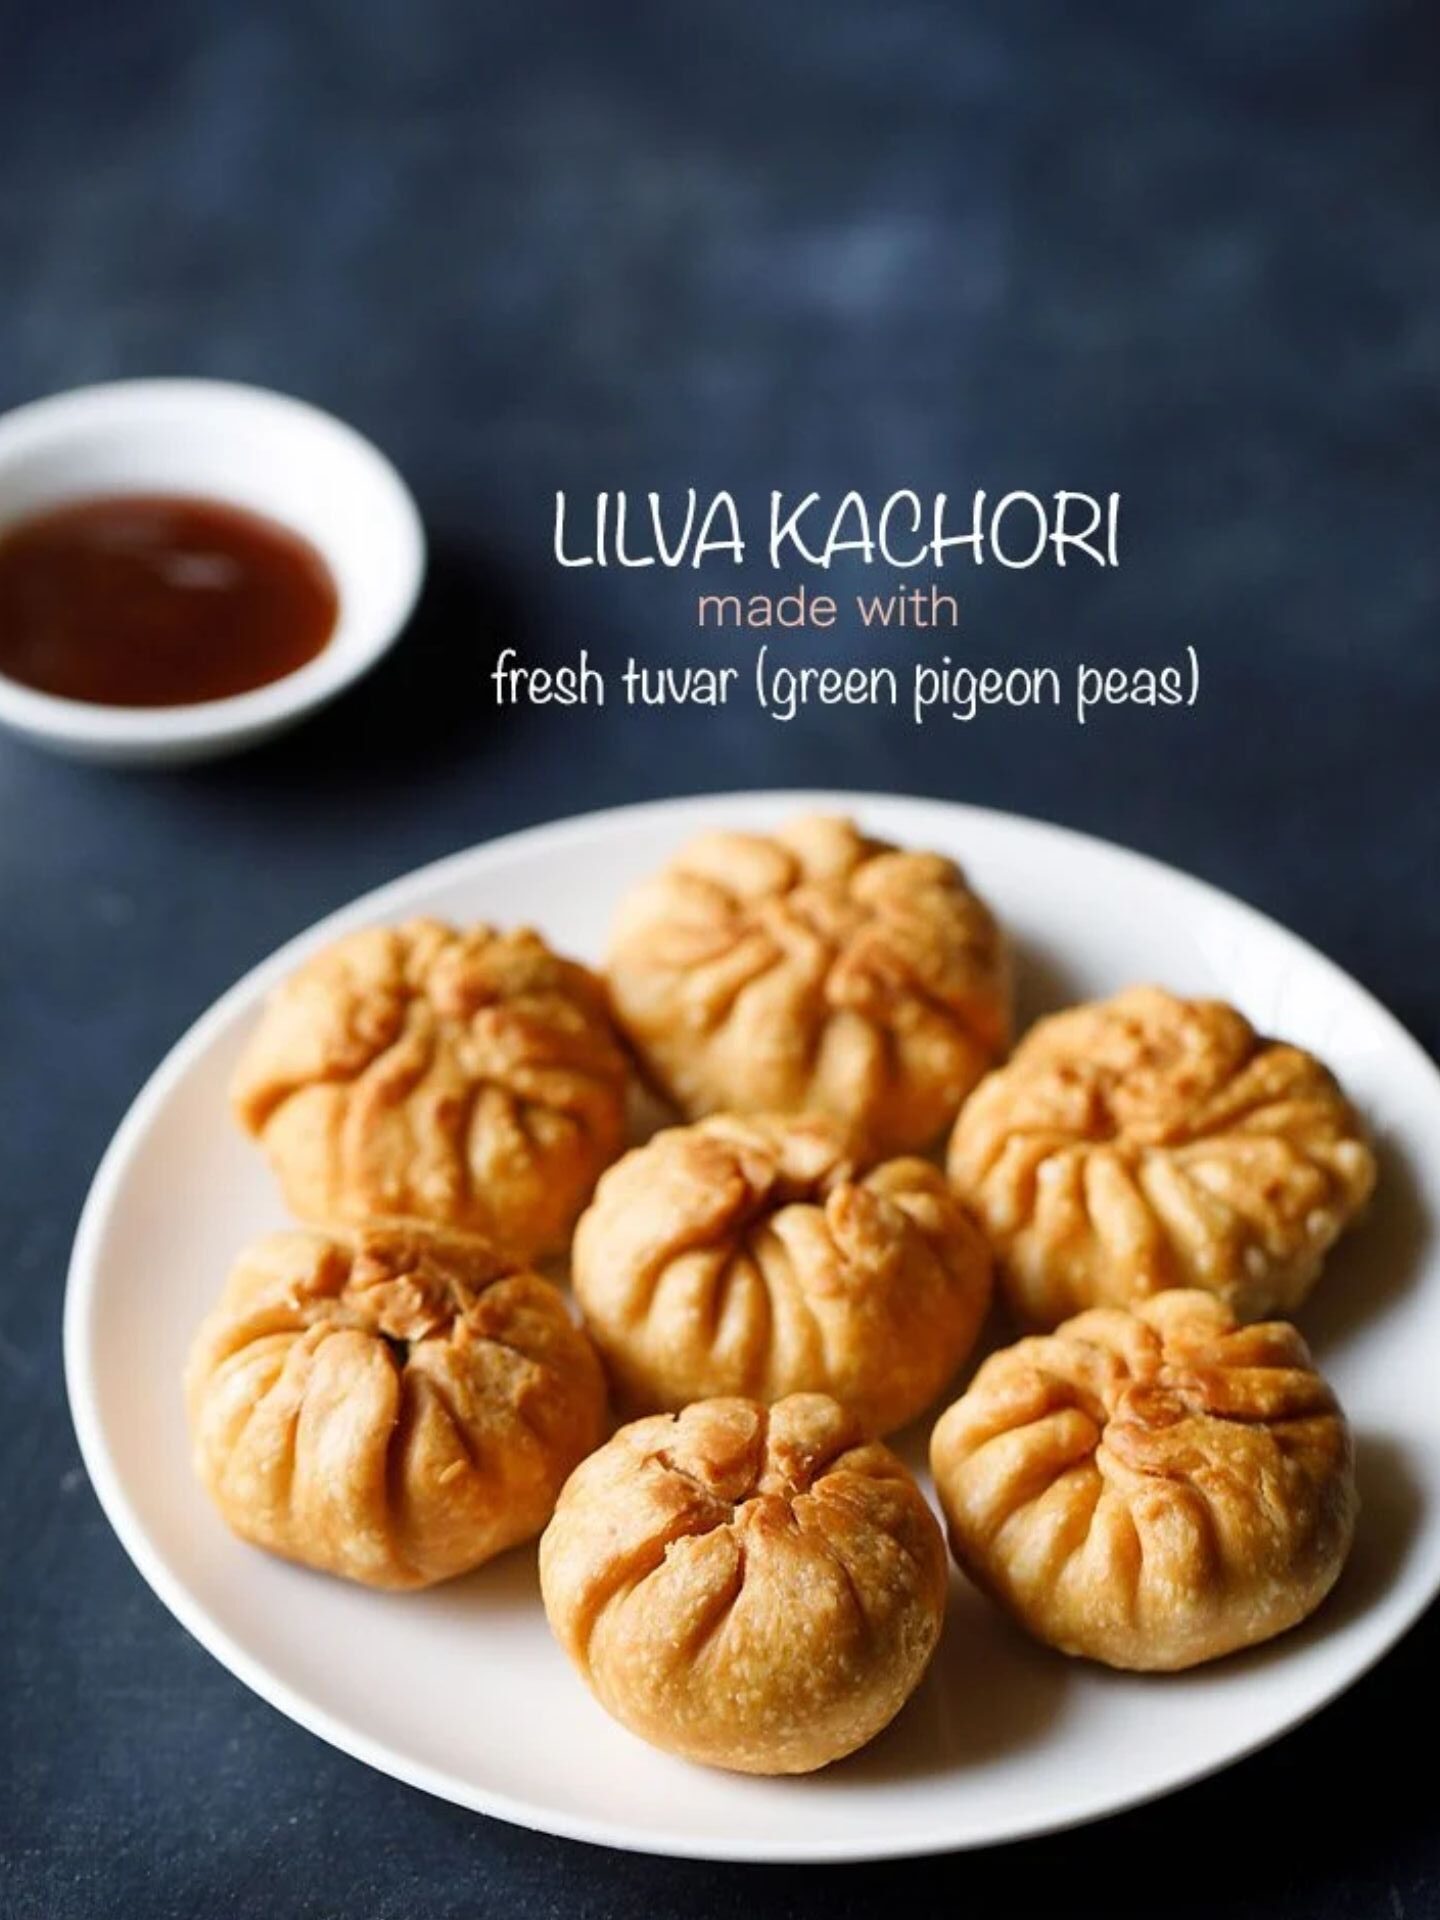
Steps to avoid while preparing Lilva Kachori
- Rushing the Dough:
– Avoid hurrying through the process of kneading the dough. Take your time to ensure it reaches the right consistency, soft and pliable. Rushing might result in an uneven texture of the kachori.
- Neglecting Stuffing Mixture Cooling:
– Don’t be in a hurry to stuff the kachoris immediately after preparing the filling. Allow the mixture to cool completely before shaping the kachori. Hot stuffing can make it challenging to handle the dough.
- Overstuffing:
– Be cautious not to overstuff the kachoris. Adding too much filling can lead to difficulties in sealing the edges, causing the kachoris to break open during frying.
- Ignoring Oil Temperature:
– Pay attention to the oil temperature while frying. Frying at too high a temperature can result in burnt kachoris, while frying at a low temperature may make them absorb excess oil.
- Skipping the Pleating Step:
– Ensure you pleat the edges properly while shaping the kachori. Skipping this step might cause the kachoris to open up during frying, allowing the stuffing to spill out.
- Crowding the Kadai:
– Avoid frying too many kachoris at once. Overcrowding the kadai can reduce the oil temperature, leading to unevenly cooked kachoris. Fry in batches for a crispy and uniform texture.
- Neglecting Draining Time:
– Don’t skip letting the fried kachoris drain on paper towels. Allowing them to sit and drain helps remove excess oil, ensuring a lighter and crunchier texture.
- Serving Immediately:
– Resist the urge to serve the kachoris immediately after frying. Let them rest for a few minutes to cool slightly, allowing the flavors to settle and preventing any risk of burning yourself with the hot stuffing.
FAQ
- Question: How do I make the perfect Lilva Kachori at home?
Answer: Making Lilva Kachori at home is a delightful experience! Start by preparing a dough with flour and oil, create a flavorful stuffing with crushed lilva beans, spices, and a touch of sweetness. Shape the kachoris with love, ensuring a balanced filling-to-dough ratio. Fry them to golden perfection, and voila! You have delicious homemade Lilva Kachoris.
- Question: Can I customize the filling for Lilva Kachori?
Answer: Absolutely! One of the joys of cooking is customizing flavors. While the traditional filling includes lilva beans, you can add your twist. Try incorporating mashed potatoes, peas, or even paneer for a unique and tasty variation. Let your creativity shine!
- Question: What are some serving suggestions for Lilva Kachori?
Answer: Serving Lilva Kachori is a delight! Pair these crispy goodies with tangy tamarind chutney, zesty mint chutney, or even a spicy green chili chutney. They also complement beautifully with a hot cup of masala chai or a refreshing glass of buttermilk.
- Question: Can Lilva Kachori be made ahead and stored?
Answer: Absolutely! Making Lilva Kachori in advance is a smart move. Once fried, let them cool completely. Store in an airtight container. When you’re ready to indulge, gently reheat them in the oven for a few minutes, and they’ll be good as fresh.
- Question: Are there any tips for beginners trying Lilva Kachori for the first time?
Answer: Certainly! For beginners, take it step by step. Ensure the dough is neither too soft nor too firm. Start with a smaller amount of filling to get comfortable with shaping the kachoris. And most importantly, have fun experimenting with flavors!
